Scratch Animation
Creating a short animation in Scratch is a visual way to introduce students to programming. In this project, two characters use broadcasts to take turns moving and speaking. The animation then asks for the viewer’s name and uses that answer in a personalized closing message.
By the end of the lesson, each student will have created an animated Scratch conversation using events, motion, looks, timing, broadcasts, sensing, a variable, and an operator. Students can personalize the characters, backdrop, dialogue, and movement after the main sequence works.
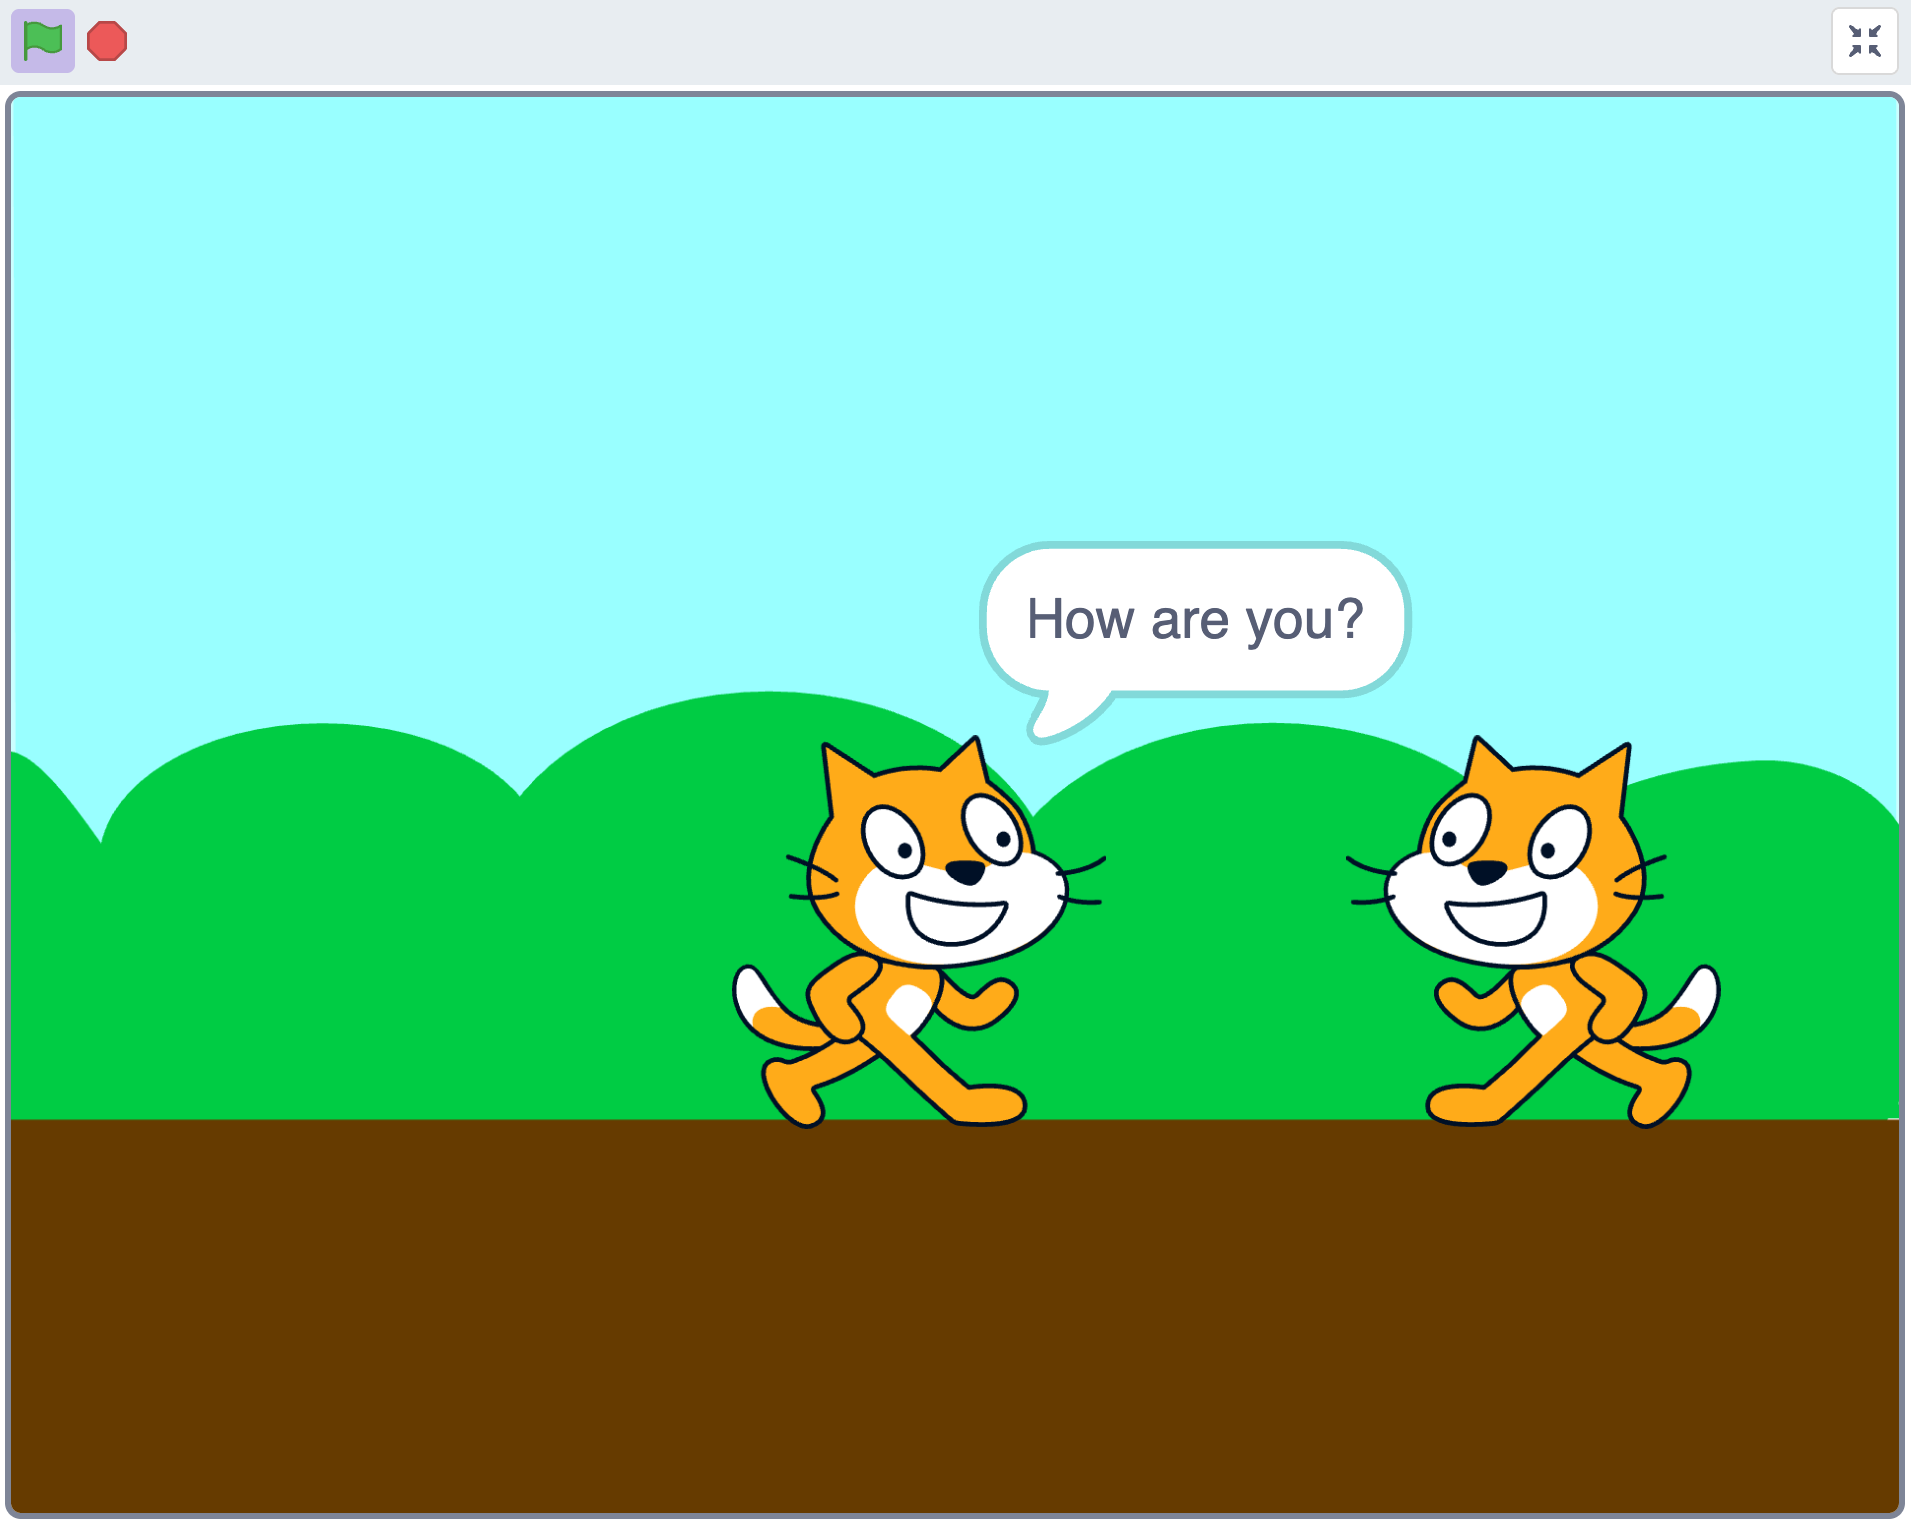
The finished example uses two characters that walk toward each other, exchange dialogue, ask for the viewer’s name, and respond with a personalized message.
Open the completed Scratch Animation Example to run the project or inspect how its scripts are assembled.
Adjust the Project to Your Students
Adjust the complexity of the animation to match the age, experience, and pace of your students. The completed example is a reference, not a minimum requirement.
For beginners, focus on a short movement-and-dialogue sequence with one or two sprites. Add the longer conversation, name question, personalized response, or fade effect only if the group is ready.
More experienced students can add broadcasts, questions, variables, operators, personalized responses, additional characters, sounds, and visual effects. It is better for students to finish a simple animation they understand than to copy advanced code they cannot explain.
Materials
For each student
- Computer with internet access
- Access to the Scratch project editor
- A way to play project sounds (headphones preferred)
For the instructor
- A way to project your screen (projector, classroom TV, etc.)
- One prepared example animation
- One completed version of the two-character animation
Before You Begin
Use Scratch Without Student Accounts
Creating student Scratch accounts may require parent or guardian permission, depending on your school’s policies and the age of your students. Account setup can also take valuable time at the beginning of a short camp activity.
We found it best not to have students create accounts before the session. Open the Scratch project editor directly on every computer, or select Create on the Scratch homepage. Let students complete the lesson without signing in; they can build and run the entire project in the editor.
During parent pickup, a parent or guardian can help the student create a Scratch account and save the project online. If the family does not want to create an account at pickup, have the student select File → Save to your computer and email the downloaded .sb3 file to themselves or their parent or guardian.
The instructor does not need to collect every project file.
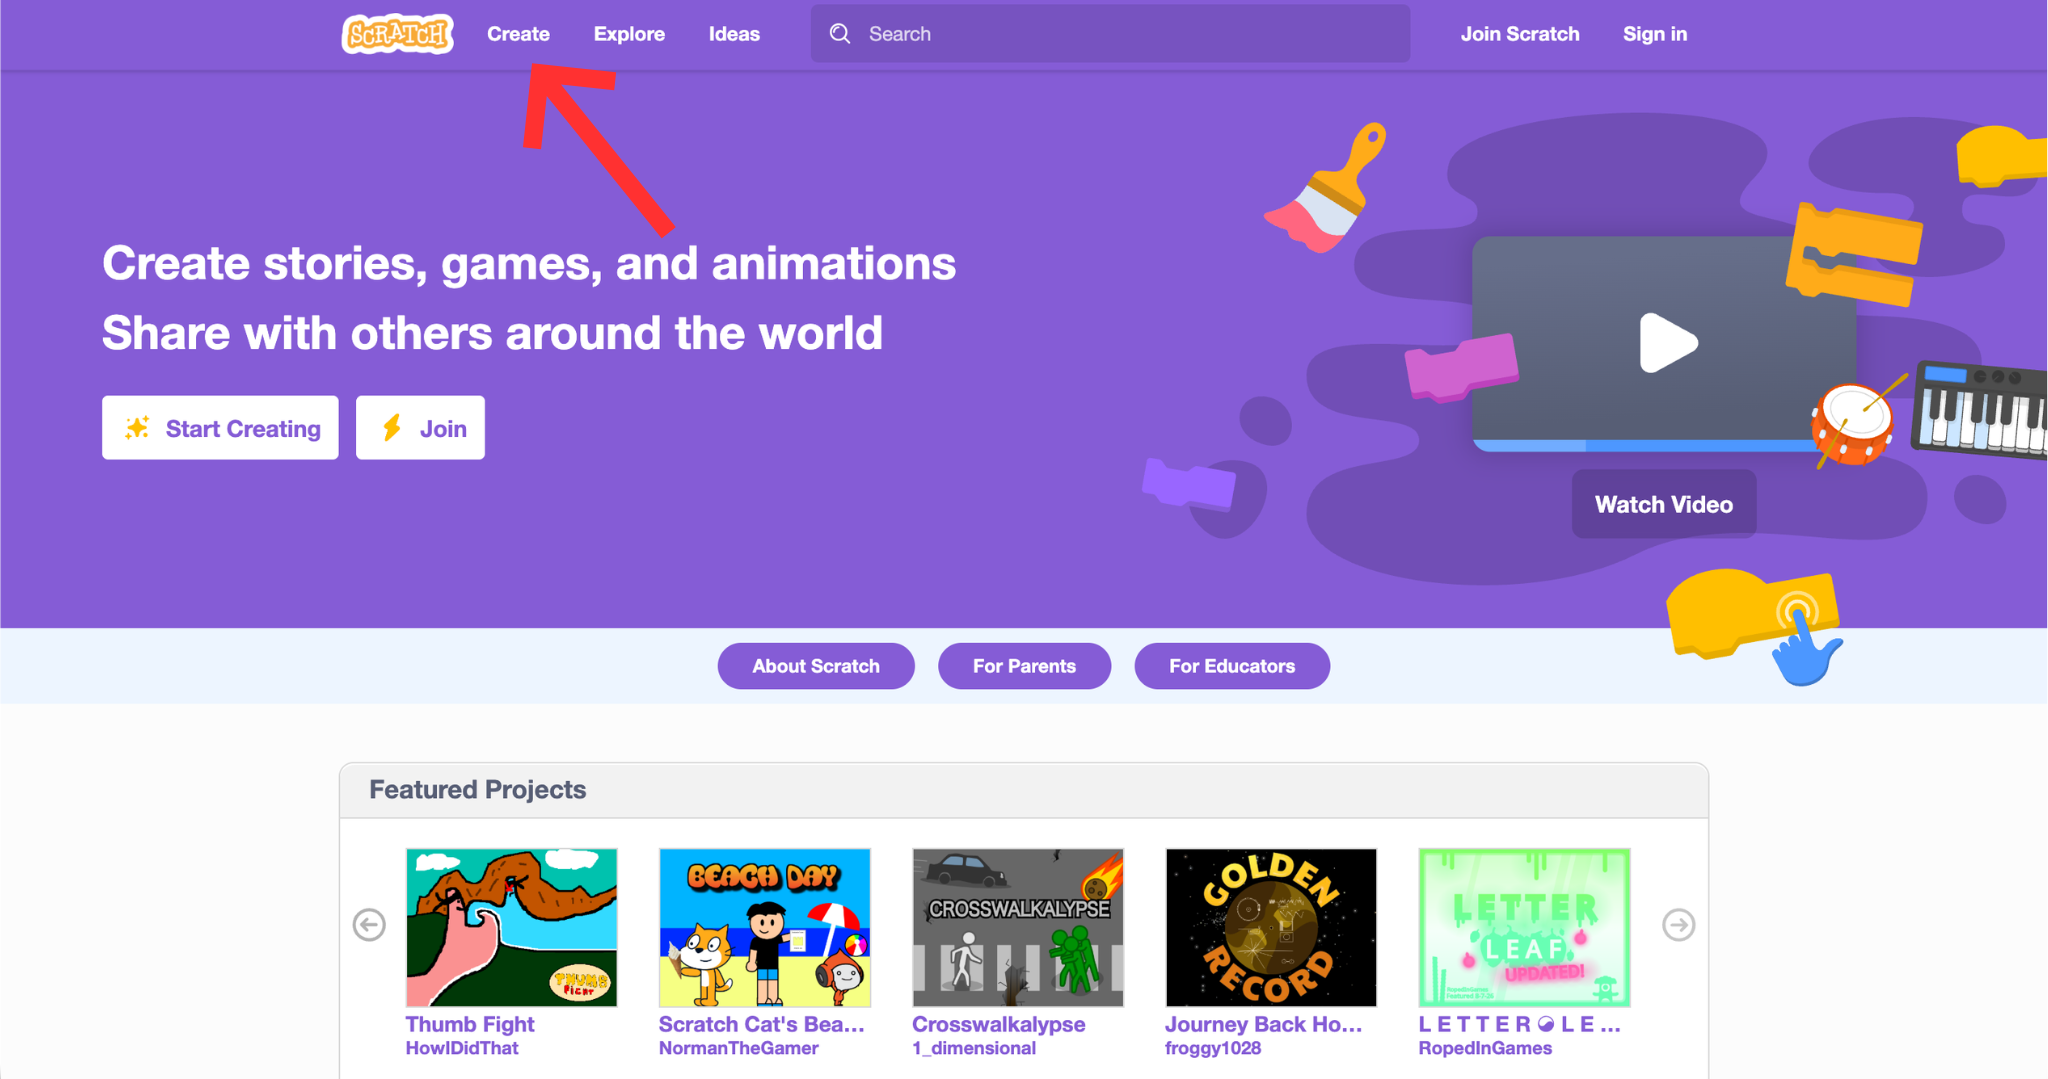
Students can select Create on the Scratch homepage to begin a project without signing in or creating an account.
Prepare the Computers and Demonstration
Before camp, confirm that the Scratch editor loads on every computer and practice downloading and reopening an .sb3 file so you can help families use the account-free option.
Open and test the completed Scratch Animation Example before camp. Keep the finished project available so students can see the intended result and instructors can inspect the code, but build the classroom demonstration from a new project so students can follow each step.
Teaching the Lesson
Do not assume students already know how to use a computer, mouse, or keyboard.
Begin by showing everyone how to open a web browser and select Create on the Scratch homepage. You can also give students the direct Scratch project editor link. Wait until everyone reaches the editor before beginning the coding demonstration.
Explain that programming is a way of giving a computer instructions. In Scratch, those instructions are represented by blocks that snap together.
Demonstrating the Tools
Keep your screen projected throughout the lesson.
Build the example in short stages and test after each stage.
- Choose a backdrop and add two sprites.
- Place one sprite on the left and the other on the right.
- Use when green flag clicked blocks to reset their starting positions and directions.
- Animate the first sprite walking with a repeat loop containing move, next costume, and a short wait.
- Have the first sprite say hello and broadcast a message.
- Make the second sprite receive that message, reply, and broadcast the next message.
- Continue the conversation with additional when I receive and broadcast blocks.
- Use ask and wait to request the viewer’s name, then store the answer in a
Namevariable. - Use join blocks to combine the viewer’s name with the closing message.
- Finish the animation by gradually changing the first sprite’s ghost effect.
After demonstrating each new idea, pause and give students a minute or two to try it themselves before moving on.
This “show, then do” rhythm keeps the class together and gives volunteers time to help anyone who falls behind.
Building the Animation
Start by making the first sprite walk across the stage. Use a repeat loop with move, next costume, and a short wait so the sprite appears to walk instead of sliding. Reset its position, costume, and ghost effect when the green flag is clicked so every test begins the same way.
Next, build the conversation one message at a time. The first sprite says hello and broadcasts message1. The second sprite receives message1, replies, and broadcasts message2. Continue this pattern so only one character speaks at a time.
For the interactive part, have the second sprite use ask and wait to ask for the viewer’s name. Set the Name variable to the answer, then broadcast the final message. The first sprite receives it and uses nested join blocks to combine the closing sentence, the stored name, and an exclamation point.
Explain that the order of the blocks matters. Scratch follows each script from top to bottom, while broadcasts tell another script or sprite when to begin.
Once everyone has the basic animation working, encourage students to experiment.
Students can:
- Change the character.
- Change the backdrop.
- Write their own dialogue.
- Change the walking distance or speed.
- Change the costumes used for movement.
- Add sounds.
- Add another exchange between the characters.
- Change the final visual effect.
- Create a beginning, middle, and ending.
Walk around the room answering questions instead of taking over the mouse. If a student gets stuck, ask what they want the character to do next and help them find the block that matches their goal.
Understanding the Code
Pause during the lesson to connect the finished animation to four programming ideas.
Events and Sequences
An event tells a script when to begin. The when green flag clicked blocks initialize the project, and the when I receive blocks start each part of the conversation.
A sequence is the order in which instructions happen. Scratch follows the connected blocks in order, so students can control the timing and movement of their animation by rearranging blocks.
Broadcasts
Broadcasts allow sprites and scripts to communicate. One sprite sends a message after it finishes speaking, and the other sprite waits to receive that message before replying. This keeps the conversation in the correct order without placing every action in one long script.
Sensing and Variables
The ask and wait block pauses the animation while the viewer types a response. Scratch stores that response in the built-in answer value. The project copies it into the Name variable so another sprite can use it later.
Operators
The join operator combines separate pieces of text. In the example, nested join blocks combine the closing message, the Name variable, and an exclamation point into one sentence.
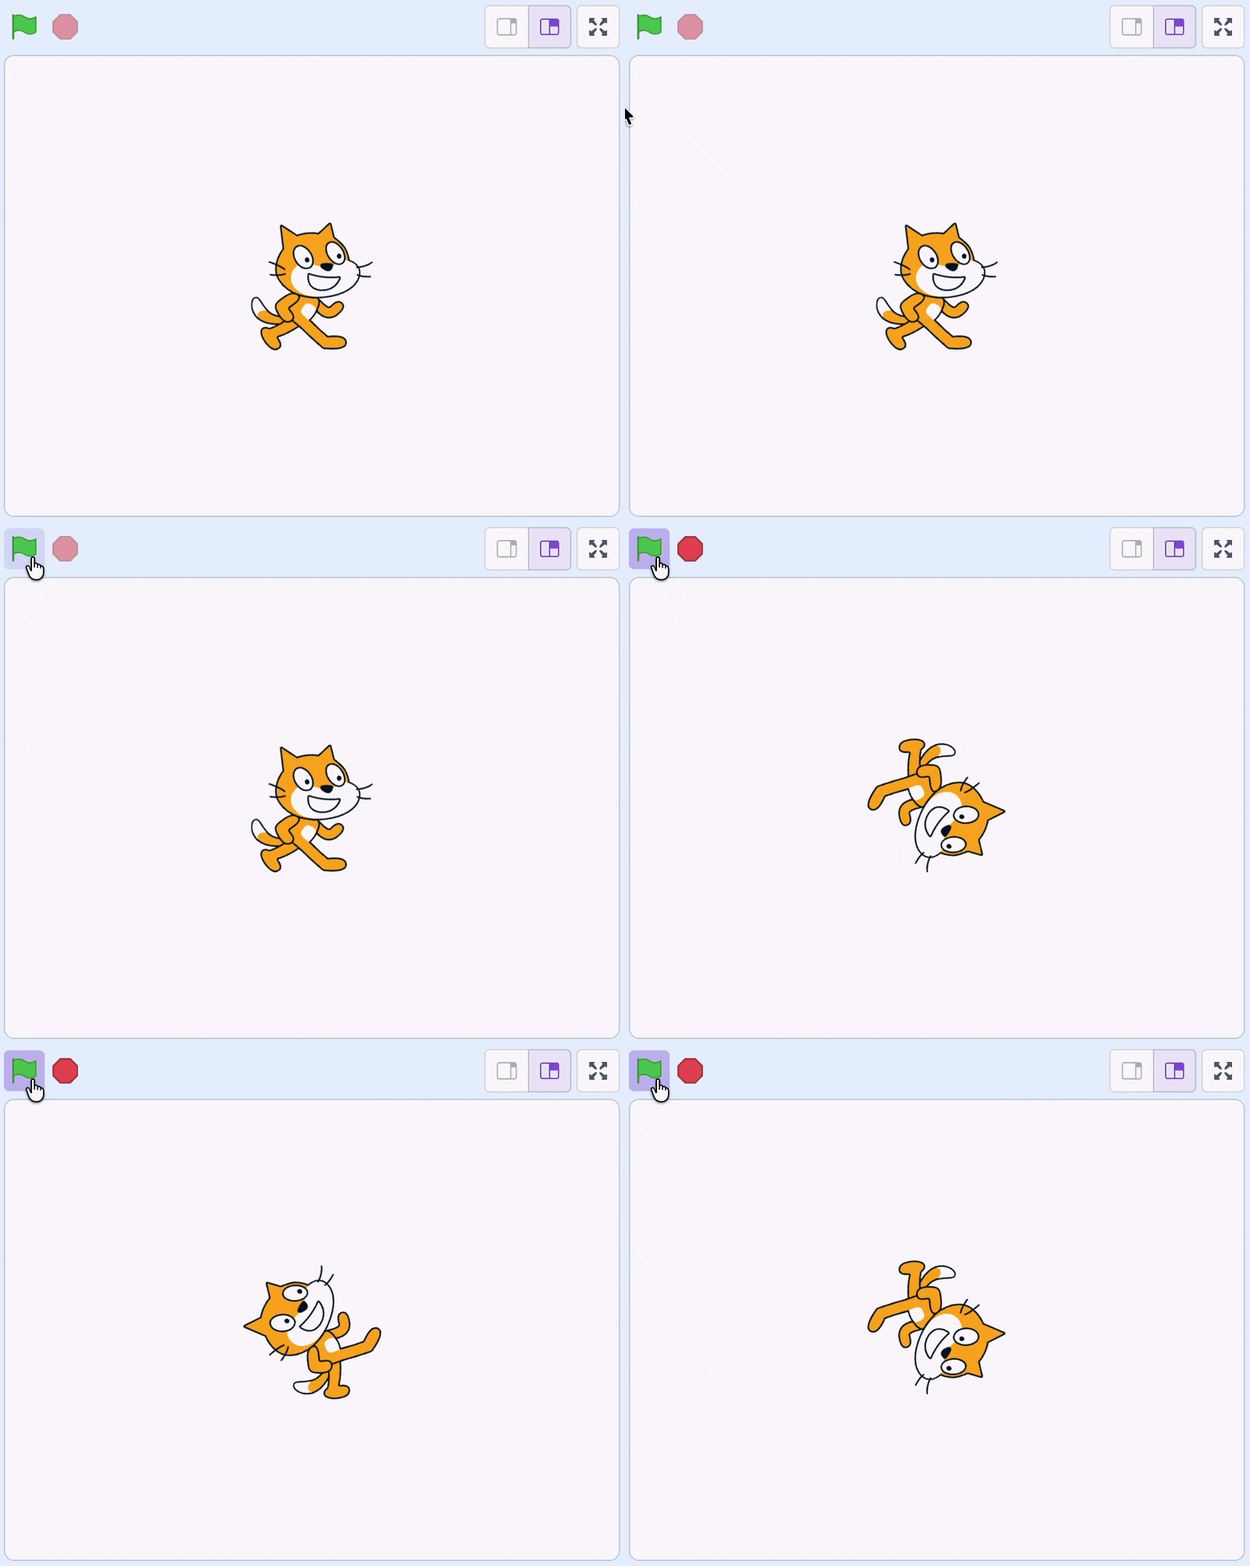
Students should test their animation often. Running the project helps them see whether the computer is following their instructions in the order they expected.
Testing and Saving Projects
Before moving on to the next activity, have every student test their animation from the beginning.
Ask students to check:
- Does the animation start when the green flag is clicked?
- Do both characters begin in the correct positions?
- Does the first character walk using changing costumes?
- Does each broadcast trigger the correct reply?
- Does the project ask for the viewer’s name?
- Does the final message include the name that was entered?
- Does the animation have a clear beginning and ending?
- Are all the blocks connected?
- Does the project do what the student intended?
Give students a few minutes to make final changes, then demonstrate how to save a project without an account.
Have every student give their project a recognizable name before parent pickup.
To download a project, open the File menu and select Save to your computer. Scratch will save the project as an .sb3 file that can be reopened in the Scratch editor later.
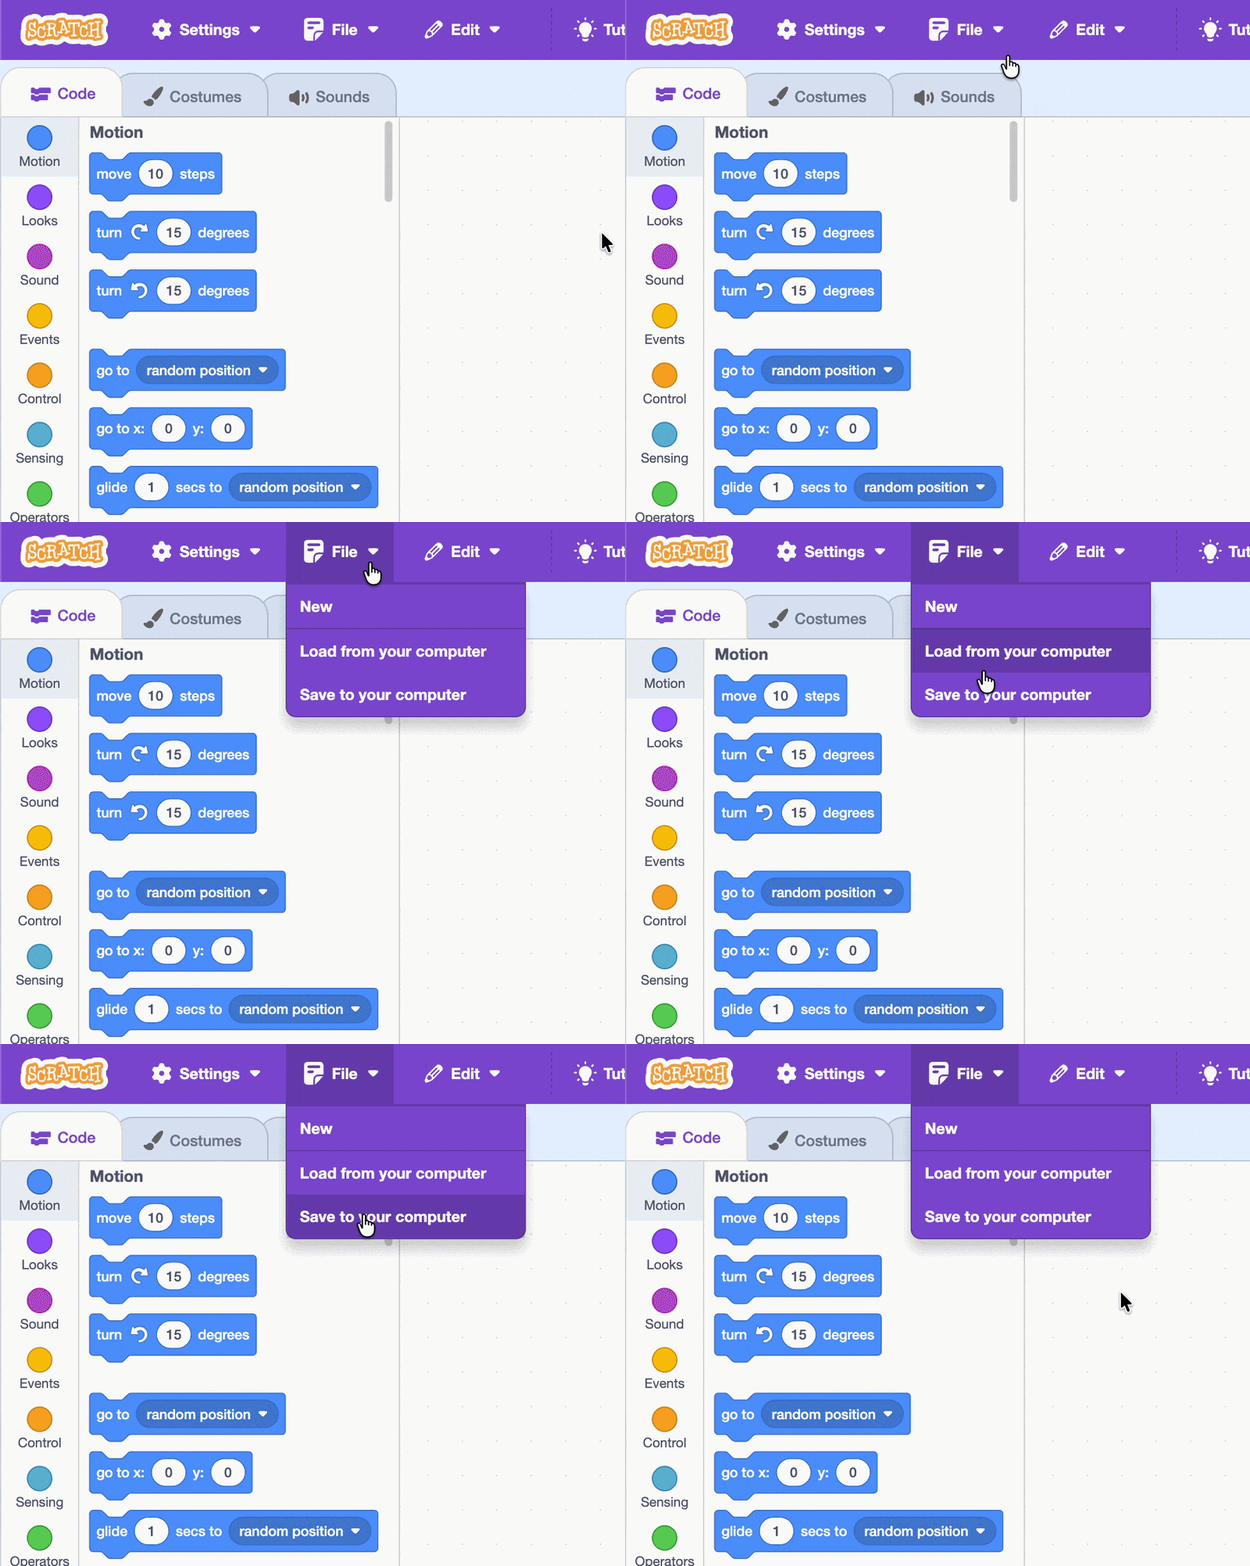
Open the File menu and select Save to your computer to download the project as an .sb3 file.
During pickup, give each family two choices:
- A parent or guardian helps the student create a Scratch account and save the project online.
- The student selects File → Save to your computer, confirms that the
.sb3file downloaded, and emails the file to themselves or their parent or guardian.
Resources
Cleanup
- Make sure students have named their projects.
- Confirm that each family has either saved the project to a Scratch account or downloaded and emailed the
.sb3file. - Close Scratch or the web browser on every computer.
- Return headphones and other classroom materials.
- Leave computers ready for the next activity.
- Make a note of any projects that need help before the next session.