Bottle Rockets
Building and launching a bottle rocket gives students a hands-on way to explore forces, motion, and engineering design. Students will design a lightweight rocket, make predictions about how it will perform, and then test their design during a supervised launch.
This lesson introduces students to the engineering design process through a project where testing is built into the activity. Students will see that small changes to a design can affect how a rocket flies.
Because bottle rockets are launched under pressure, the instructor should handle setup and pressurization. Students can launch their own rockets using the remote release after everyone has moved at least 10 feet away from the launcher.
Students work in groups of two so they can share construction tasks and make design decisions together. By the end of the lesson, each pair will have designed a bottle rocket and participated in a supervised launch.
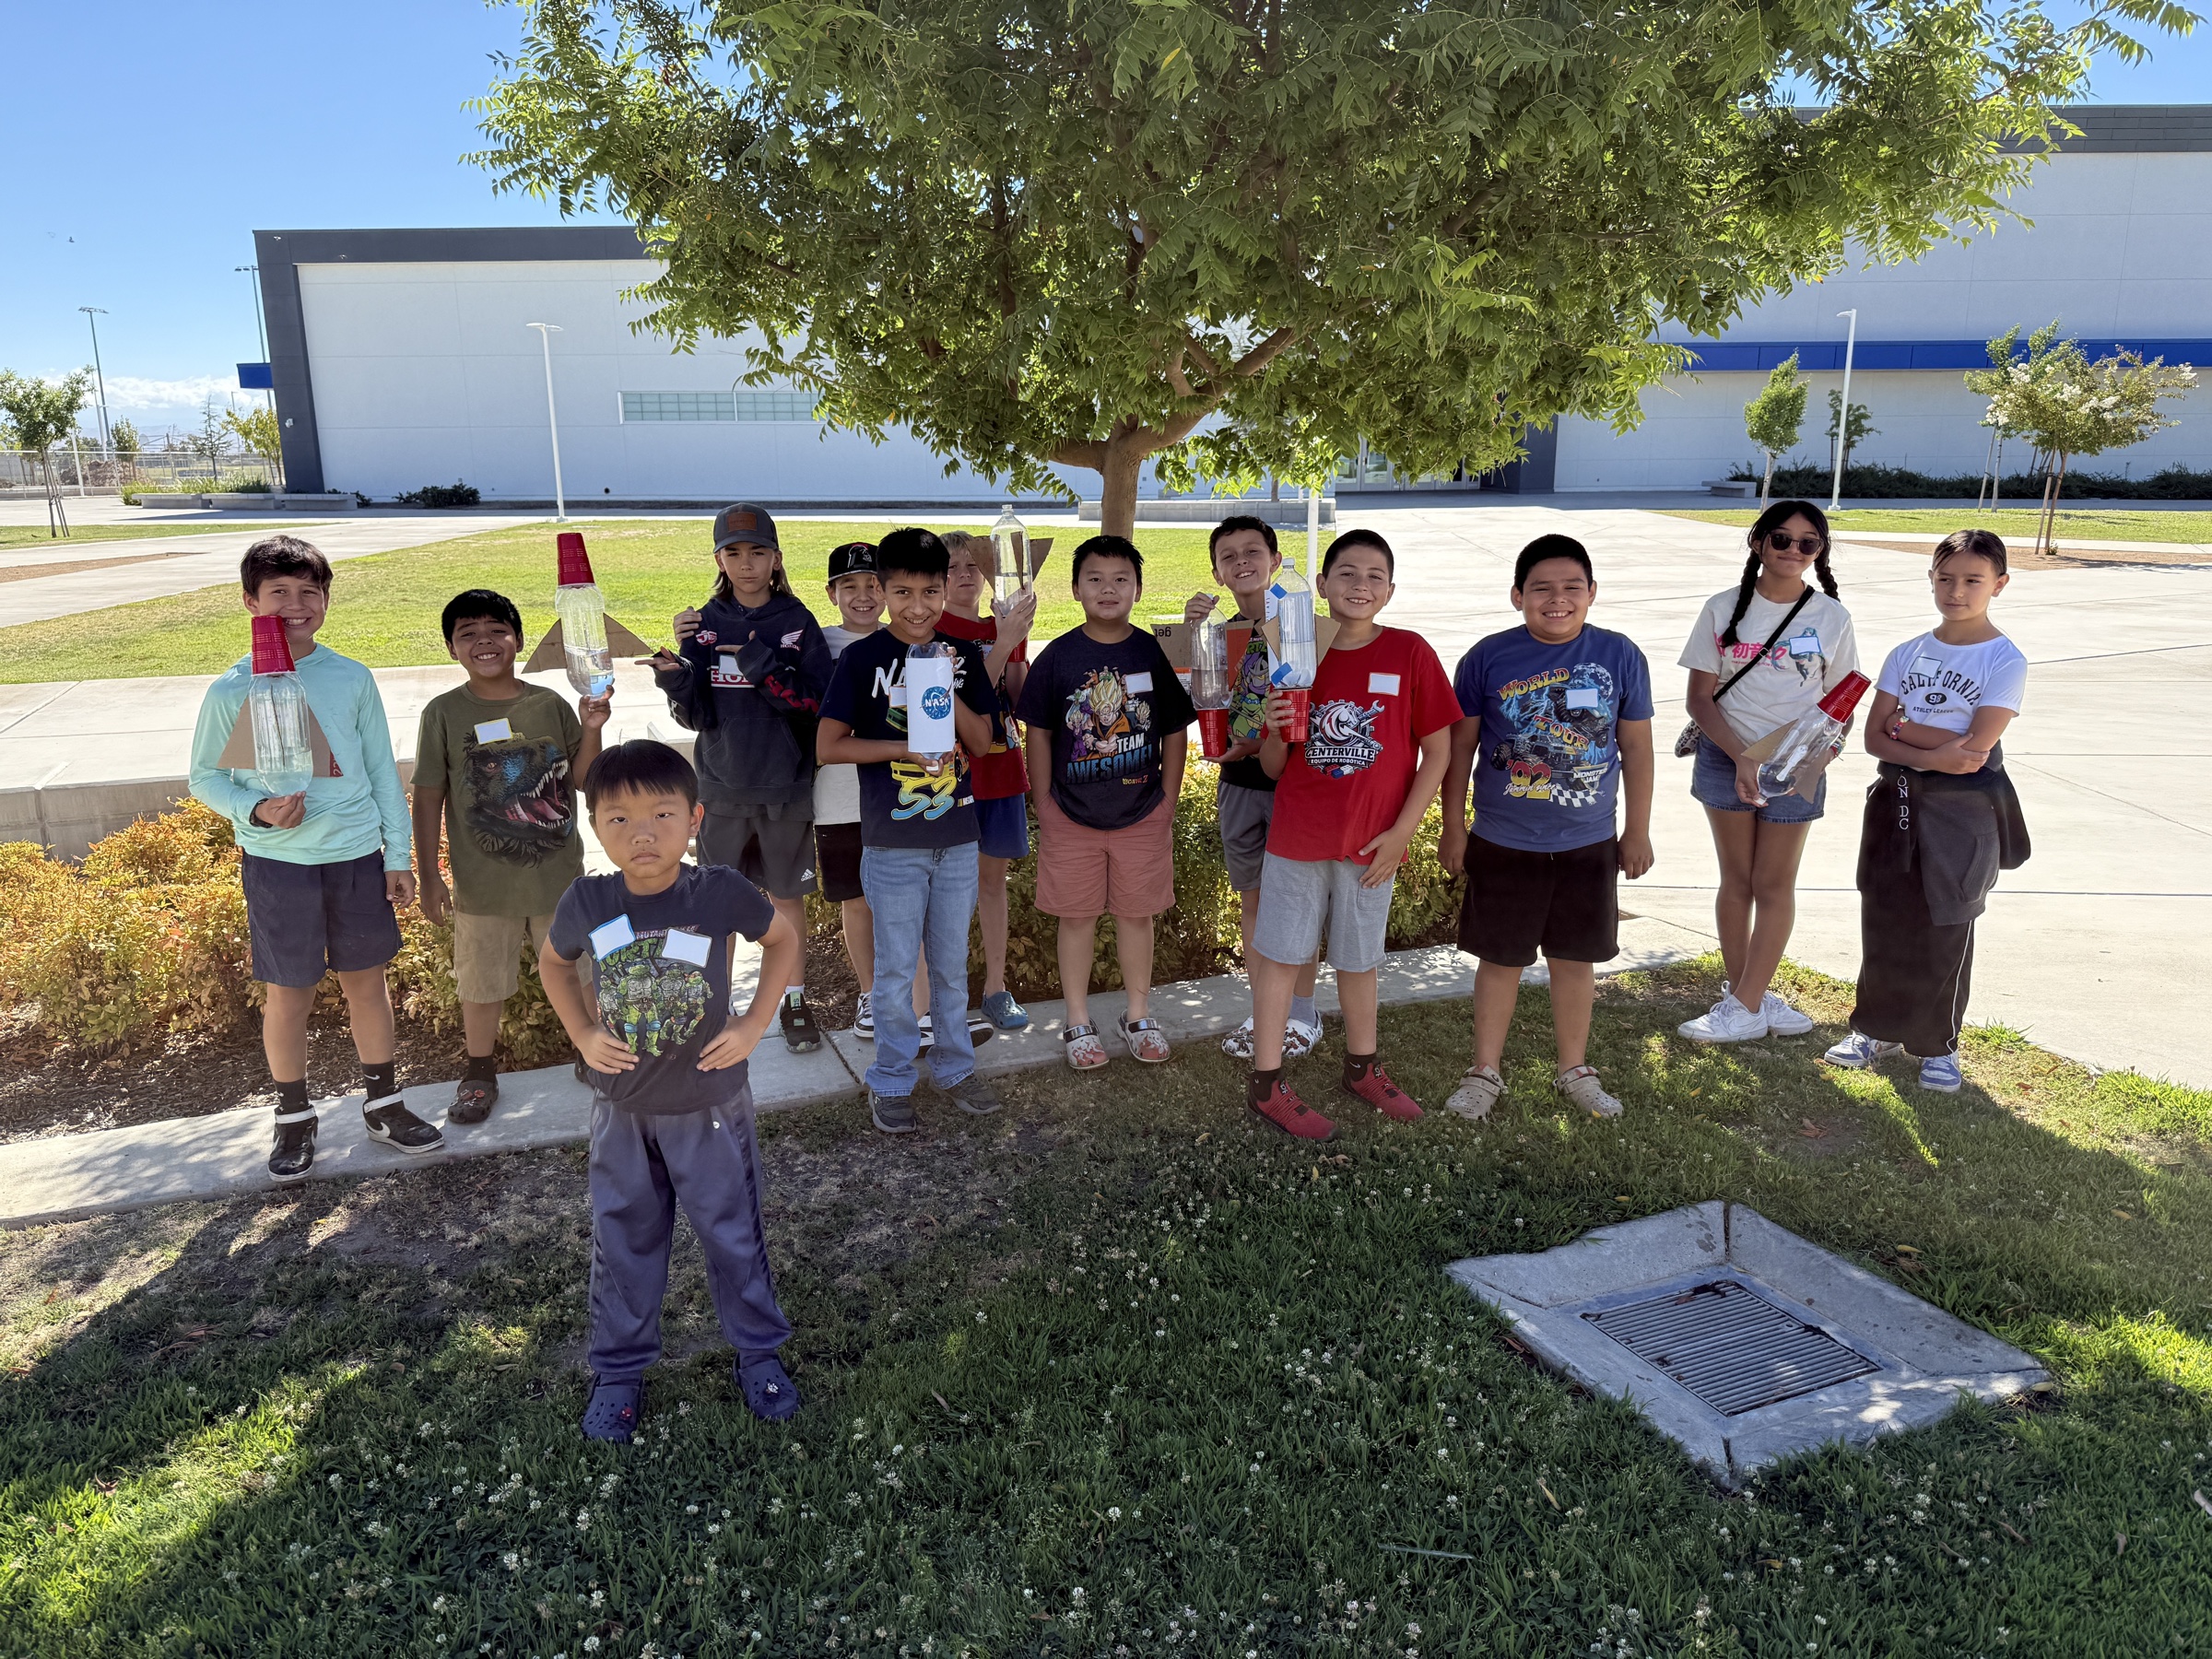
Examples of completed bottle rockets. Students can personalize the shape and appearance while keeping the basic rocket structure functional.
Materials
For each group of two
- One clean, undamaged 2-liter plastic soda bottle
- One pair of scissors
- One red plastic party cup for the nose
- Cardboard for fins, plus extra cardboard for redesigns
- Paper for decorations
- Markers
- Tape
For the instructor
- A way to project your screen (projector, classroom TV, etc.)
- AquaPod bottle rocket launcher, or another launcher approved for the bottles being used
- Water
- Access to a hose
- Bicycle pump with a pressure gauge, or a compatible car tire inflator with controlled pressure and a gauge
- Large open outdoor area, preferably grass
- Supervised hot-glue station with a heat-resistant mat
- Extra hot-glue sticks
- Extra bottles and building materials
- One completed demonstration rocket
Getting the Bottles
Confirm which bottle shapes and opening sizes work with your specific launcher before collecting supplies. A bottle labeled as 2 liters is not automatically compatible with every launch system, so test the exact type you plan to use before camp.
Start by asking friends, families, volunteers, and school staff to save used 2-liter bottles. Collect more than the number of student groups so you have replacements for bottles that are damaged or do not fit the launcher. Empty, rinse, and inspect every bottle before the activity.
If you must purchase bottles, inexpensive sparkling water from a dollar store is often cheaper than buying soda and even cheaper than ordering empty 2-liter bottles from Amazon. Rather than wasting the water, use it to water suitable plants or find another practical use for it, then prepare the empty bottles for the activity.
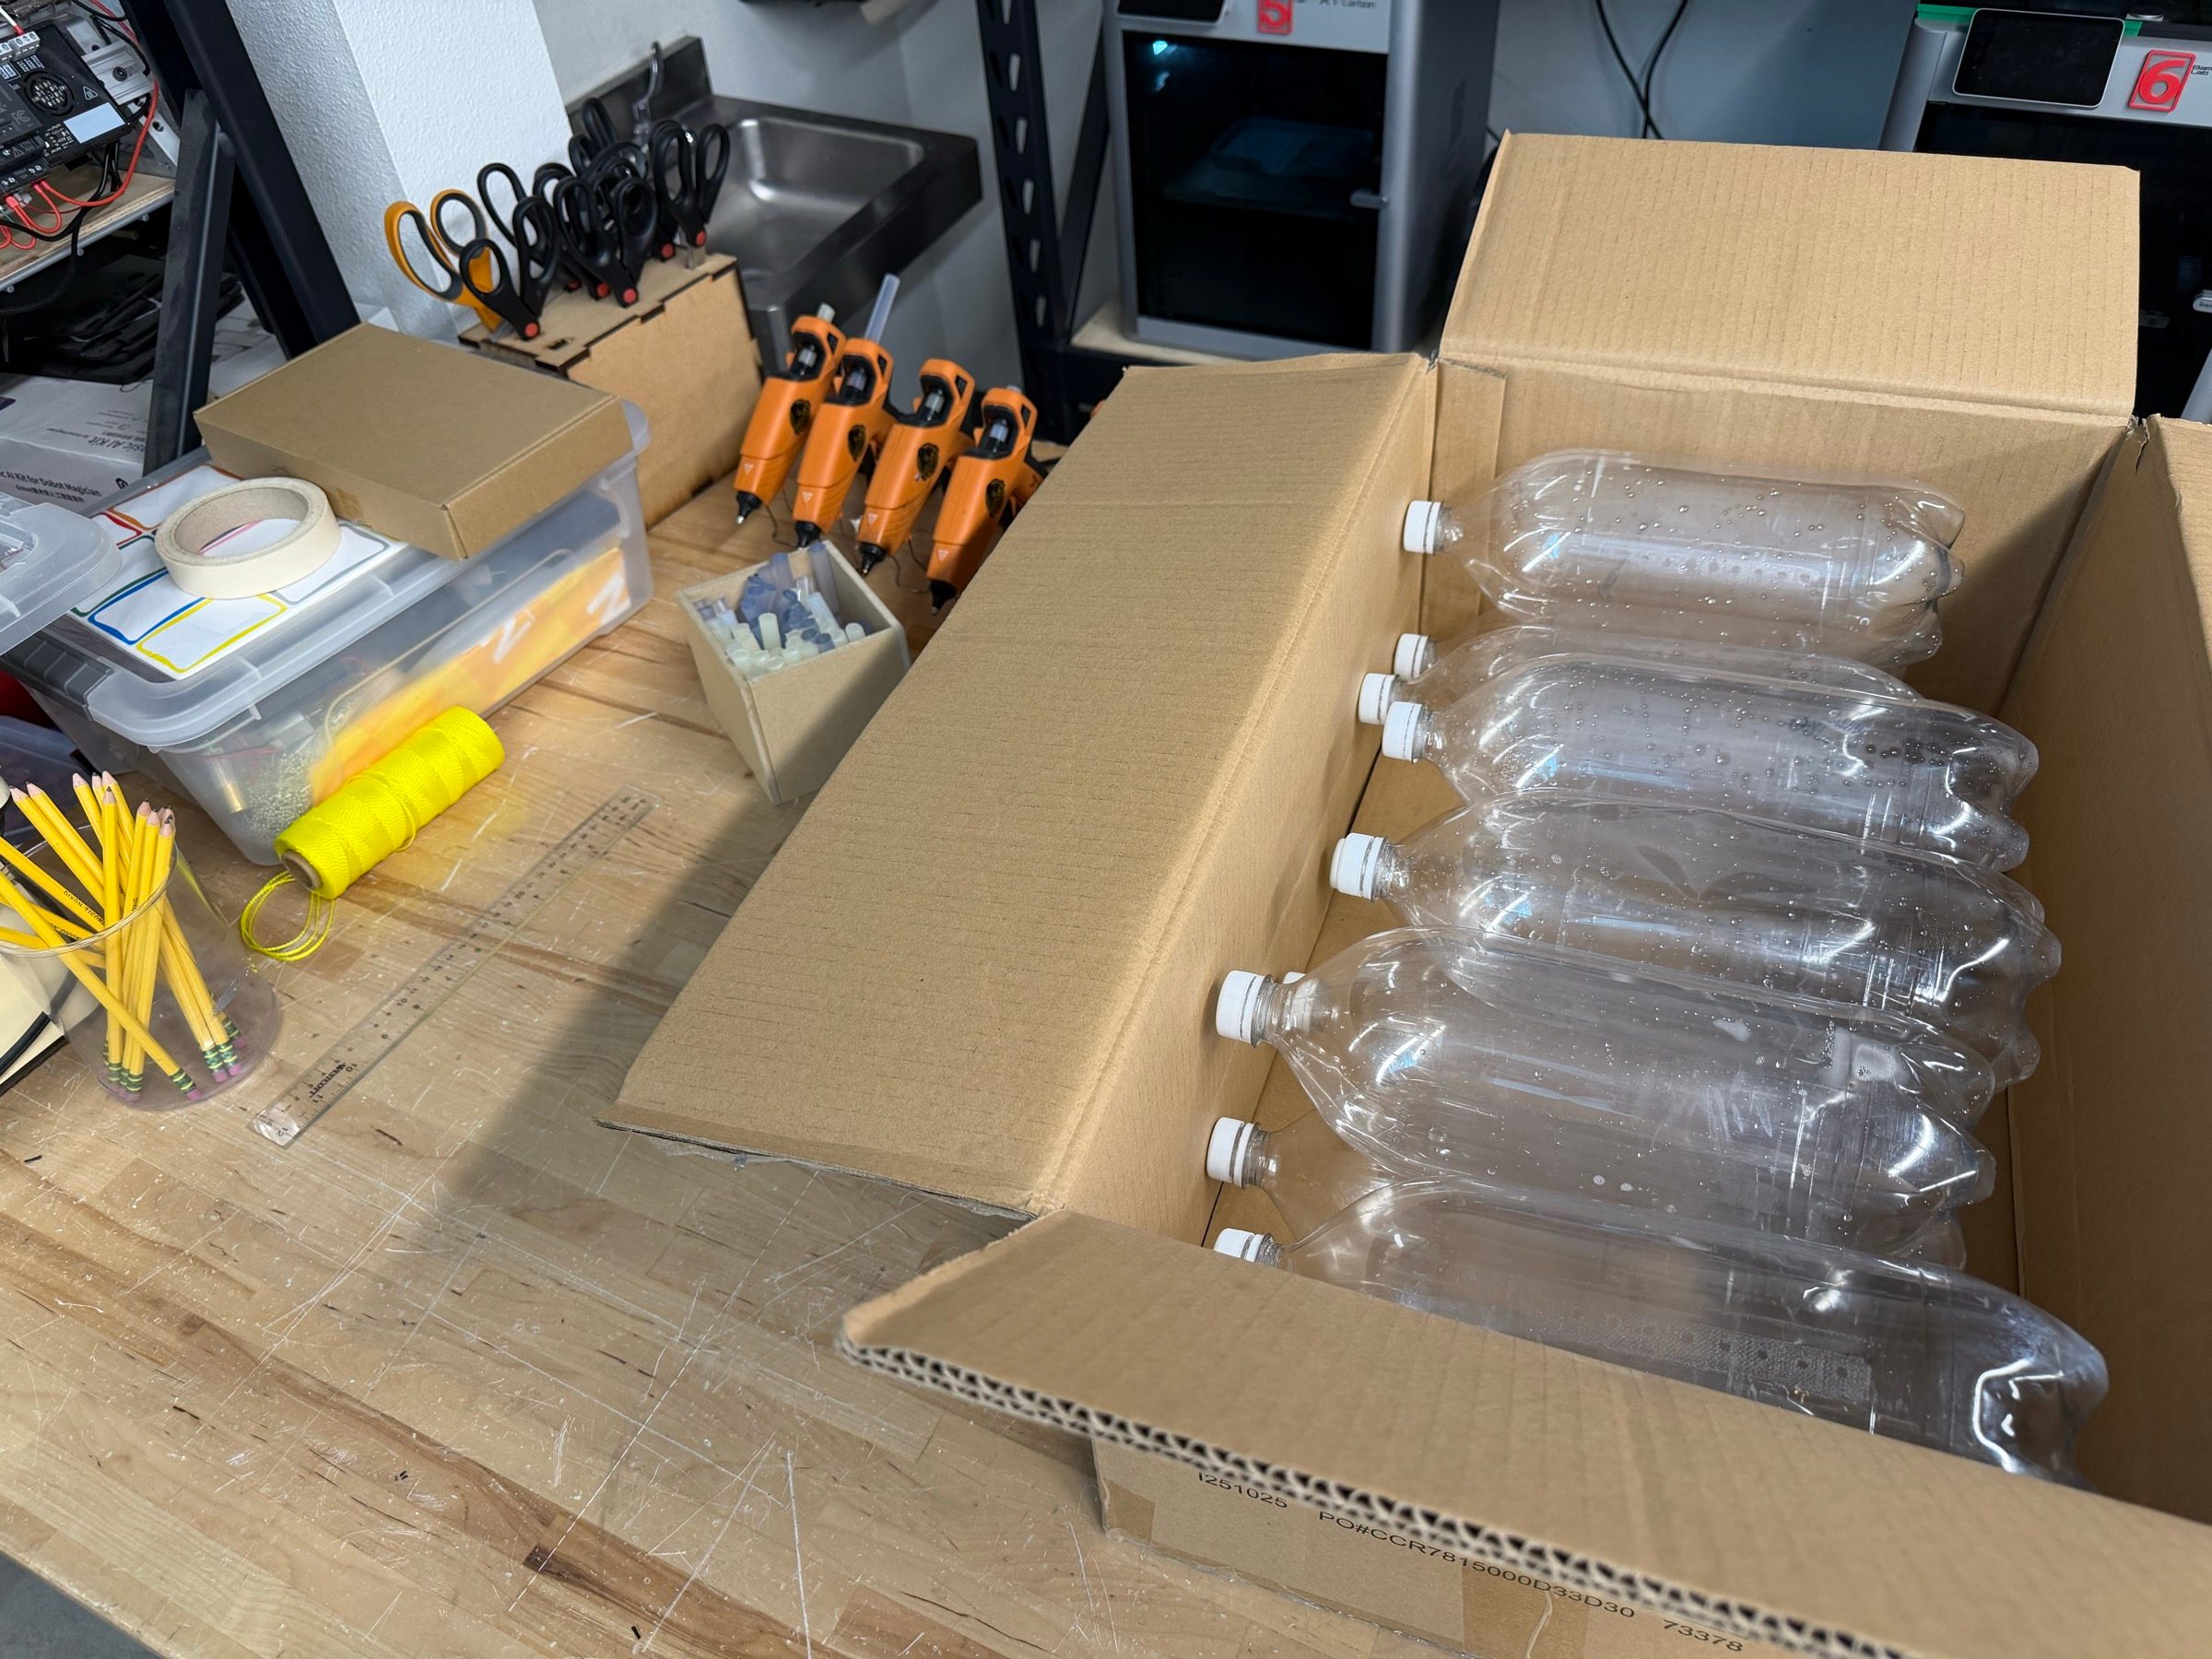
Prepare all building materials before class and keep launch equipment separate from the student building area.
Suggested Timing
Plan approximately 40 minutes for designing and building and 20 minutes for launching. The building period should include the safety briefing, group assignments, construction, decoration, and a final inspection. Moving every group outside, filling rockets, attaching them to the launcher, organizing each launch, and retrieving rockets takes most of the launch period, so begin the transition promptly.
Before You Begin
Before camp, inspect the launch equipment and make sure it is designed for the bottles being used. Read and follow the launcher’s current manufacturer instructions and your camp or school’s safety procedures.
Choose a large, open outdoor area away from buildings, roads, trees, power lines, and other obstacles. A grassed area is preferable because the launcher can be secured to soft ground and the grass provides a better landing surface.
Prepare one completed demonstration rocket and test the launch system before students arrive.
Example Instructor Rocket
We recommend building one basic, functional bottle rocket before the lesson. Our example used a clean 2-liter bottle, evenly spaced cardboard fins, and a red plastic cup for the nose. Show it to students so they can see how the bottle body, fins, and nose fit together. Make it clear that the example is a starting point, not a design they must copy. Each group should still make its own choices about fin shape, decoration, and overall appearance.
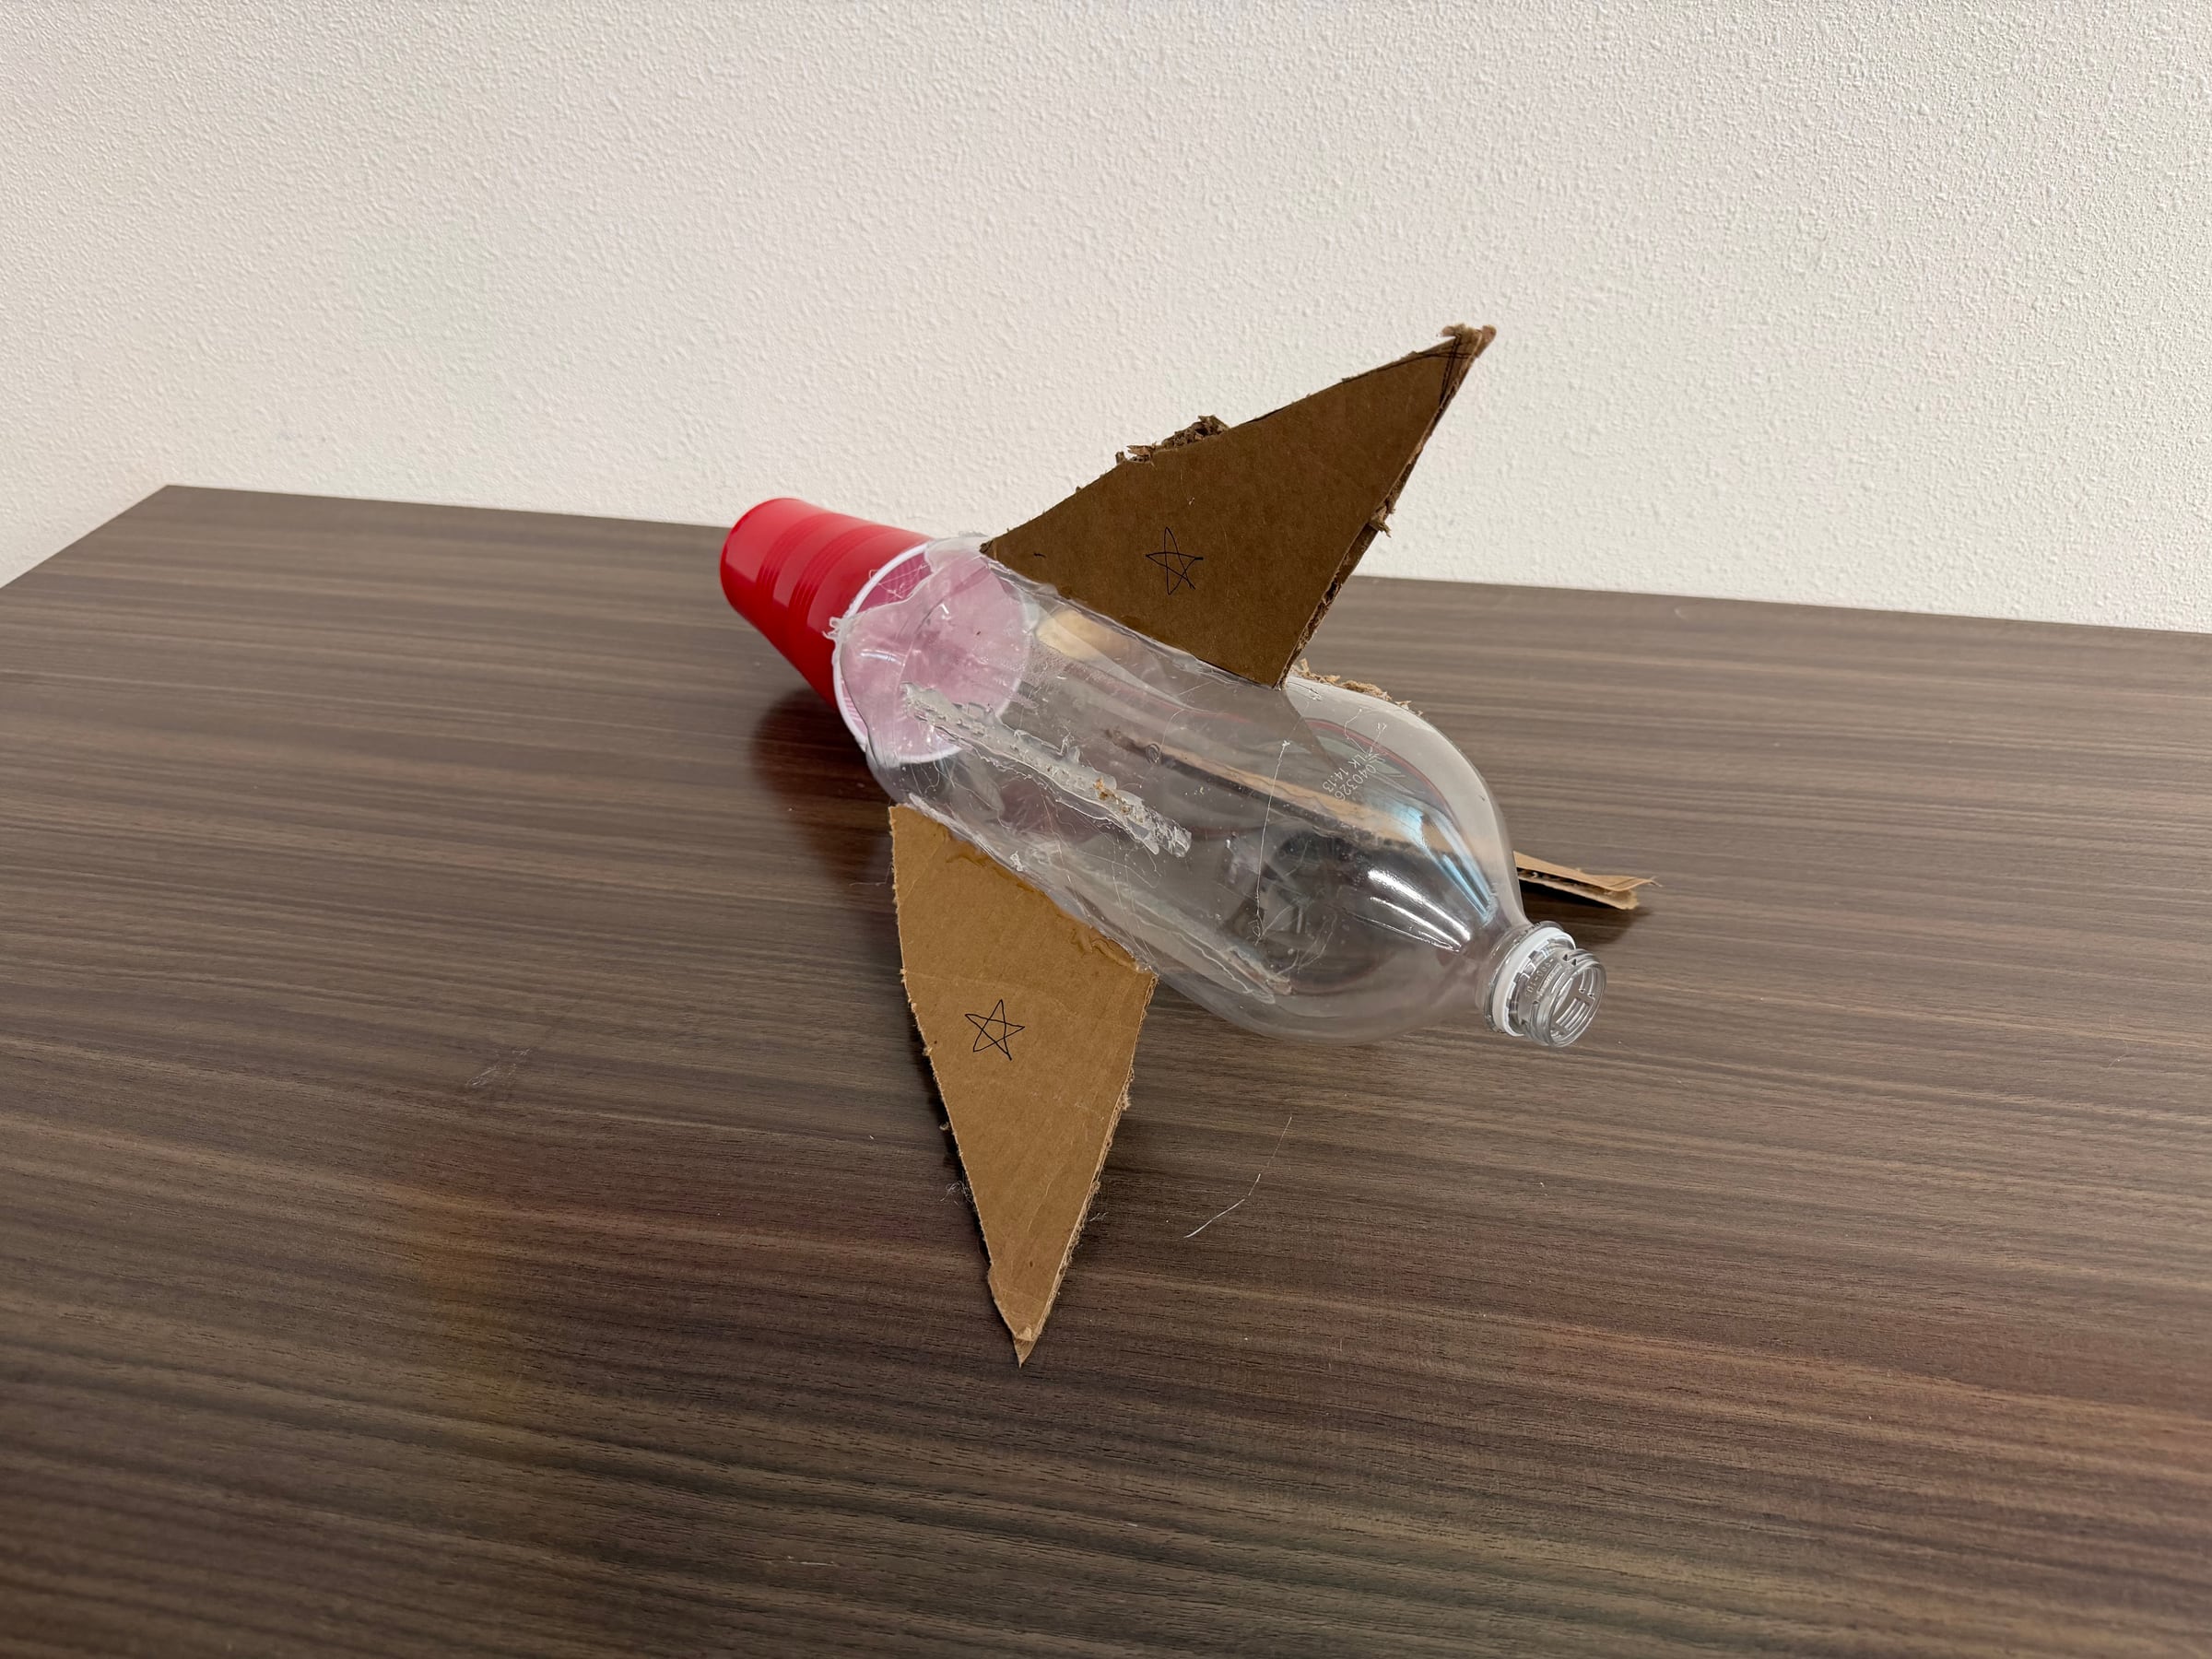
The instructor example is deliberately simple. It gives students a clear reference for fin placement and the lightweight cup nose without prescribing a finished design.
The instructor should connect each rocket and control pressurization. Before launch, the instructor and every student must move at least 10 feet away from the launcher. The student whose rocket is being tested can then use the full remote-release cord to launch it.
Recommended Launcher
We used the AquaPod bottle rocket launcher and recommend it for this activity. Its remote launch cord, ground stake, pressure-relief system, and compatibility with standard 2-liter soda bottles made it practical for a supervised camp launch. Product listings can change or disappear, so the screenshot below is included as a visual reference for the launcher we used.
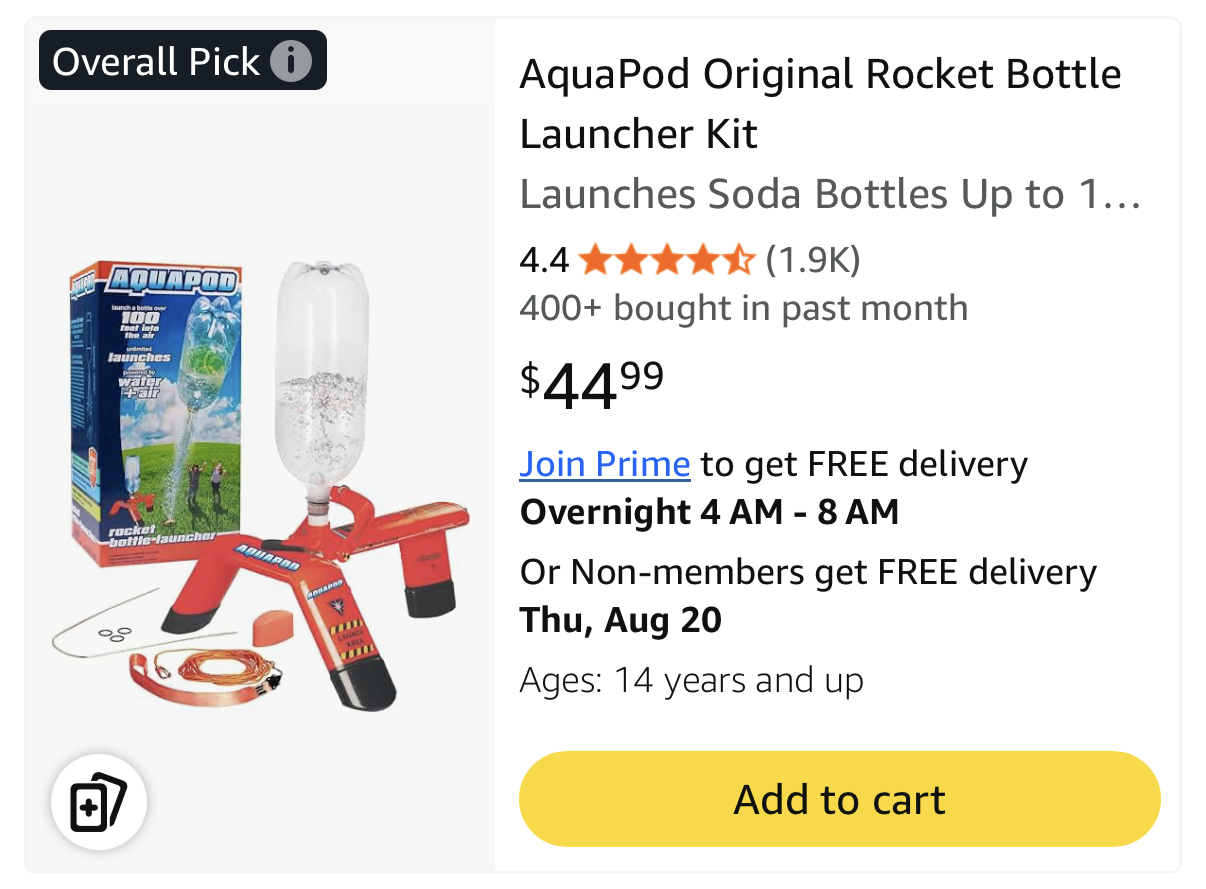
The AquaPod launcher used for this activity. Use the linked listing when available, and compare this image if the listing changes.
Use a bicycle pump with a built-in pressure gauge when possible. A compatible car tire inflator can also make repeated launches easier, but only use a pressure source permitted by the launcher manufacturer, keep the pressure controlled, and monitor the gauge continuously. Never substitute an uncontrolled shop compressor, air tank, or other high-volume pressure source.
Teaching the Lesson
Begin by asking students what they think makes a rocket move upward.
Explain that the bottle rocket uses pressurized water and air to create a force that pushes the rocket upward. The rocket moves in the opposite direction from the material being expelled.
Keep the explanation simple and focus on the engineering challenge: students are designing a rocket that needs to fly while remaining stable.
Before any building begins, explain that the instructor will prepare each rocket and that everyone must remain at least 10 feet from the launcher during pressurization and launch.
Assign students to groups of two. One student can hold and align parts while the other measures, cuts, tapes, or decorates. Partners should make design decisions together and take turns with the tools.
Demonstrating the Parts
Keep your screen or demonstration table visible throughout the lesson.
Show students the purpose of each major part:
- Start with an empty plastic bottle.
- Create fins that can help stabilize the rocket.
- Attach the fins securely.
- Use a red plastic party cup as a lightweight nose.
- Add paper and marker decorations.
- Check that all pieces are securely attached.
- Give the finished rocket to the instructor for launch preparation.
Do not demonstrate pressurization as a student activity. The instructor should perform the launch-system steps according to the approved equipment instructions.
After demonstrating each building step, pause and give students time to try it themselves before moving on.
This “show, then do” rhythm keeps the class together and gives volunteers time to help students who fall behind.
Hot-Glue Station Safety
Set up one hot-glue station on a heat-resistant mat, away from table edges and walkways. An adult or trained volunteer should supervise the station continuously and control the glue guns. For younger students, have the adult apply the hot glue while the student holds parts only after the glue has cooled enough to touch.
Keep cords out of walkways, return every gun to its stand between uses, and never leave a powered glue gun unattended. Explain that the metal tip and fresh glue can cause burns. Keep basic first-aid supplies nearby and follow your program’s burn-response procedure if anyone is injured.
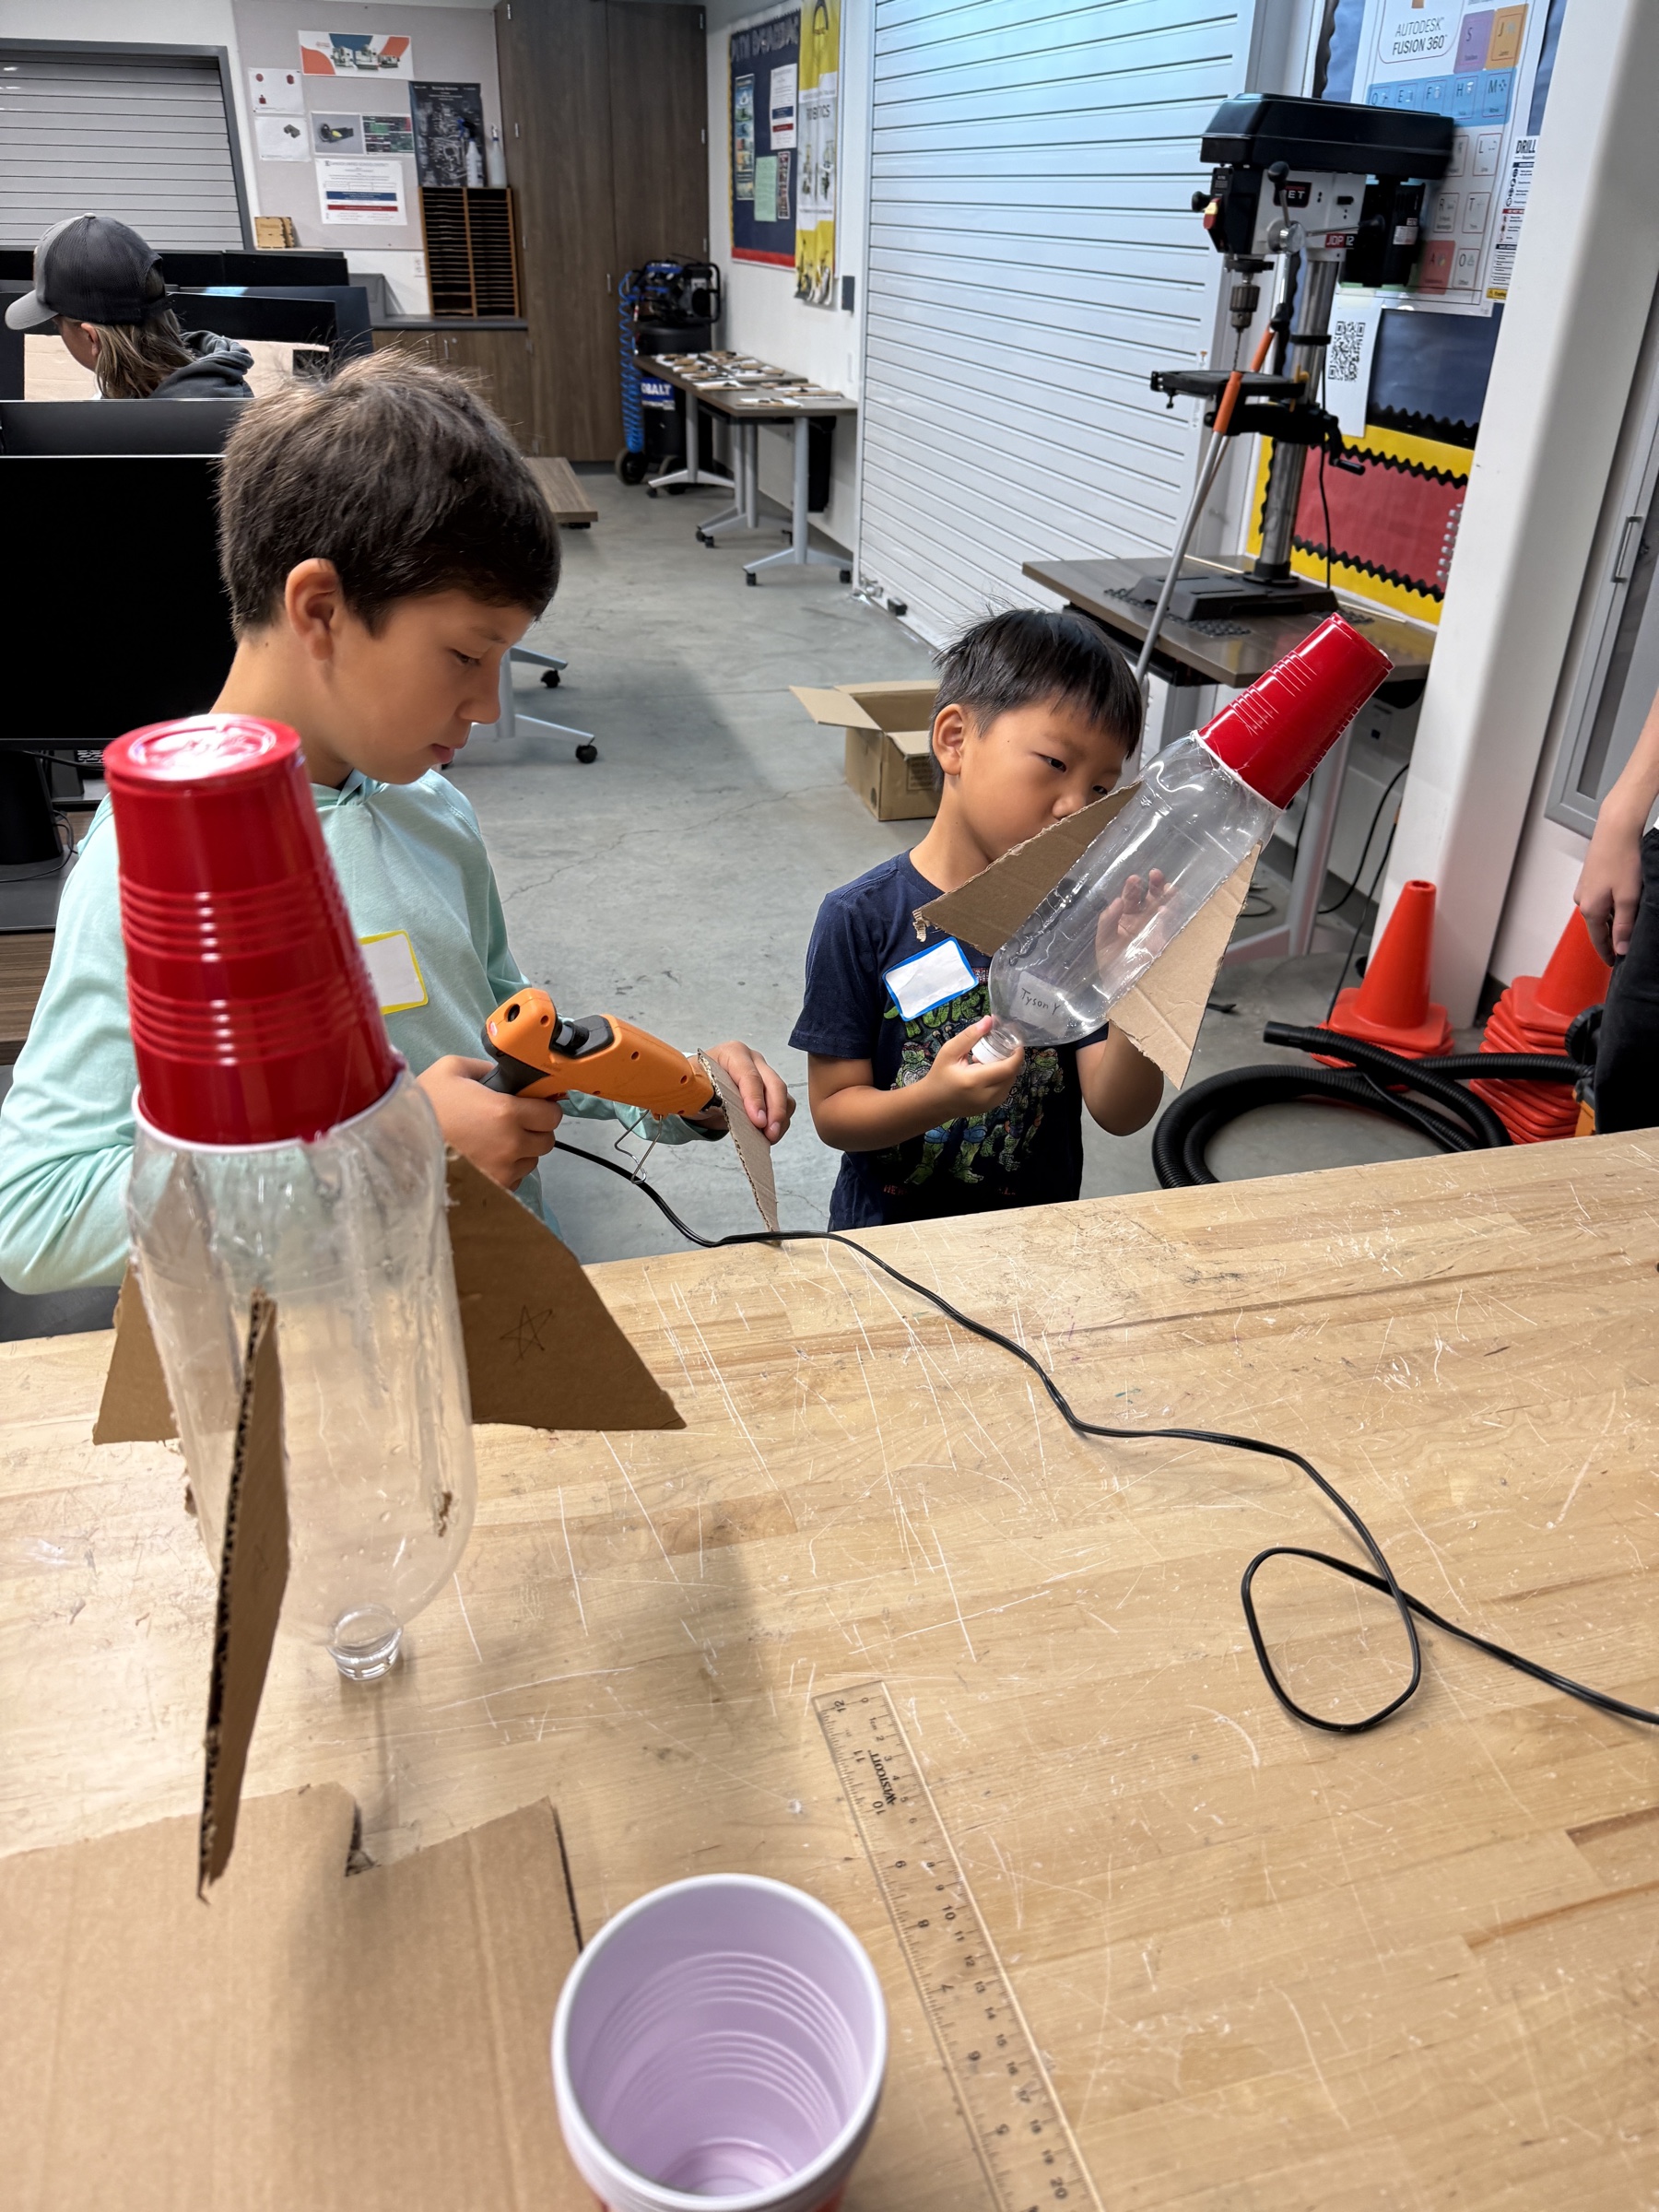
Students build and decorate their rockets while instructors and volunteers help with construction and design questions.
Building the Rocket
Begin with the bottle body.
Explain that the bottle is the main structure of the rocket, so students should avoid cutting or damaging it. Add fins around the lower portion of the bottle so they are evenly spaced and securely attached.
Students can then tape or glue a red plastic party cup over the base of the bottle to form a lightweight nose. Use paper and markers for decorations.
Encourage students to think about stability while designing. Fins should be attached securely and should not be unnecessarily large or heavy.
Extra fins, paper, tape, cups, and decorations add mass and drag, so heavily decorated rockets usually do not launch as high or as cleanly. That tradeoff is part of the fun: many students care more about creating a memorable rocket than maximizing its height. Let each group decide how to balance appearance and performance, as long as every added part is secure and safe.
Avoid adding materials that could become loose during the launch.
Walk around the room answering questions instead of taking over the building process. If a student gets stuck, ask what they want their design to accomplish and help them identify a possible change.
Understanding Force and Stability
Before the launch, pause for a short explanation of the science behind the activity.
When the launch system releases the pressurized water and air, the material moves downward and the rocket is pushed upward. This is an example of action and reaction.
The fins help the rocket remain stable as it moves through the air. A rocket that is uneven, poorly balanced, or has loose parts may not fly as expected.
Use the demonstration rocket to point out how the major parts contribute to the design.
Ask students questions such as:
- Why do you think the fins are important?
- What might happen if one fin is much larger than the others?
- Why should the rocket stay lightweight?
- Which parts of the design could affect stability?
- What do you predict will happen during the launch?
The goal is not to memorize definitions. Students should understand that forces and design choices work together to affect the motion of the rocket.
Preparing for Launch
Before taking rockets to the launch area, inspect every design.
Check for:
- Loose fins or decorations
- Damaged bottles
- Sharp or unsafe edges
- Parts that could detach during launch
- Excessive weight
- Designs that do not meet the launch system requirements
Only the instructor should connect a rocket to the launch system and pressurize it.
Fill each 2-liter bottle approximately one-third full of clean water, following the AquaPod instructions. The water is the reaction mass that is forced downward, while the air in the remaining two-thirds of the bottle is compressed and stores the energy for the launch. Too much water makes the rocket heavier and leaves less room for compressed air; too little water provides less mass to push downward. About one-third water provides a useful balance for reliable launches.
Connect the hose or other water source before launch time so bottles can be filled efficiently. Use only the pressure and procedure specified by the launcher manufacturer.
After connecting the rocket, the instructor should move at least 10 feet away before pressurization begins. All students, including the student launching the rocket, should remain at least 10 feet away. The student launching the rocket should wait at the end of the remote-release cord.
Launch and Observe
Have students make a prediction before each launch.
They can predict:
- How high the rocket might travel.
- How straight the rocket will fly.
- Which design feature will have the biggest effect.
- Whether their rocket will perform differently from another design.
The instructor should connect and pressurize the rocket according to the approved operating procedure. When the instructor confirms that everyone is at least 10 feet away, let the student count down and pull the remote release to launch their rocket.
After each launch, allow the area to become safe before retrieving the rocket.
Have students record or discuss what they observed.
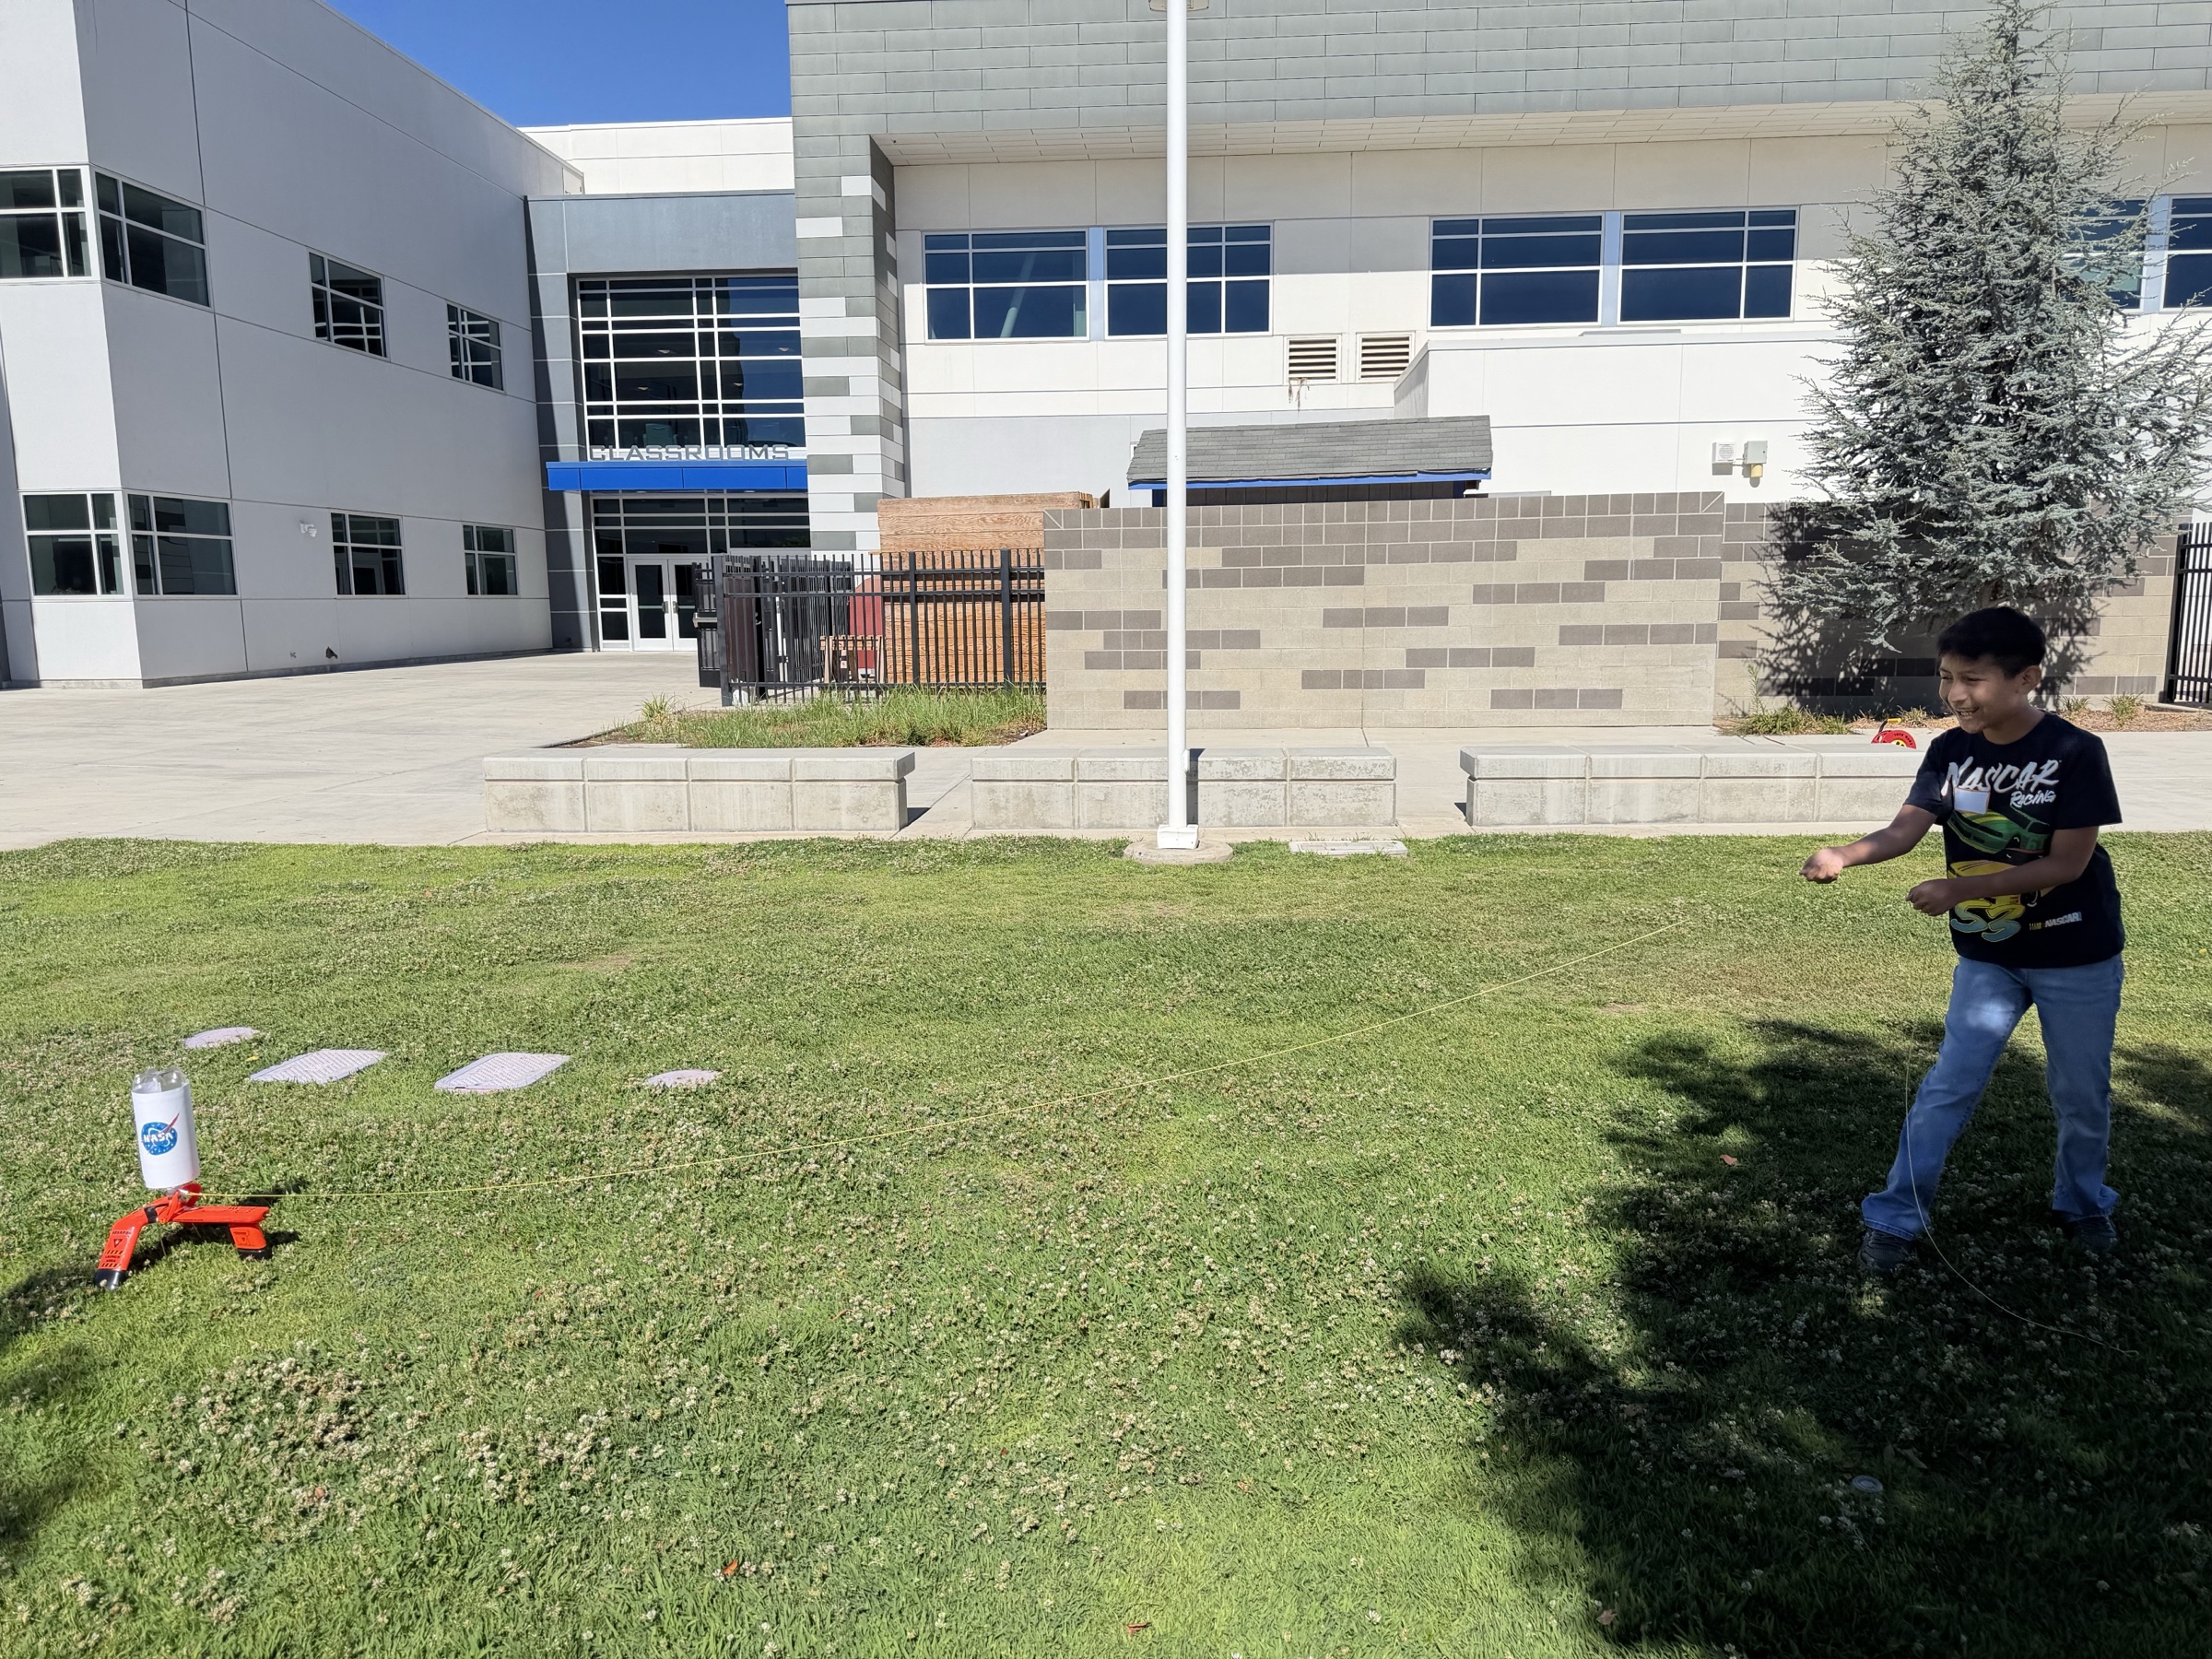
Students can launch their own rockets from the end of the remote-release cord once everyone is at least 10 feet away from the launcher.
Testing and Improving
If time and equipment allow, students can make a design change and participate in another supervised launch.
Encourage students to change only one major feature at a time so they can better understand what affected the result.
Possible design changes include:
- Adjusting fin placement
- Changing fin shape
- Improving symmetry
- Reducing unnecessary decorations
- Strengthening loose connections
- Changing the nose design
Emphasize that the first launch is not supposed to be perfect.
Engineers test designs, observe results, identify problems, make changes, and test again. Bottle rockets give students a visible example of this process.
Reflection
After the final launch, bring students together for a short discussion.
Ask:
- What worked well in your design?
- What would you change if you built another rocket?
- Did your launch match your prediction?
- Which design features seemed to affect stability?
- What did testing teach you?
Give students an opportunity to compare designs without treating one design as automatically “best.” The purpose is to help them connect their design choices with the results they observed.
Cleanup
- Instructor disconnects and stores the launch equipment.
- Collect reusable building materials.
- Dispose of damaged or unusable materials.
- Collect leftover tape, paper, and decorations.
- Return scissors and other classroom tools.
- Check the launch area for loose materials.
- Store successful demonstration rockets for future lessons.