Vibrating Art Robots
In this activity, students build a vibrating art robot from a plastic cup, markers, a small DC motor, and a glue stick used as an off-center weight. When the motor spins the uneven weight, it makes the assembled robot vibrate and move across the paper while the markers draw its path.
Students can change how their robot moves by selecting a different mounting position on the glue stick or adjusting the marker legs. Small changes can make a robot shake in place, spin, wander across the paper, or fall over. Testing and improving the design is an important part of the activity.
By the end of the lesson, every student should have built, tested, and adjusted an individual art robot that they can take home.
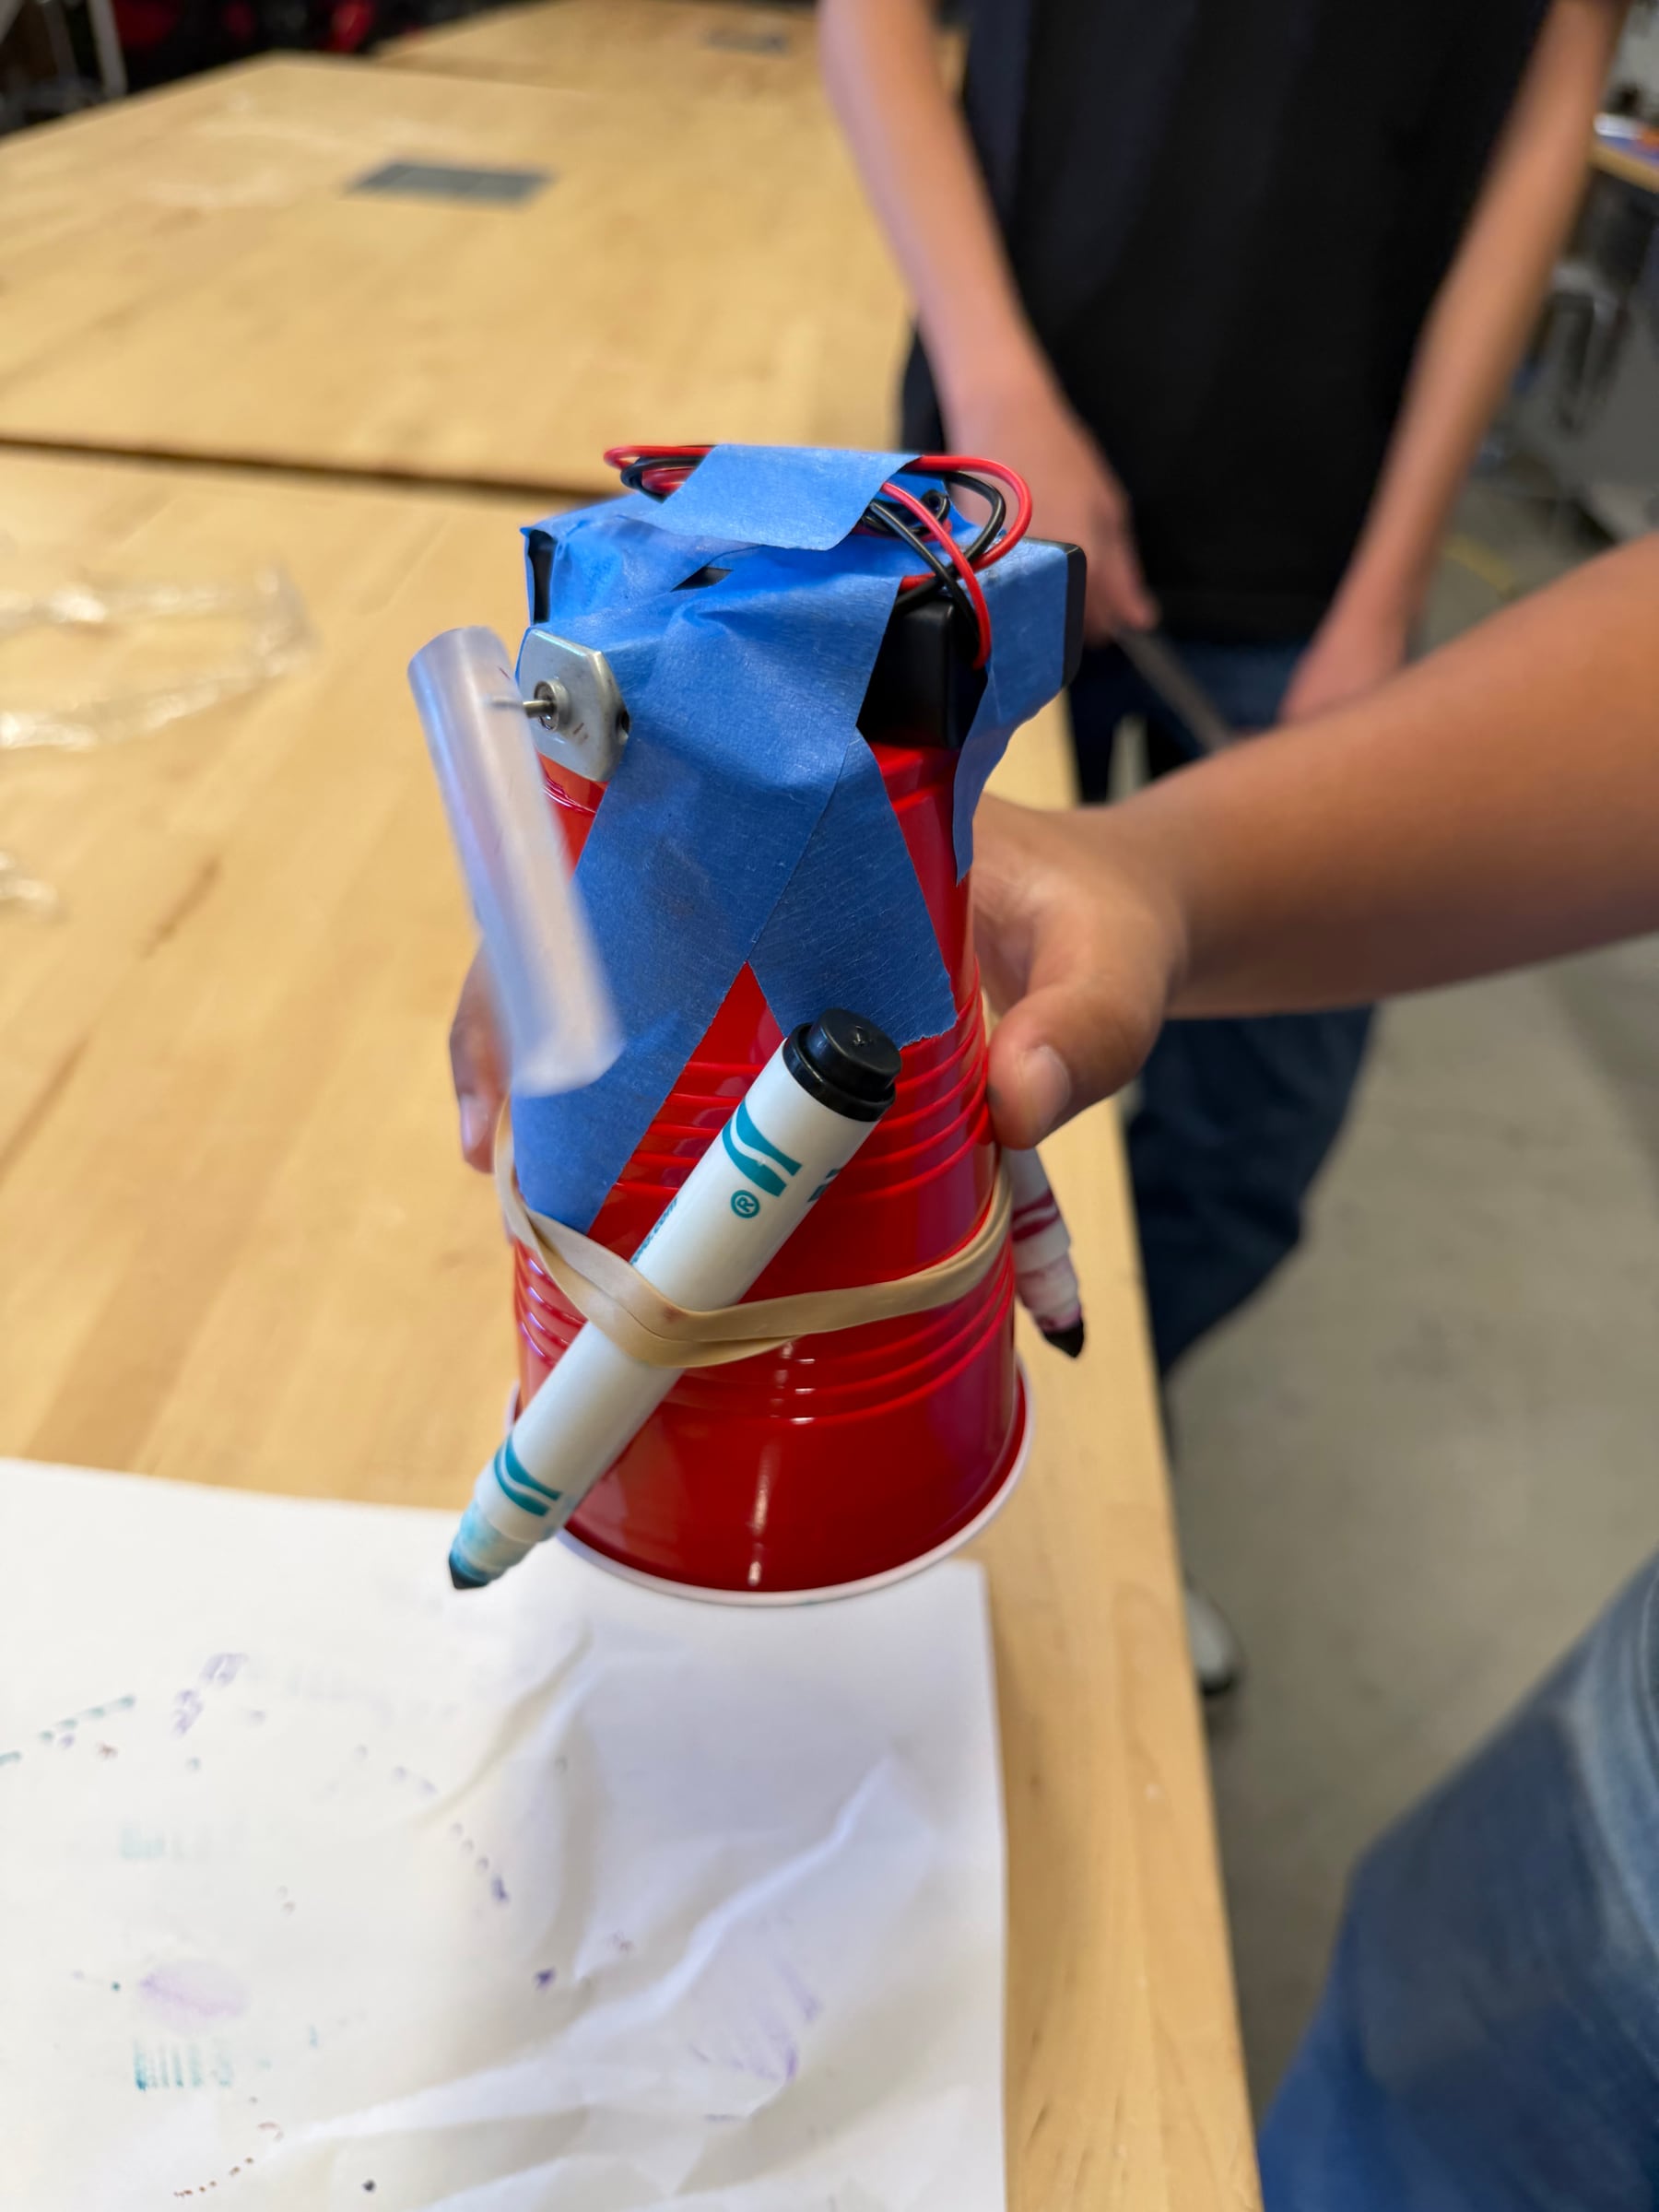
This student-built example uses three markers as both legs and drawing tools. Half of a jumbo glue stick acts as the off-center weight.
Suggested Timing
Plan approximately 50 to 60 minutes for this activity:
- 10 minutes for the demonstration and safety instructions
- 20 minutes for building
- 20 minutes for testing and redesigning
- 5 to 10 minutes for sharing results and cleaning up
The student build moves much more smoothly when every motor assembly and glue-stick weight has been prepared and tested before the lesson.
Cost and Preparation
This is one of the camp’s pricier projects and one of the most preparation-intensive. Every student needs a motor, switched battery pack, batteries, markers, cup, and other consumable materials. The motor and battery pack become part of the take-home project, so they cannot be reused for another group.
Set aside at least one hour before camp to create an assembly line for connecting the motors and battery packs. Preparation may take longer if the person soldering is still becoming comfortable with the process. Having one person cut and strip wires while another solders, applies heat-shrink tubing, and tests each assembly makes the work much faster.
Cut the jumbo glue sticks in half and pre-poke the mounting holes during this same preparation period. Students should receive half glue sticks with several ready-to-use positions so they can easily move the weight during the lesson.
Materials
For each student
- One 18-ounce plastic party cup
- One small 1.5- to 6-volt Type 130 DC motor
- One 2-AA battery holder with a built-in on/off switch
- Two AA batteries
- One-half of a jumbo hot glue stick, used as the rotating weight
- Three washable markers that the student can take home with the robot
- Two rubber bands
- Painter’s tape
- Access to a large sheet of paper for testing
- One observation table: Download
For the instructor
- Soldering iron and solder
- Heat-shrink tubing
- Heat gun or another safe way to shrink the tubing
- Wire cutters and wire strippers
- Eye protection and appropriate ventilation for soldering
- Extra painter’s tape
- Extra rubber bands and markers
- Extra AA batteries
- Spare motors, battery holders, cups, and glue sticks
- One completed art robot for demonstration
- Spare motor shaft or another small tool for preparing the glue sticks
- Two rolls of paper for creating a large shared testing surface
The soldering equipment is only needed during instructor preparation. Students should receive motor and battery-holder assemblies that have already been soldered, insulated, and tested.
Recommended Supplies
The linked products below are the parts we used or recommend. Listings may change, so the screenshots provide a visual reference for finding comparable supplies.
Motors
We used these Type 130 DC motors. Each order contains 12 motors, so a camp with 20 students needs two orders. The remaining motors provide useful spares in case one is damaged or does not work.
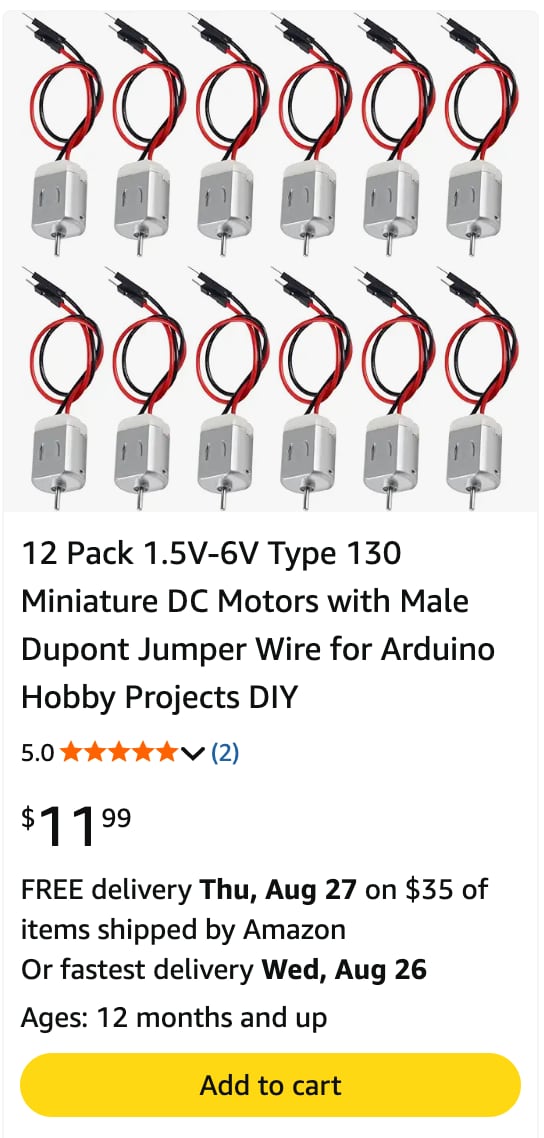
Order two 12-packs for 20 students so every student receives a motor and the instructor has several spares.
Battery Holders
We used these 2-AA battery holders with built-in switches. The switch is important because it lets students control the robot without disconnecting the wires.
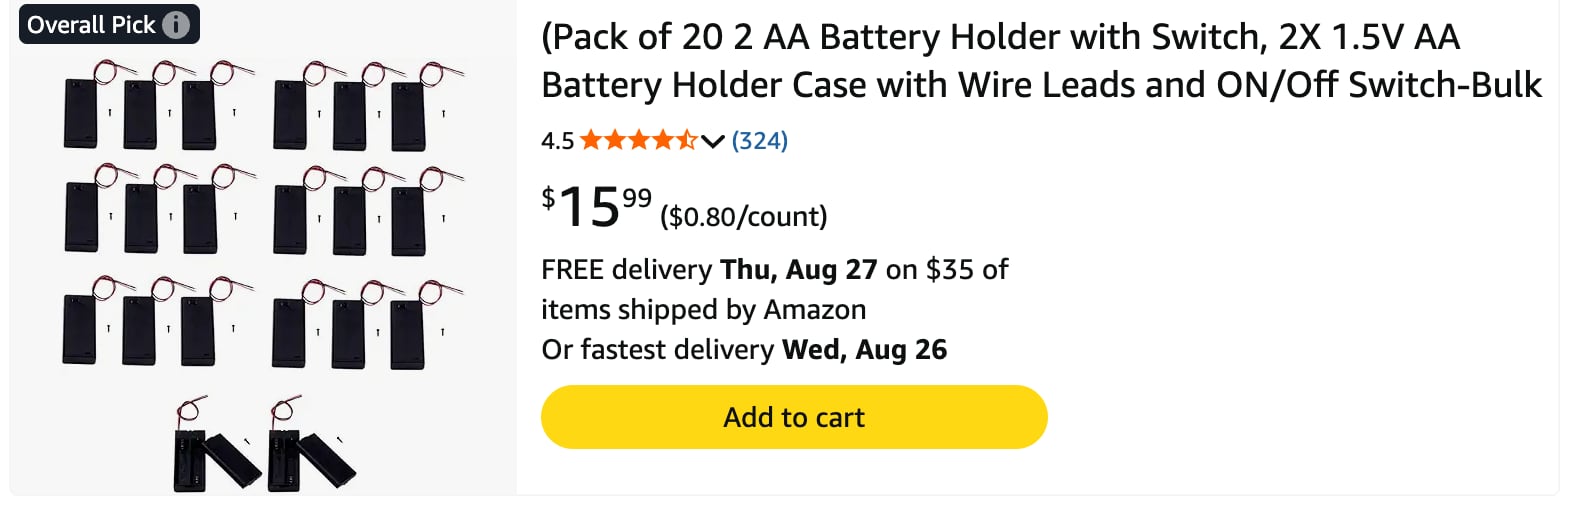
One 20-pack supplies one switched battery holder for each student in a 20-student camp.
Heat-Shrink Tubing
We used this heat-shrink tubing kit to insulate the soldered connections between each motor and battery holder.

Choose tubing that fits snugly around the small wire connections before it is heated.
Paper Rolls
We recommend using two of these white craft-paper rolls. Two rolls make it easier to create a wide shared drawing area where many students can test at once.

Tape the paper securely to the floor before testing so the robots do not catch an edge or move the paper.
Before You Begin
This activity requires more advance preparation than most camp projects. Complete the soldering and glue-stick preparation before the day of the lesson rather than trying to finish assemblies while students build.
Prepare the Motor Assemblies
Before camp, connect one battery holder to each motor. Battery holders with built-in switches allow students to turn their robots on and off without repeatedly disconnecting wires.
Slide a piece of heat-shrink tubing onto each wire BEFORE soldering the wires together. After the connections cool, slide the tubing over the exposed joints and shrink it into place. Follow the soldering equipment’s instructions and use a suitable work area.
Plan at least one hour and use an assembly-line process: cut and strip all wires, slide on the heat-shrink tubing, solder each assembly, position and shrink the tubing over the cooled joints, and then test every unit.
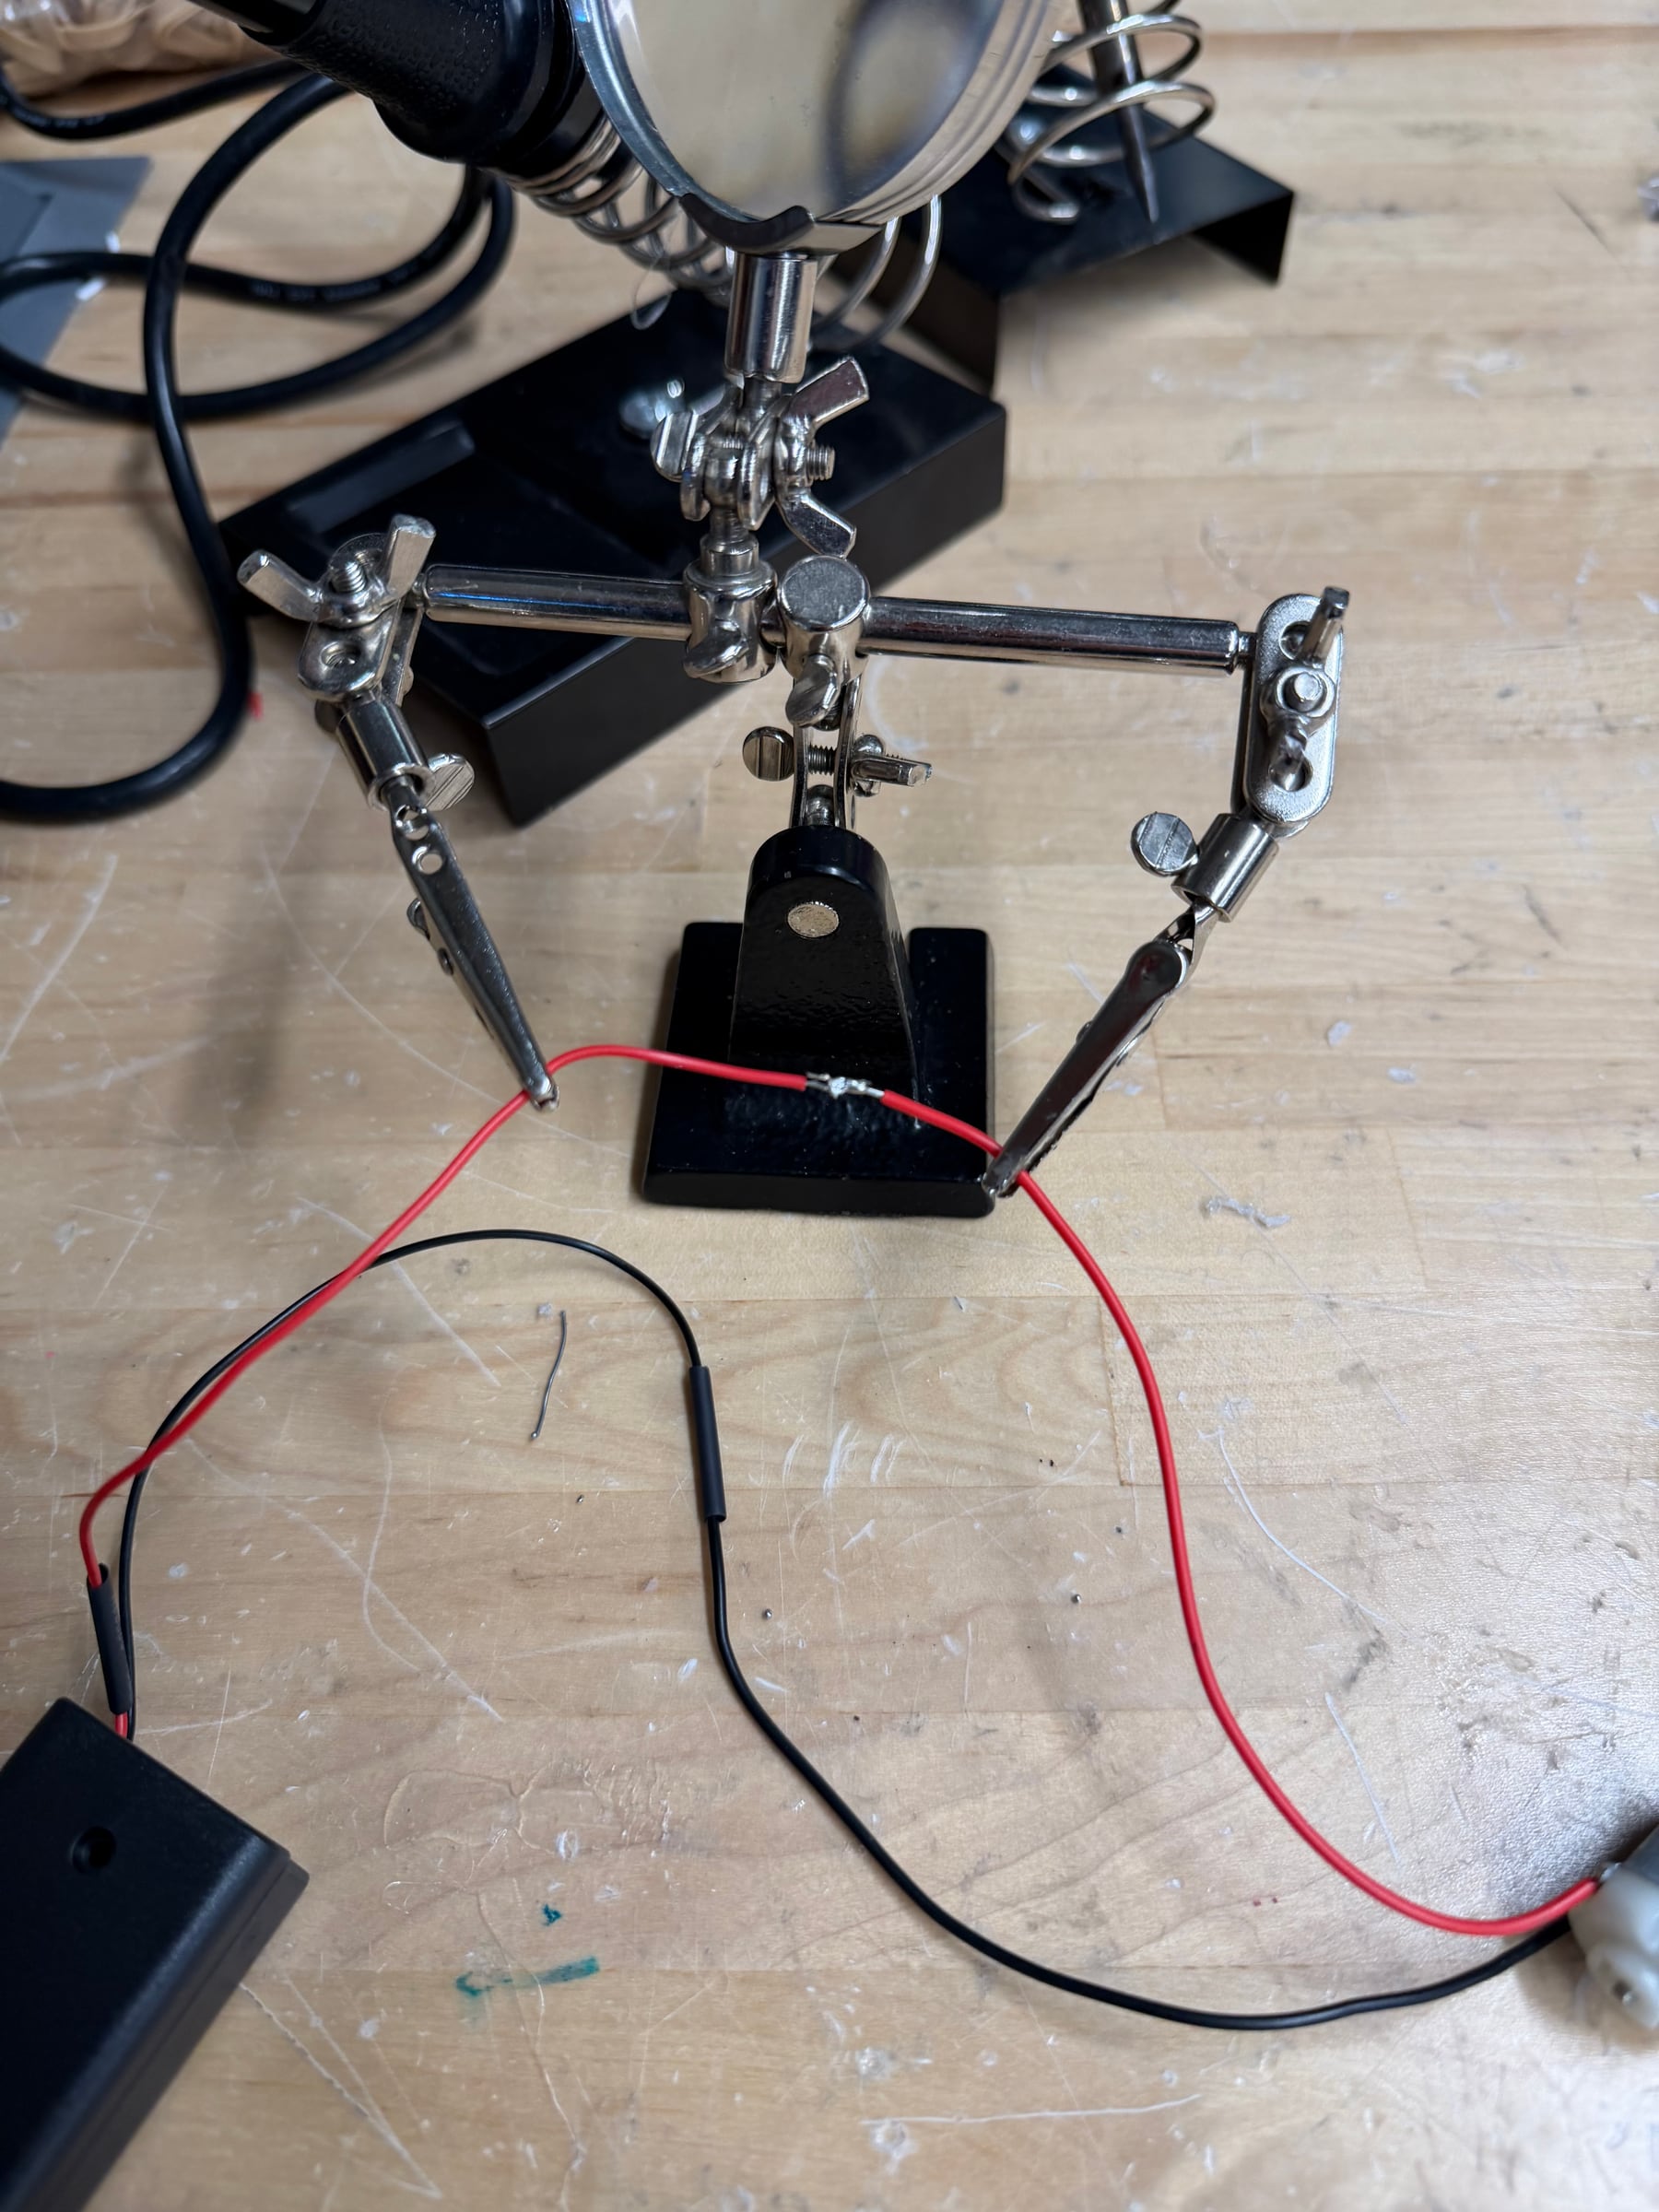
Set out the soldering tools and components as an assembly line before beginning. Helping hands make it easier to hold the small wires in place.
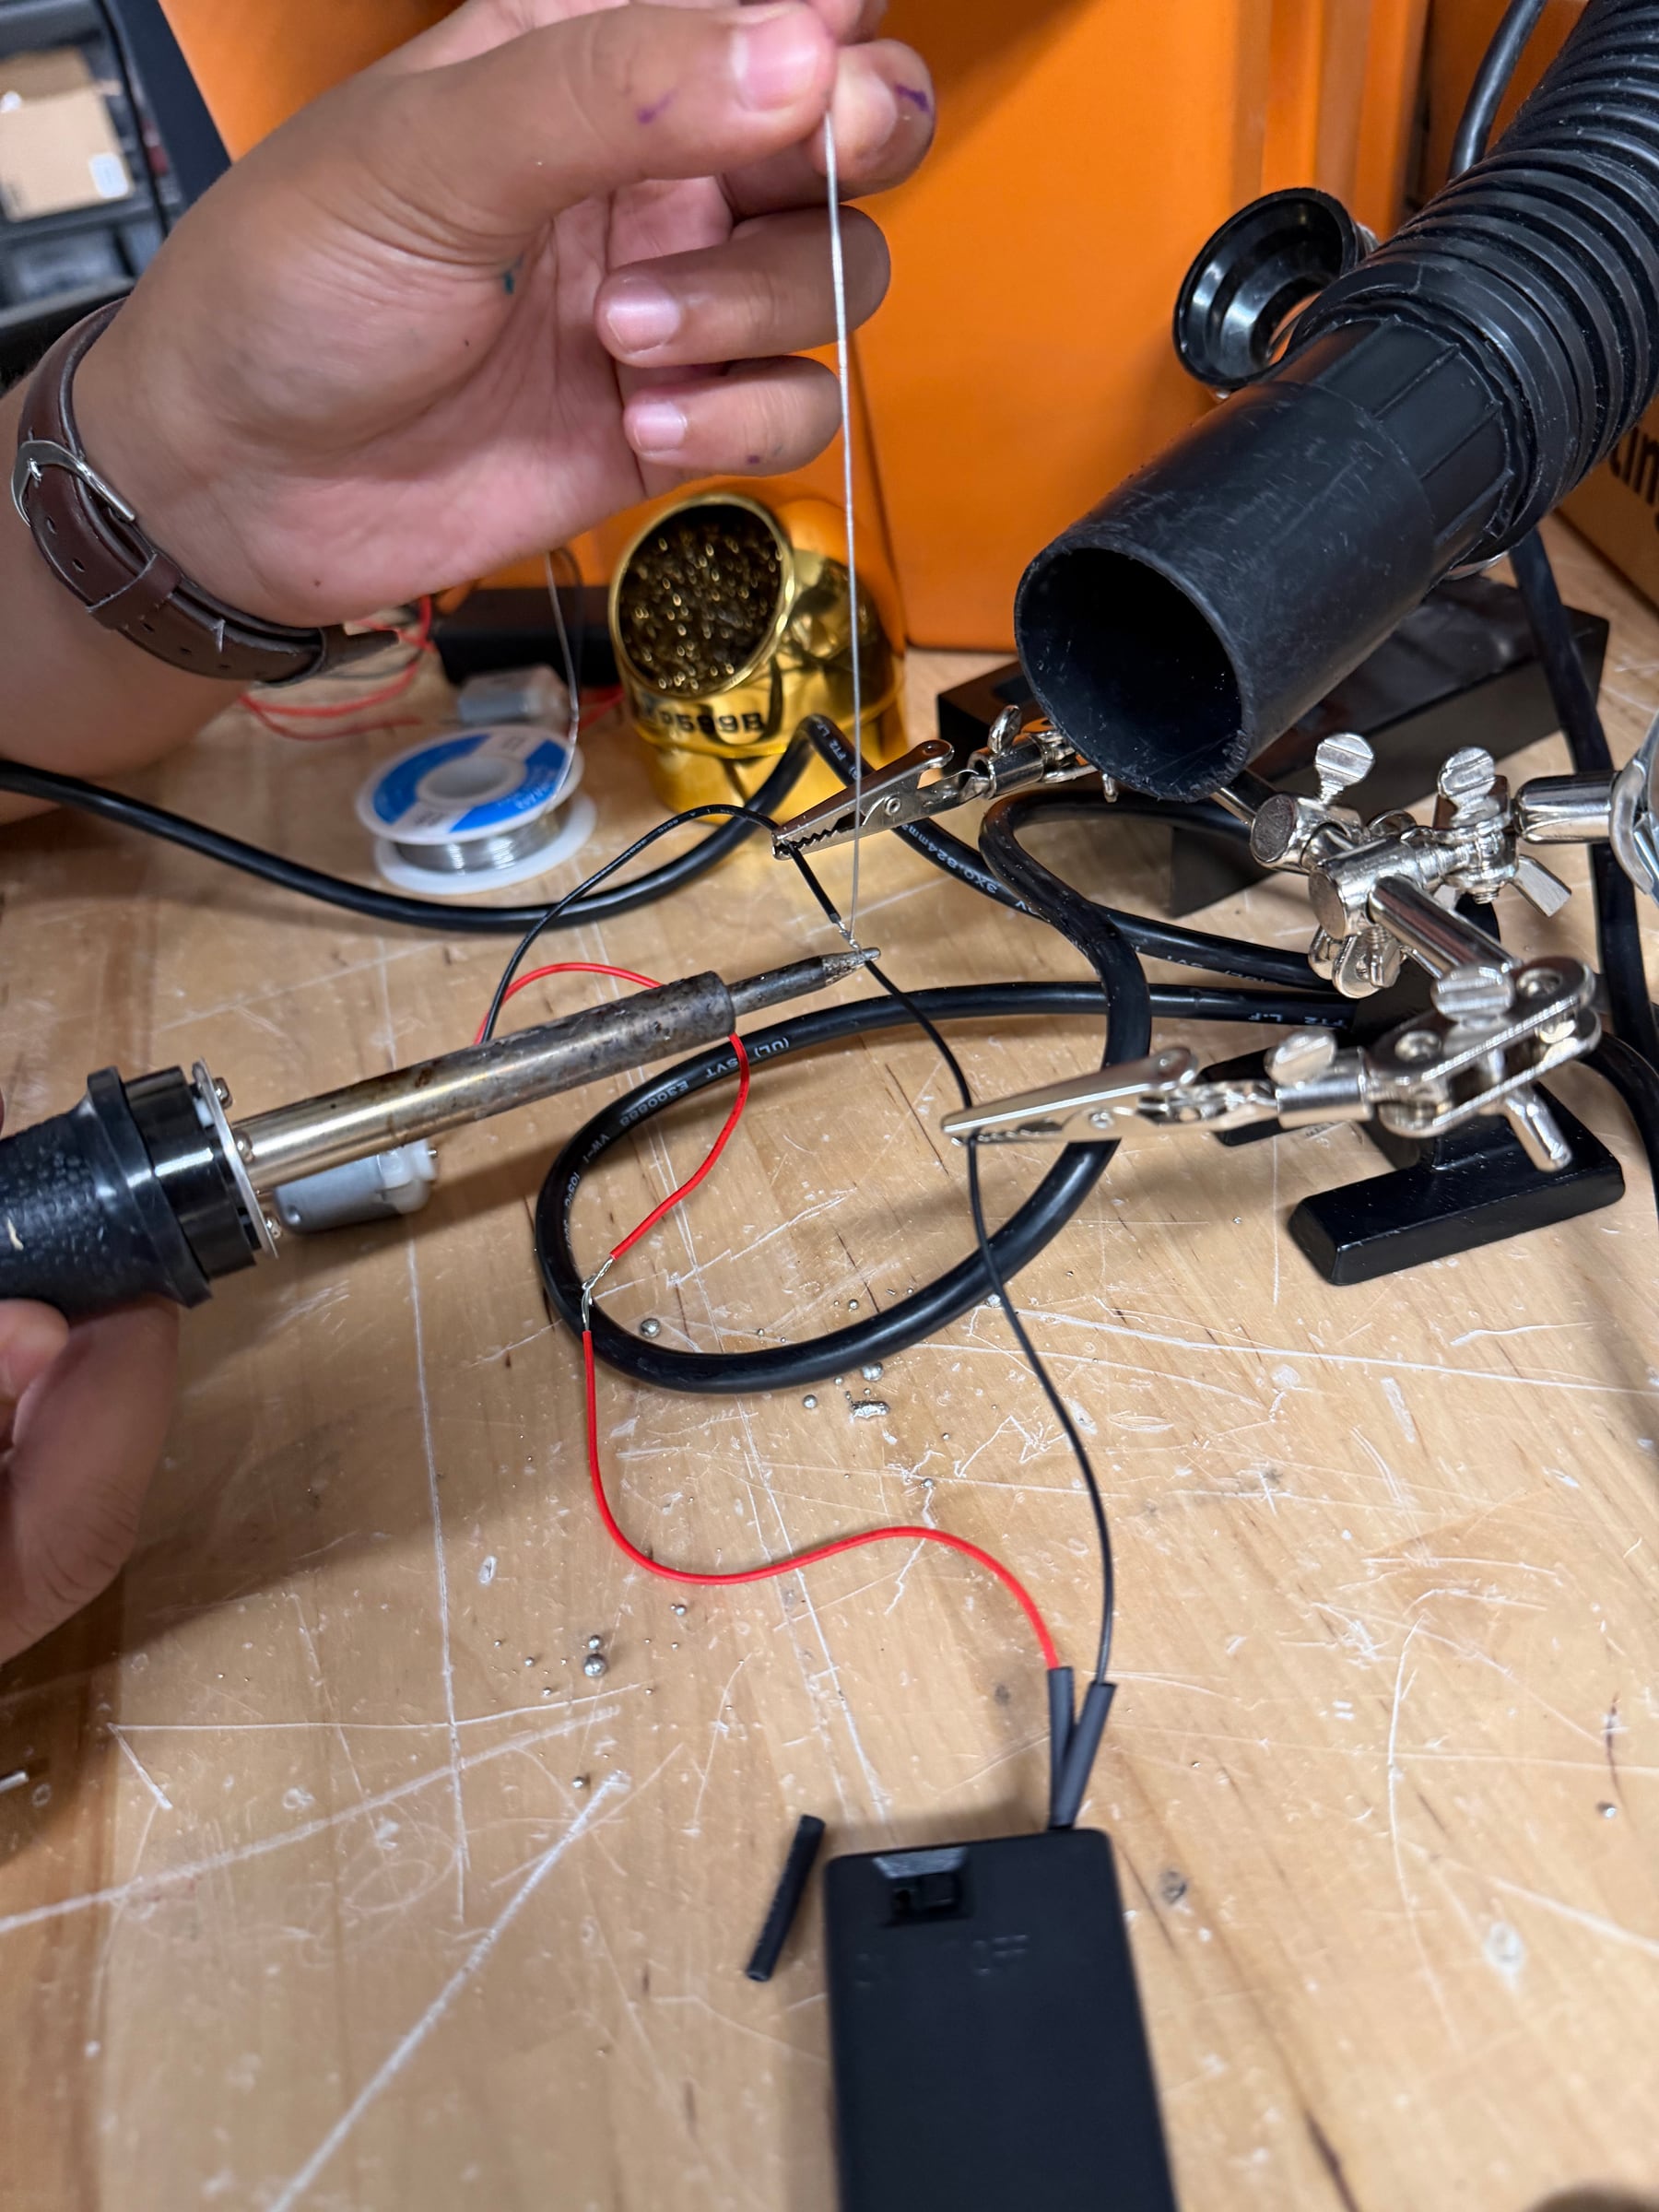
Solder each motor to a battery holder, cover both joints with heat-shrink tubing, and test the completed assembly.
Install two AA batteries, switch each assembly on briefly, and confirm that the motor spins normally. Remove the batteries after testing so the motors cannot be switched on during storage or distribution.
Prepare the Off-Center Weights
Each robot uses one-half of a jumbo hot glue stick as its rotating weight. Cut every glue stick in half before making the mounting holes.
Make three small shaft holes in the side of each glue stick:
- One near the center
- One closer to one end
- One closer to the opposite end
The holes should be just large enough for the motor shaft to fit securely. A spare motor shaft works well for forming and checking them. Pre-poke all positions before the lesson so students can move the weight from one hole to another without difficulty.
Prepare the Room
Create a testing area on the floor that is at least 4 × 4 feet. Lay sheets from the two paper rolls side by side, overlap the center seam slightly, and use painter’s tape to secure the seam and every outside edge. The paper should lie flat so the robots do not catch an edge, slip underneath it, or pull the testing surface across the floor.
Place the paper where students can reach it as soon as they finish building. Leave enough open space around the testing area for students to watch without stepping onto the paper or blocking someone who is placing a robot.
Build and test one demonstration robot using the same materials students will receive. Keep it visible during the lesson so students can identify the major parts without being required to copy every detail.
Print one art robot observation table for each student. Ask students to use the table to compare counterweight positions and record how their robot behaves.
Teaching the Lesson
Begin by showing the completed demonstration robot while it is switched off. Ask students what they predict will happen when the motor turns on.
Point out the cup body, motor, switched battery holder, rotating glue-stick weight, rubber bands, and three marker legs. Explain that each student will build an individual robot, then change one part of the design to see how its movement changes.
Before switching on the demonstration robot, establish three simple procedures:
- Hold the robot by the cup, switch the motor on, and then set it on the paper.
- Pick the robot up by the cup when the test is finished.
- Switch the motor off before moving the glue stick or adjusting the design.
Demonstrate the robot on paper so students can see how vibration becomes movement and how that movement creates a drawing.
Building the Robot
Give each student one cup, one prepared motor assembly, one prepared half glue stick, three markers, two rubber bands, and two AA batteries.
Attach the Motor and Battery Holder
Turn the cup upside down so its bottom becomes the top of the robot. Use painter’s tape to secure the motor and battery holder near the top of the cup.
Painter’s tape works well because it is quick to apply and easy to reposition. Make sure the switch remains accessible and the motor shaft points away from the cup. Leave enough clearance for the glue stick to rotate without striking the cup, battery holder, tape, or markers.
Add the Marker Legs
Place two rubber bands around the cup. Slide three markers under the bands and space them evenly around the cup. The marker tips should extend below the rim so all three touch the paper when the robot stands upright.
Check that the robot can stand without wobbling. Adjust the markers before continuing, but leave their caps on until the robot is ready for its first drawing test.
Add the Rotating Weight
Have each student choose one of the three prepared holes and carefully push that position onto the motor shaft. Do not identify one position as the correct choice. The different mounting points are part of the investigation.
Turn the half glue stick slowly by hand while the robot is switched off. Confirm that it fits securely and can complete a full rotation without hitting another part of the robot.
Testing the Robot
Remove all three marker caps and hold the robot by the cup above the paper. Switch on the motor first, then set the vibrating robot onto the paper. This makes the switch easier to reach and lets the robot begin drawing as soon as the markers touch down.
Allow students to observe the first test before making changes. Ask them to notice whether the robot stays in one area, spins, moves in a line, draws a circle, or falls over. Students should use descriptive language on their observation sheets to record the robot’s path, speed, stability, and drawing pattern.
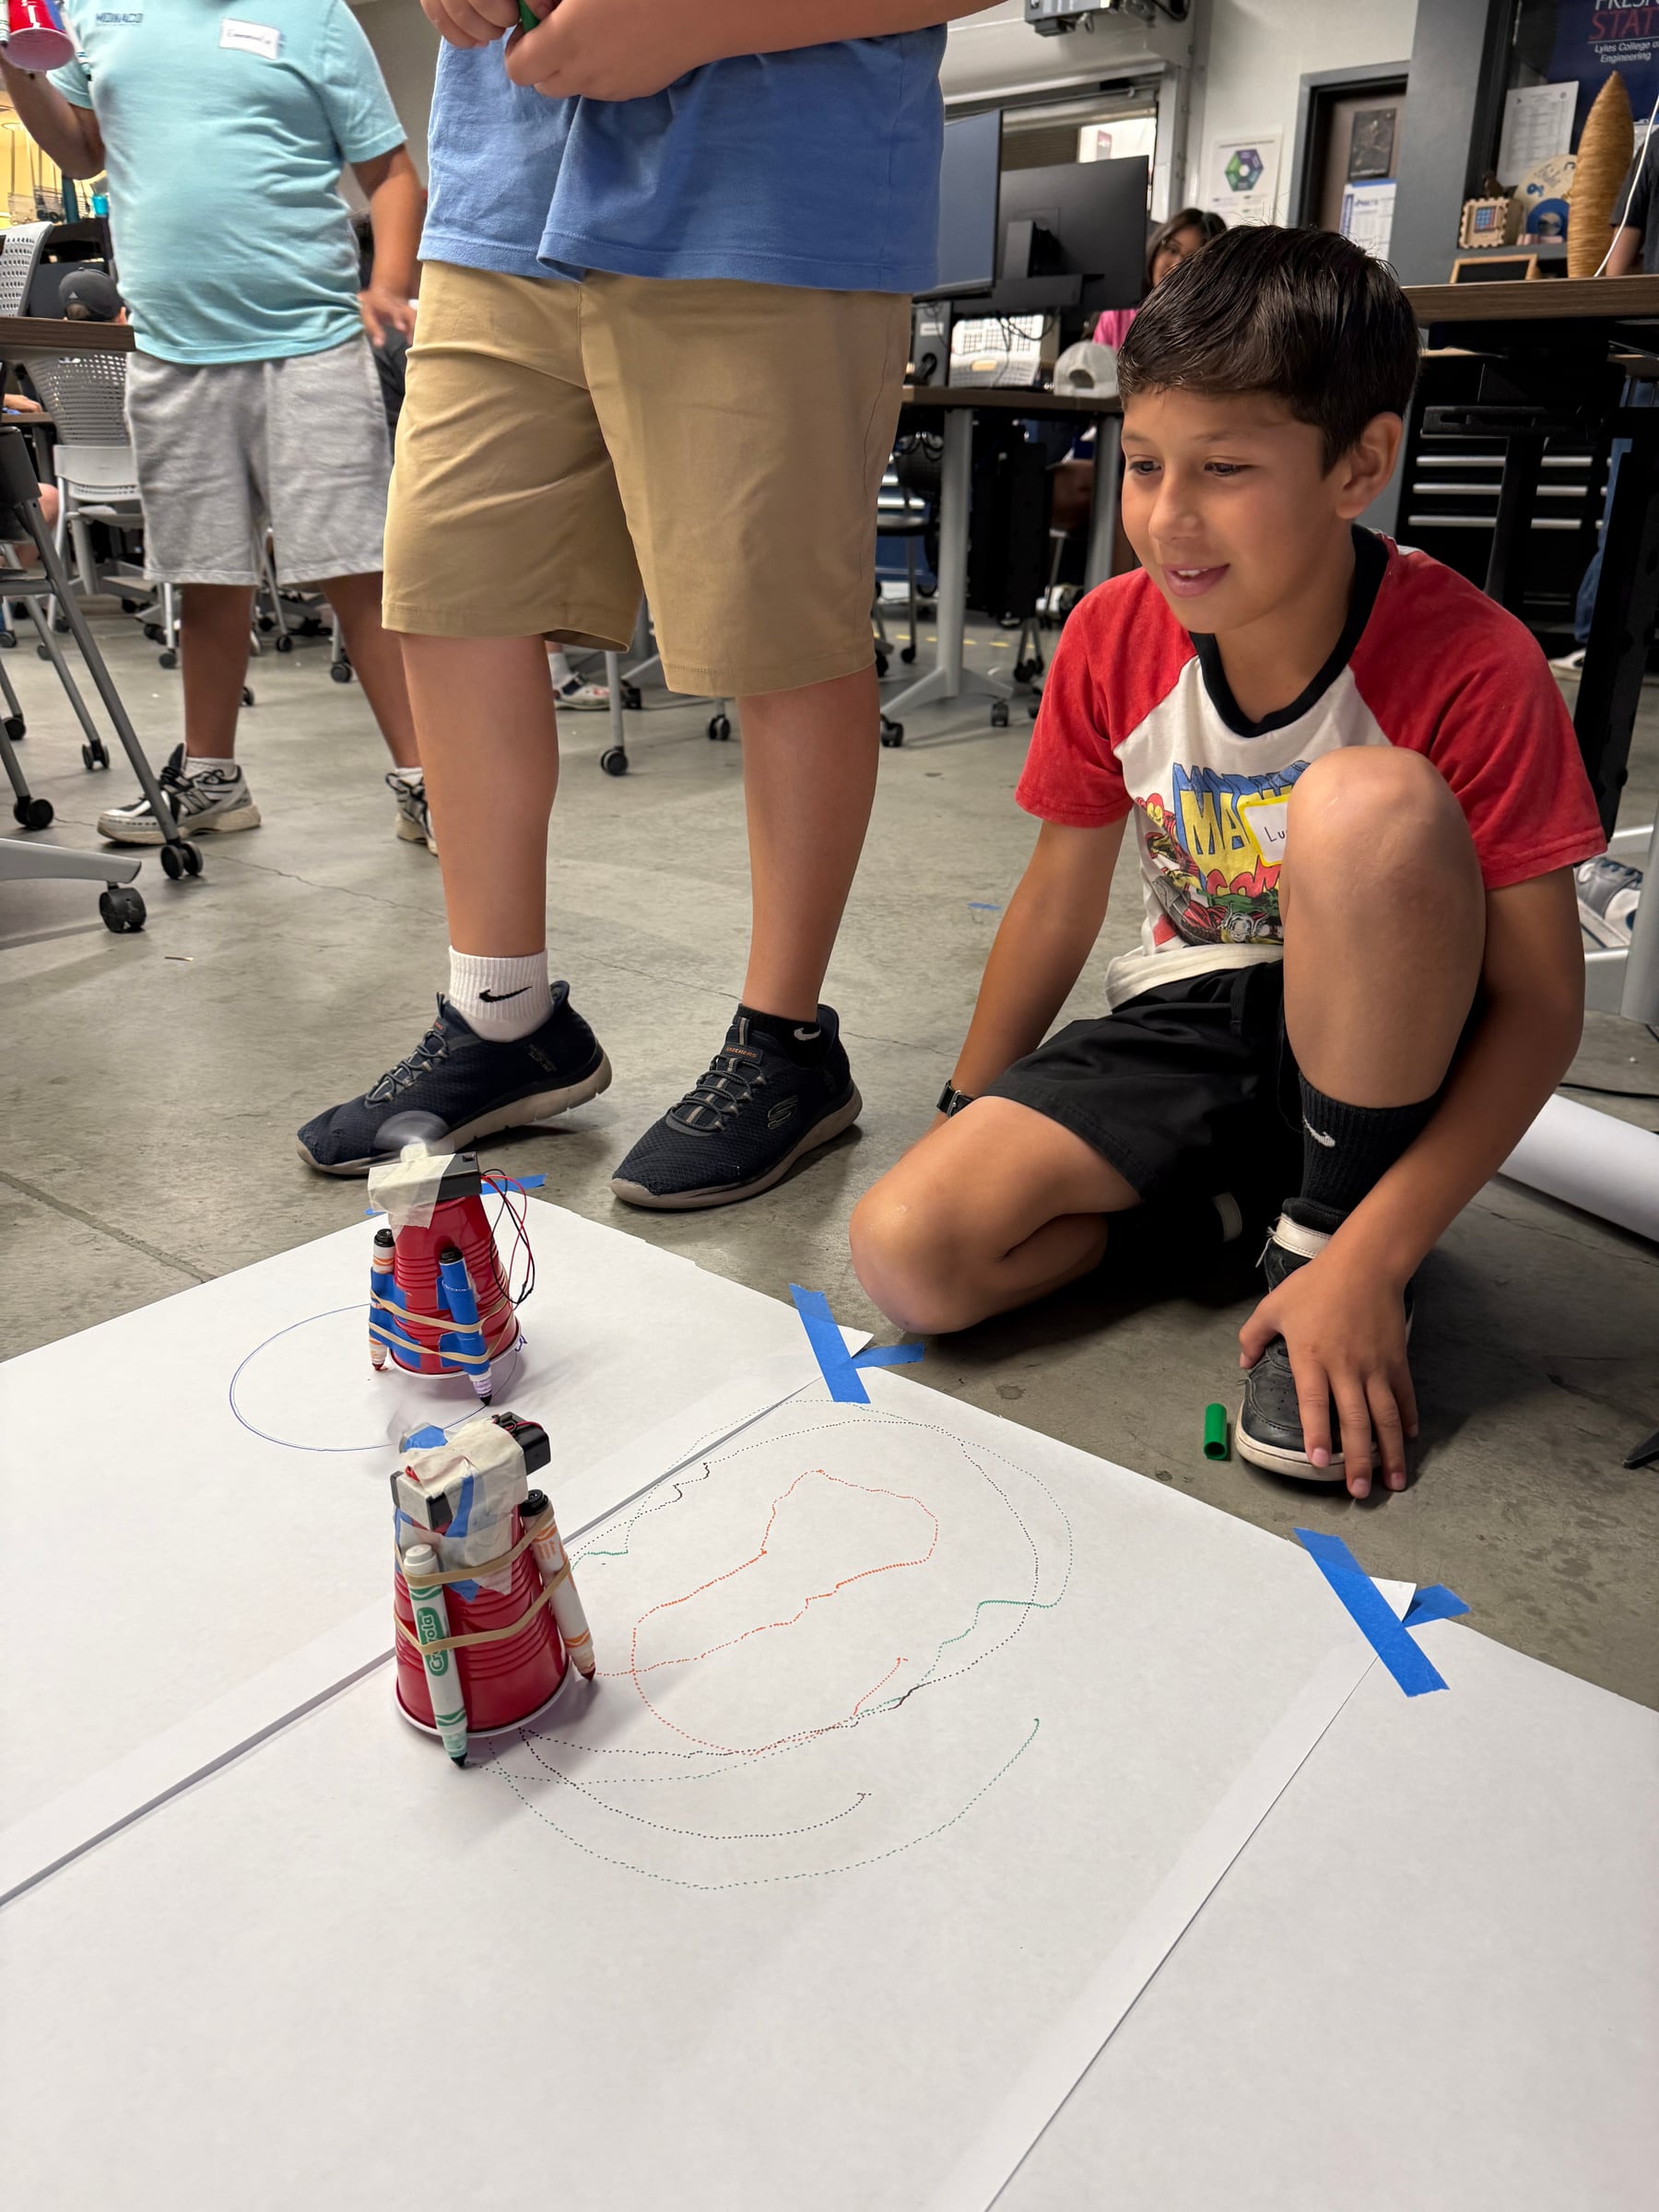
As soon as students finish their robots, they can bring them to the paper and begin testing.
When the test is complete, pick the robot up by the cup and switch it off. Turn the motor off before changing the glue-stick position or adjusting the marker legs.
Why Does It Move?
A motor spins around its shaft. If a rotating weight is centered and balanced, it produces relatively little movement in the rest of the structure.
The glue stick changes that. When the motor shaft is inserted away from the glue stick’s center of mass, more weight rotates on one side of the shaft. As the motor spins, that uneven weight repeatedly pulls in changing directions and creates vibration.
The vibration travels through the motor, cup, and marker legs. Because the marker tips touch the paper, the robot moves while it draws. Moving the motor shaft farther from the glue stick’s center creates a stronger imbalance, which can change the strength of the vibration and the path the robot follows.
Experimenting and Improving
Once everyone has a functioning robot, have students test the counterweight positions listed on the observation table. After each test, they should switch off the robot and record its behavior before moving the glue stick.
Positions that are the same distance from the center should create a similar amount of imbalance. Do not reveal that expectation before students test them. Their results may still differ because of small variations in hole placement, marker alignment, tape, or the rest of the build. Ask students to use descriptive language to record differences in speed, movement path, stability, and drawing pattern.
After recording all three positions, students can adjust the position and spacing of the marker legs and test again. Ask students to switch their robot off before every change and to alter one feature at a time. Changing one variable makes it easier to connect a design decision with the resulting movement.
Discussion prompts can include:
- What changed when you moved the weight farther from the center?
- Does your robot stay in one area, spin, or travel across the paper?
- What happens when you change the marker spacing?
- Which adjustment made the robot more stable?
- Why do robots built from the same materials create different patterns?
The goal is not to identify one correct result. Students should make careful observations, compare the three positions, and explain the similarities or differences they noticed.
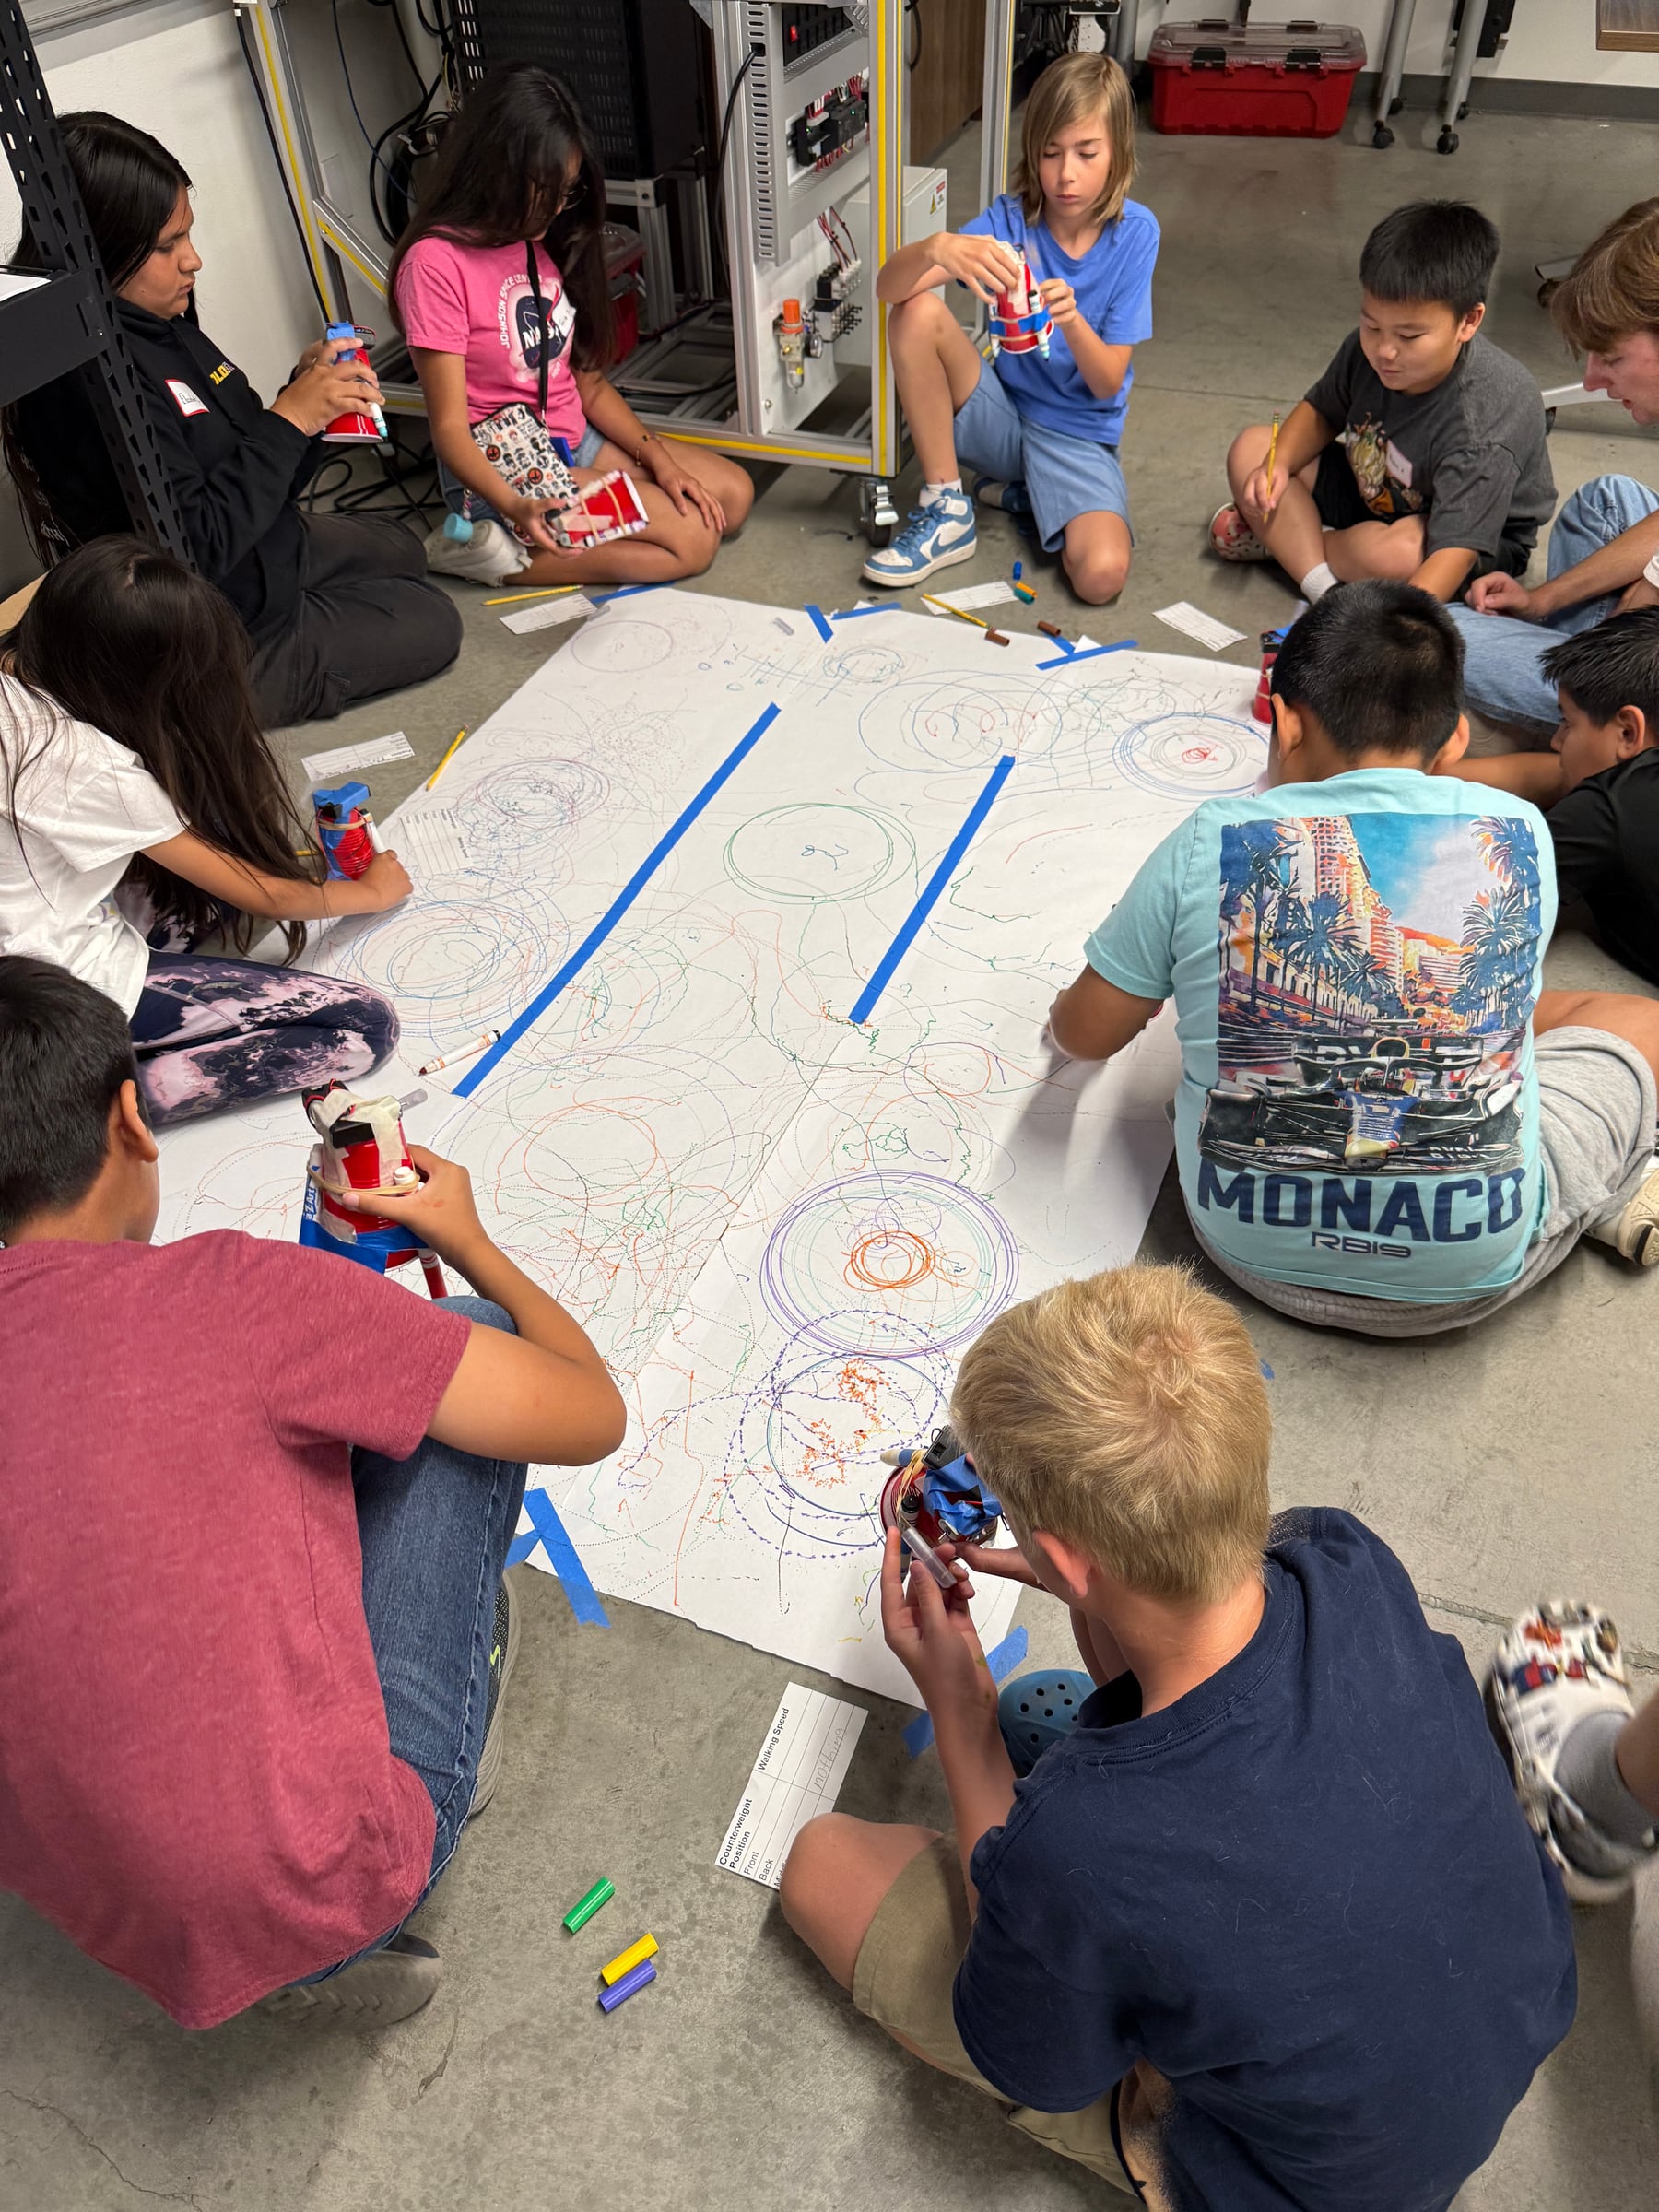
Two paper rolls create a large shared canvas where the class can compare paths and patterns while testing together.
Resources
- Art robot observation table: Download
Troubleshooting
The robot falls over
Check the marker legs first. This is usually caused by uneven marker placement. Adjust the markers until all three tips touch the paper and the robot can stand without wobbling.
If the robot remains unstable, try a mounting hole closer to the center of the glue stick to reduce the vibration.
The motor runs, but the robot barely moves
Check the glue-stick position. A shaft mounted near the center may not create enough imbalance. Switch the robot off and try one of the positions closer to an end.
Also confirm that all marker caps are removed and that the marker tips are not pressing so firmly against the paper that they prevent movement.
The glue stick hits the cup or another part
Switch the robot off immediately. Reposition the motor, battery holder, tape, or glue stick until the weight can rotate freely. Do not continue running a robot whose rotating weight repeatedly strikes another part.
The glue stick slips off the shaft
Switch off the motor, use another prepared hole, or replace the half glue stick.
The motor does not spin
Check that:
- Two AA batteries are installed.
- Both batteries face the correct direction.
- The battery holder is switched on.
- The soldered connections remain covered and intact.
If the assembly has failed, replace it with a tested spare instead of attempting a soldering repair during the lesson.
The markers do not draw
Make sure all three caps are removed and the marker tips touch the paper. Adjust the markers beneath the rubber bands until the robot stands evenly on all three tips.
Reflection
After testing, ask students to briefly share:
- Which weight position they preferred
- What pattern their robot created
- Which adjustment changed the movement the most
- What they would redesign with more time
Focus on the connection between design choices and behavior rather than identifying one best robot.
Cleanup
- Replace all marker caps.
- Collect unused extra markers, rubber bands, batteries, and painter’s tape. Leave each student’s three markers attached to their robot.
- Remove the large drawing sheets and painter’s tape from the floor.
- Pick up loose tape and other small materials.
- Return soldering equipment to secured storage if it was used during preparation.
Students can take their completed robots and three markers home.