Light Up Paper Circuits
A paper circuit is one of the simplest ways to introduce electronics. Using copper tape, a coin-cell battery, and two LEDs, students will build a complete electrical circuit on a piece of paper. Once the circuit is complete, the LEDs light up without any programming or soldering.
The activity works well because students receive immediate feedback. If the LEDs light, they know their circuit is complete. If they do not, students can inspect each connection and determine where the path is interrupted.
At the end of the activity, every student should leave with a personalized light-up card that they can take home.
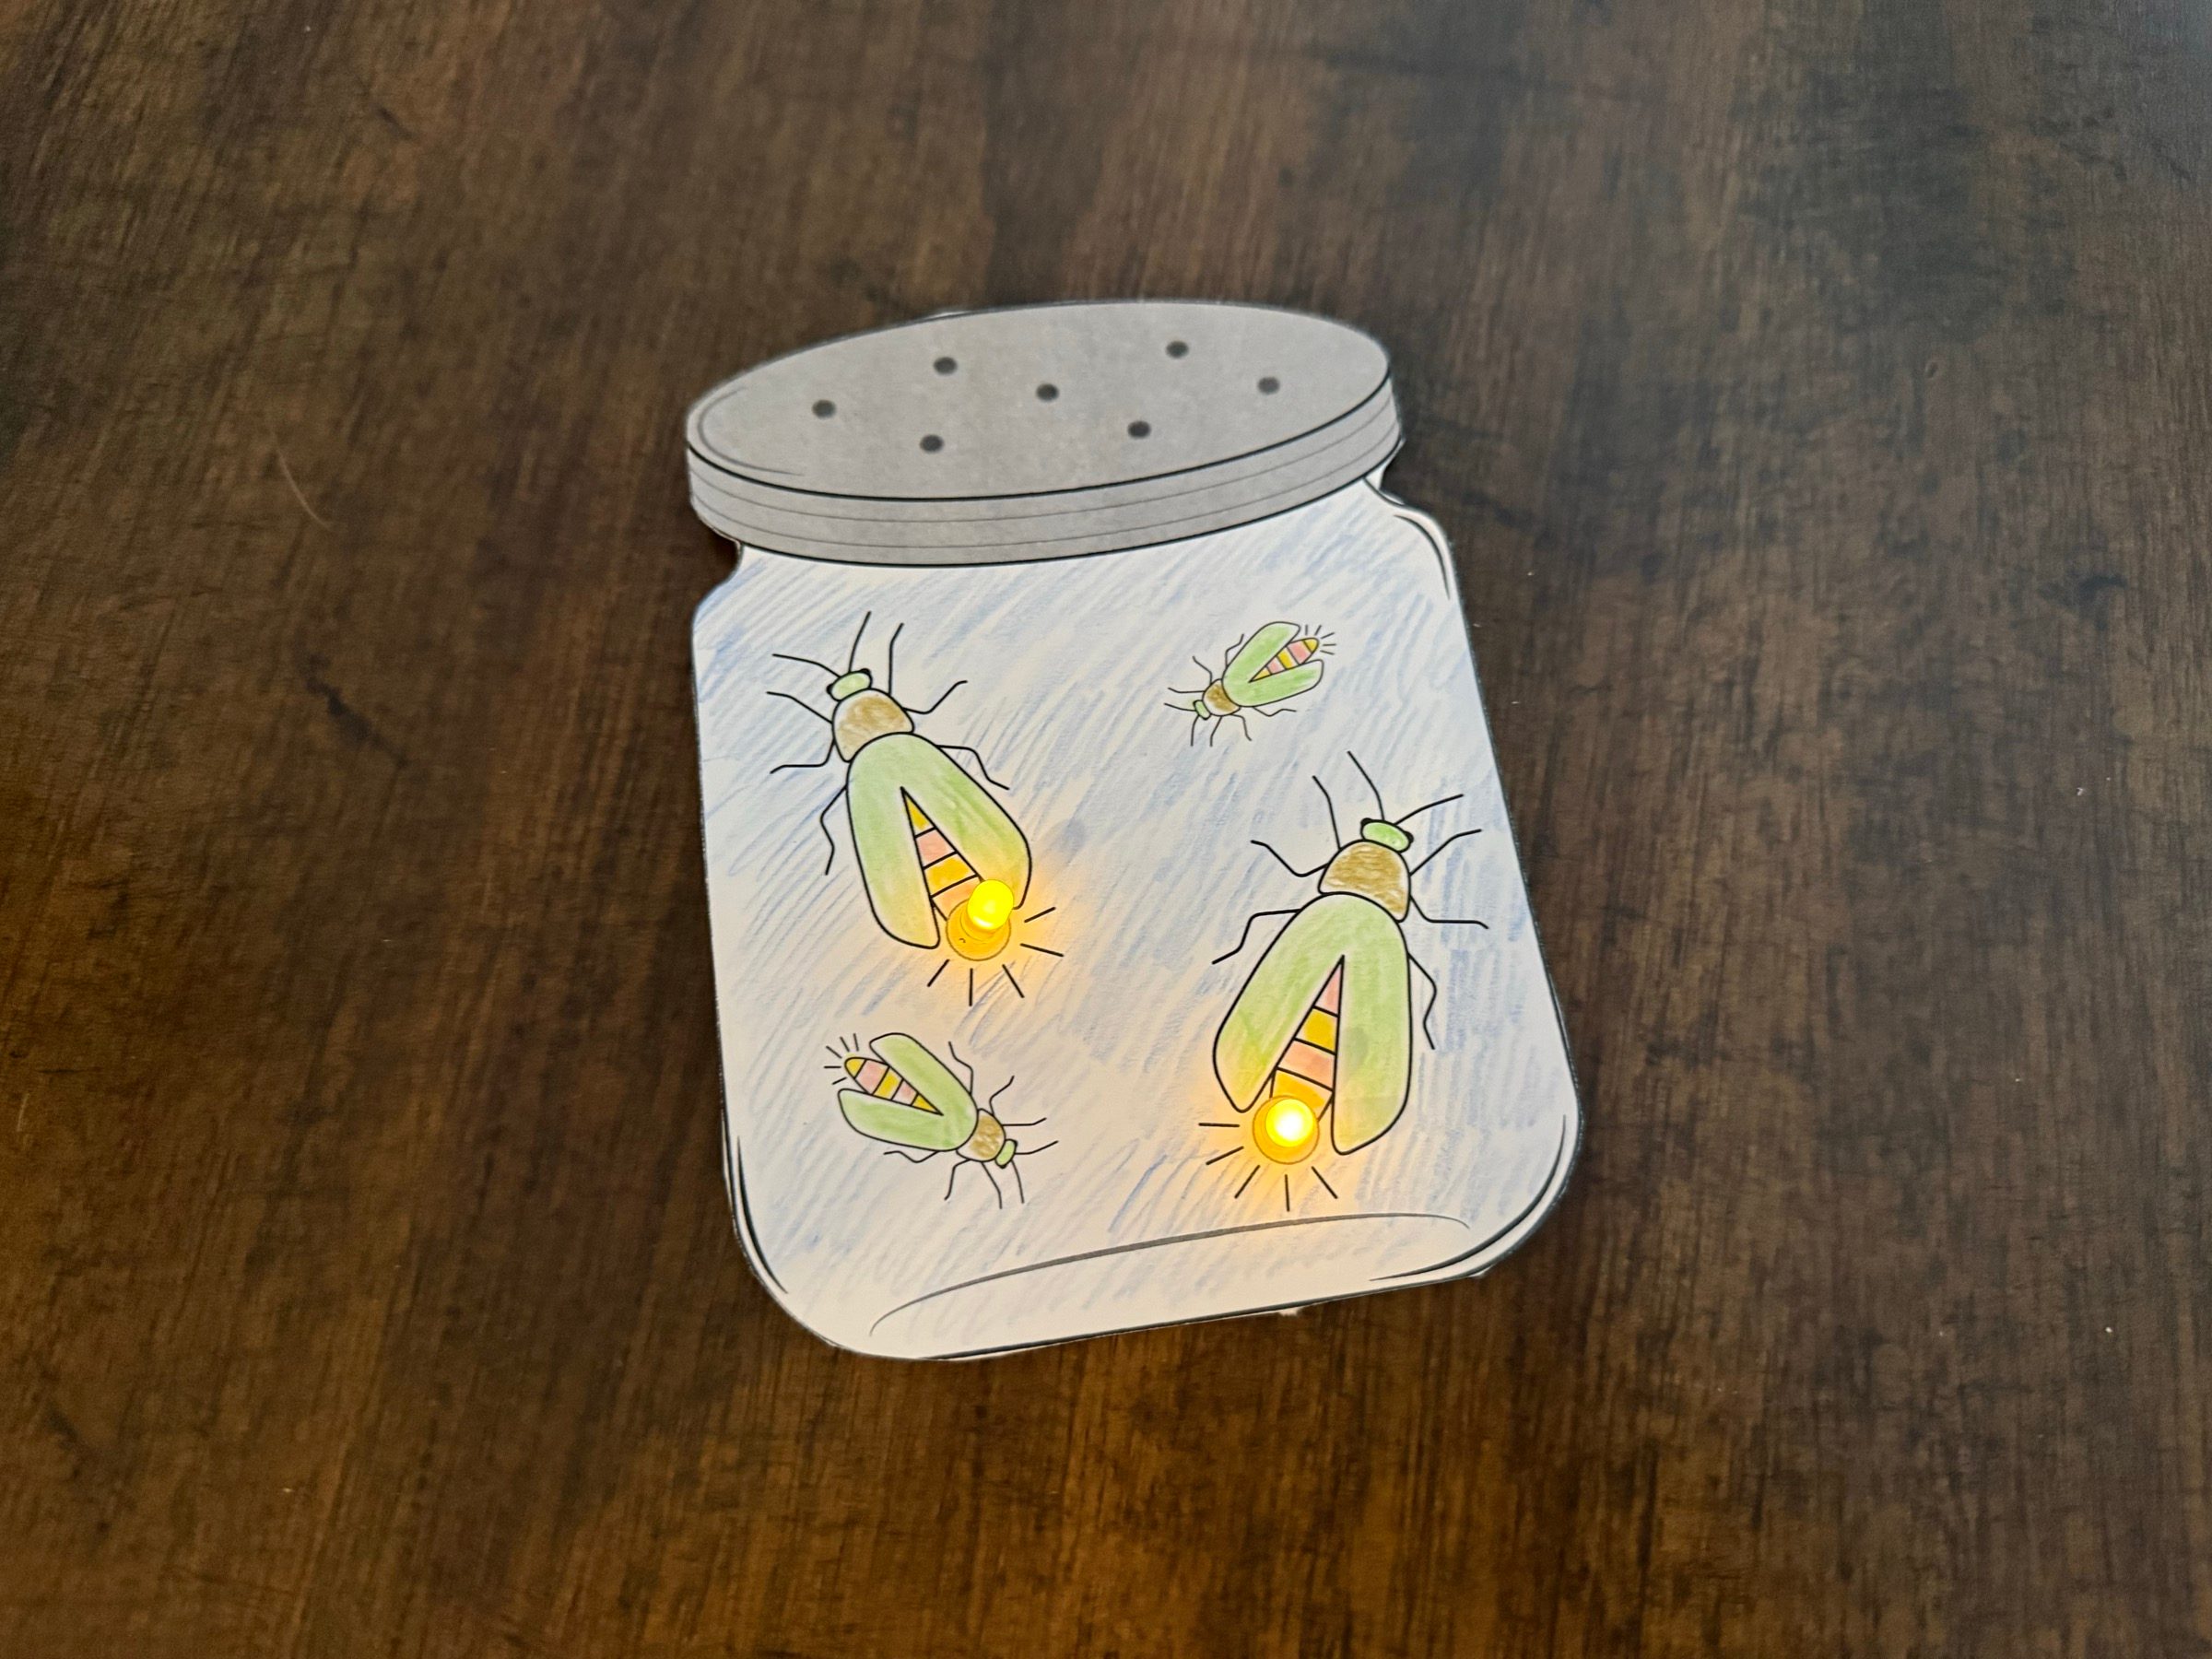
Completed paper circuit using copper tape, a CR2032 battery, and two LEDs.
Suggested Timing
Plan approximately 45 to 55 minutes:
- 5 minutes to introduce complete circuits and LED polarity
- 10 minutes to color the card before adding electronics
- 20 to 25 minutes to build and test the circuit
- 5 to 10 minutes to troubleshoot, share projects, and clean up
Materials
For each student
- One printed circuit template on cardstock, such as the Fireflies in a Jar template
- 12 inches (30 cm) of copper tape
- One CR2032 coin-cell battery
- Two LEDs
- Colored pencils or crayons
For the instructor
- Additional copper tape
- Extra LEDs
- Extra batteries
- Scissors
- Projector
- Printed example
Before You Begin
Choose and test a paper-circuit design before camp. We used the Fireflies in a Jar guide and template. Other paper-circuit projects are available on the same Brown Dog Gadgets learning site. Print one template for every student on cardstock rather than ordinary printer paper. Cardstock is more durable and holds the copper tape flat while students work.
Cut the copper tape into approximately 12-inch strips before class begins. This saves a surprising amount of time once students are seated.
Keep CR2032 batteries in their child-resistant packaging until an adult distributes them. Coin-cell batteries are dangerous if swallowed, so count them before and after the activity, supervise their use, and make sure the finished battery flap is firmly secured before a project goes home.
Lay out the LEDs in small containers so students can choose their favorite color as they arrive.
Before class begins, build one completed example yourself. Keep it nearby throughout the activity so students can compare their work if something isn’t functioning correctly.
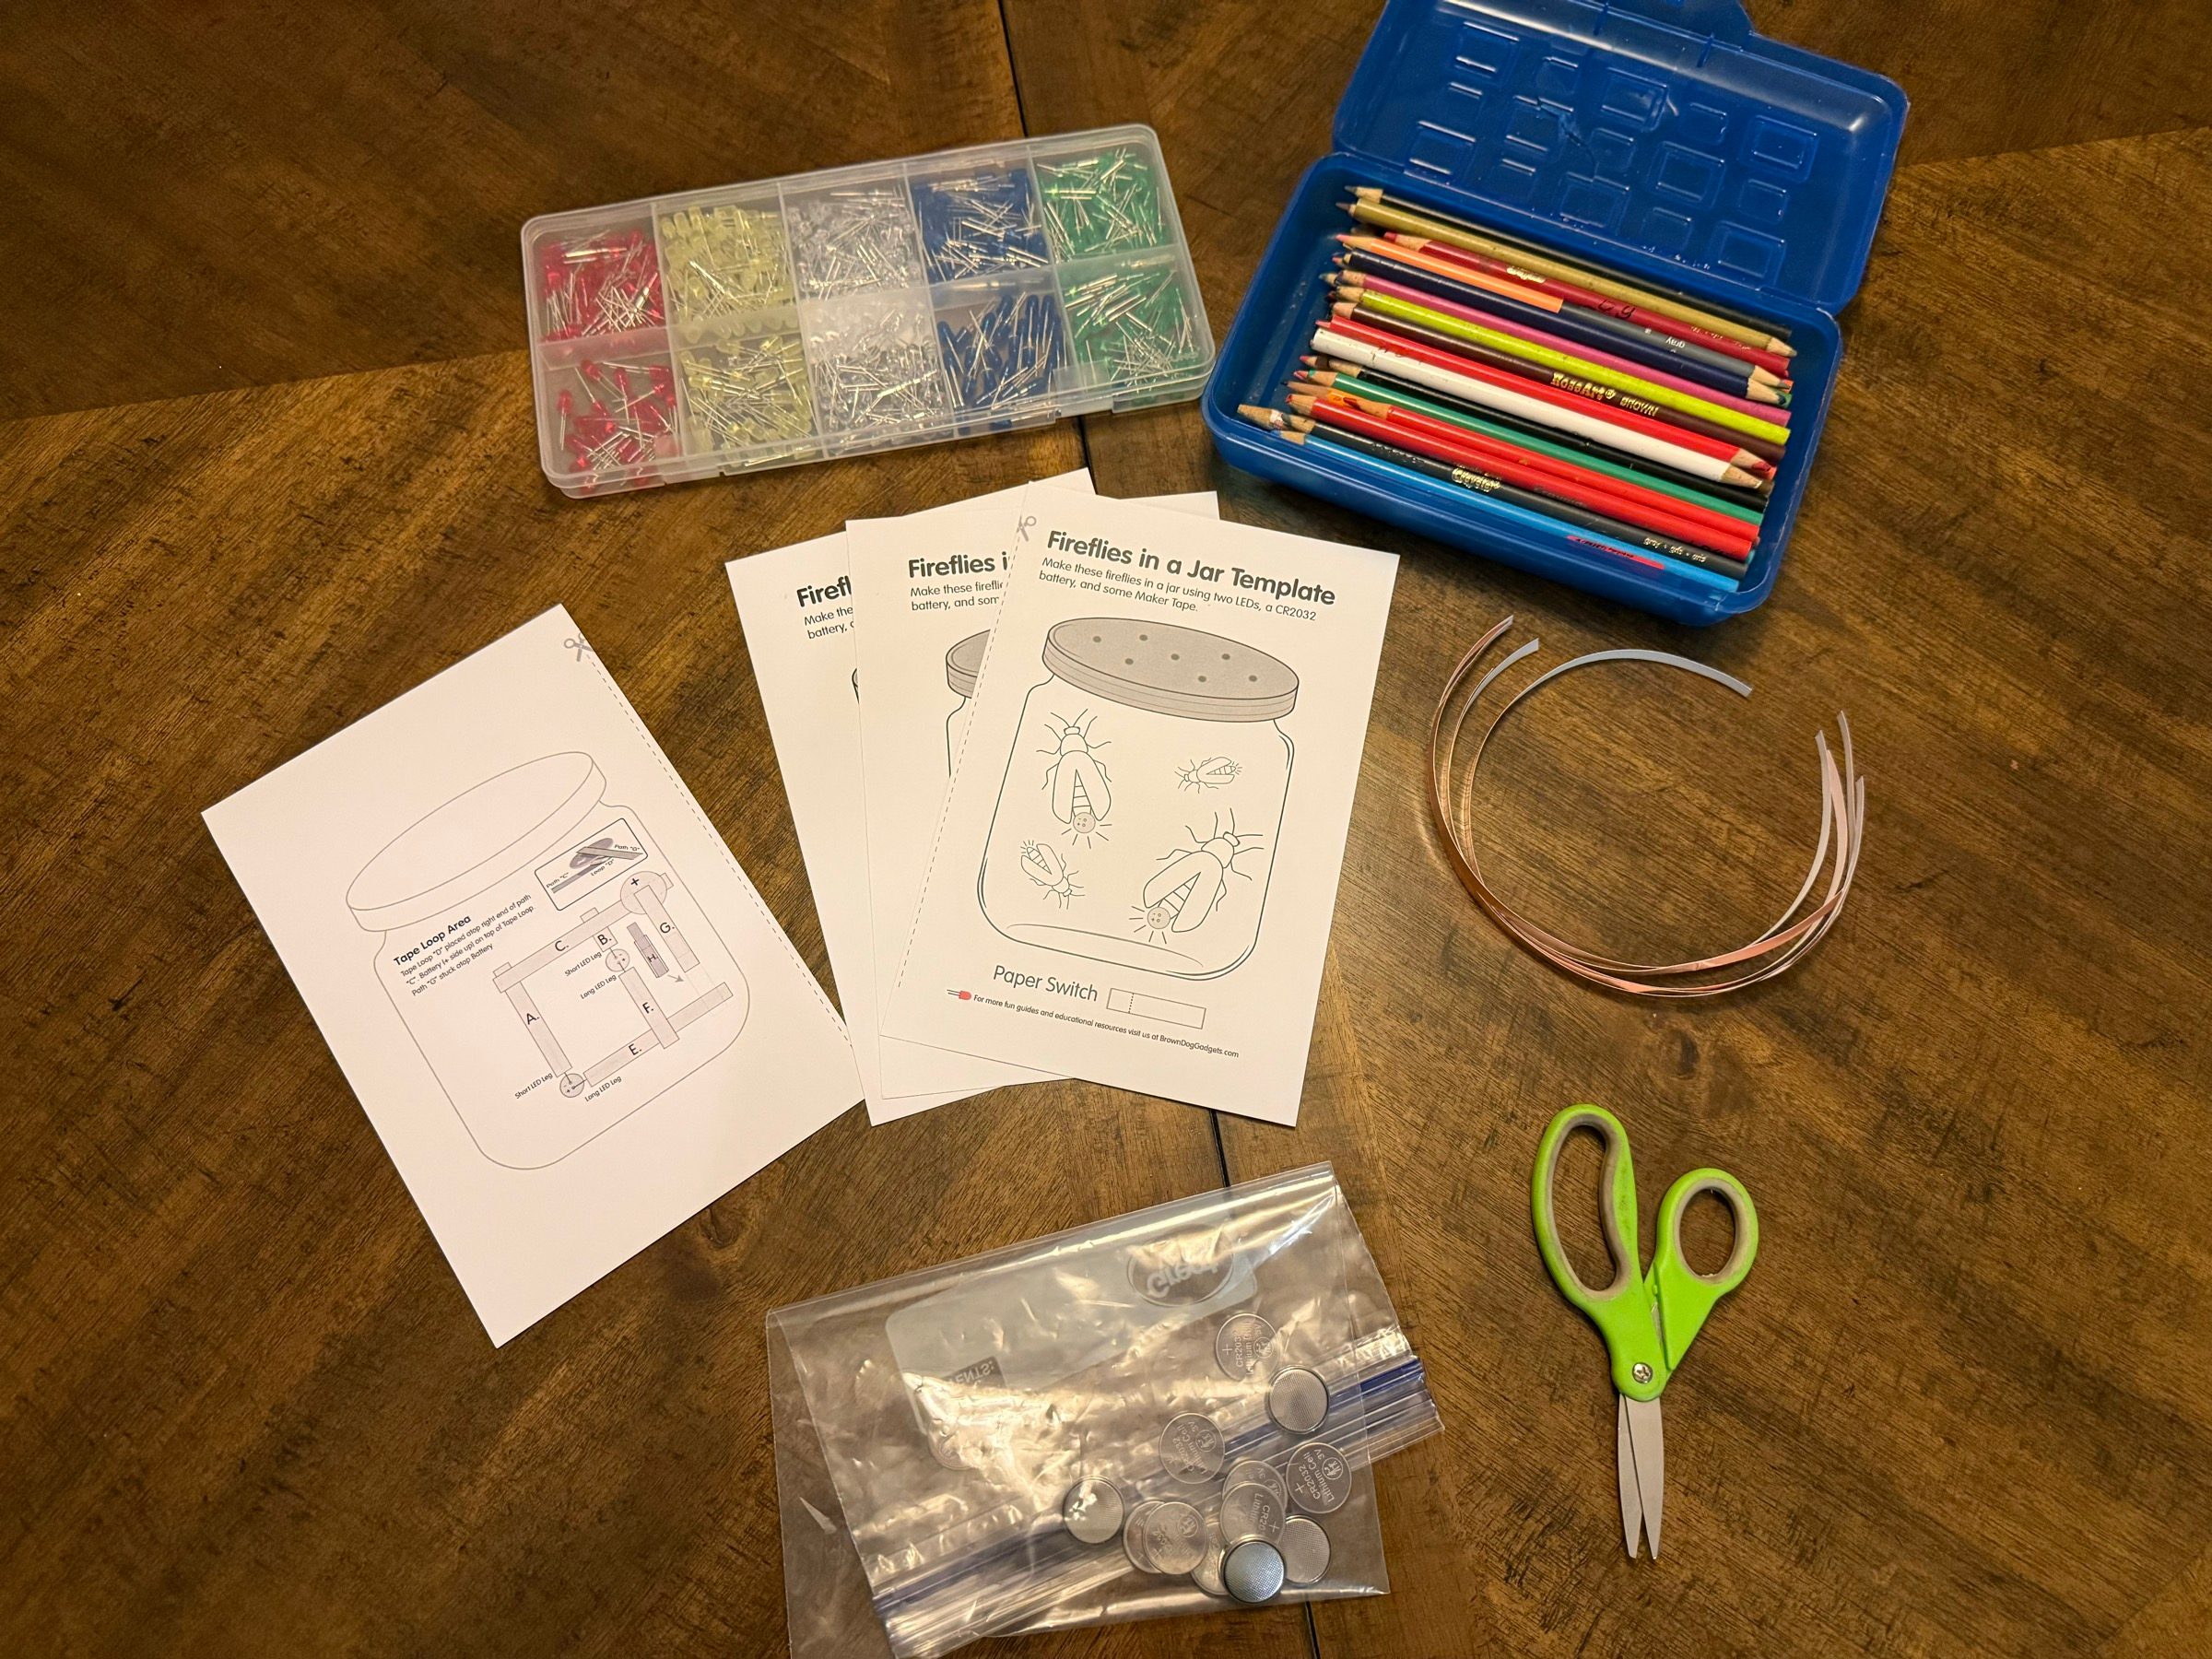
Preparing all of the materials before students arrive allows the lesson to move at a steady pace.
Teaching the Lesson
Begin by asking a simple question:
“What does electricity need in order to make a light turn on?”
Allow students to offer a few ideas before introducing the concept of a circuit.
Explain that electricity can only flow when there is a complete path from one side of the battery to the other. If that path is broken anywhere, the light will not turn on.
Avoid using words like series circuit, voltage, or current. They are not necessary for this activity.
Instead, focus on one simple idea:
Electricity needs a complete loop.
Building the Circuit
Project the template on the screen and build the circuit one step at a time.
After demonstrating each step, stop and let students complete the same step before continuing.
This keeps the class together and gives volunteers time to help anyone who falls behind.
Have students:
- Color their design before adding any electronics.
- Place the copper tape along the printed circuit paths.
- Fold the battery flap.
- Insert the battery.
- Place both LEDs through the paper.
- Tape the battery closed.
- Test the circuit.
Walk around the room while students work.
Instead of fixing problems yourself, ask questions.
- Does your copper tape touch all the way across?
- Is the battery facing the correct direction?
- Are both LEDs inserted in the same directions as the example?
- Is the tape firmly pressed onto the paper?
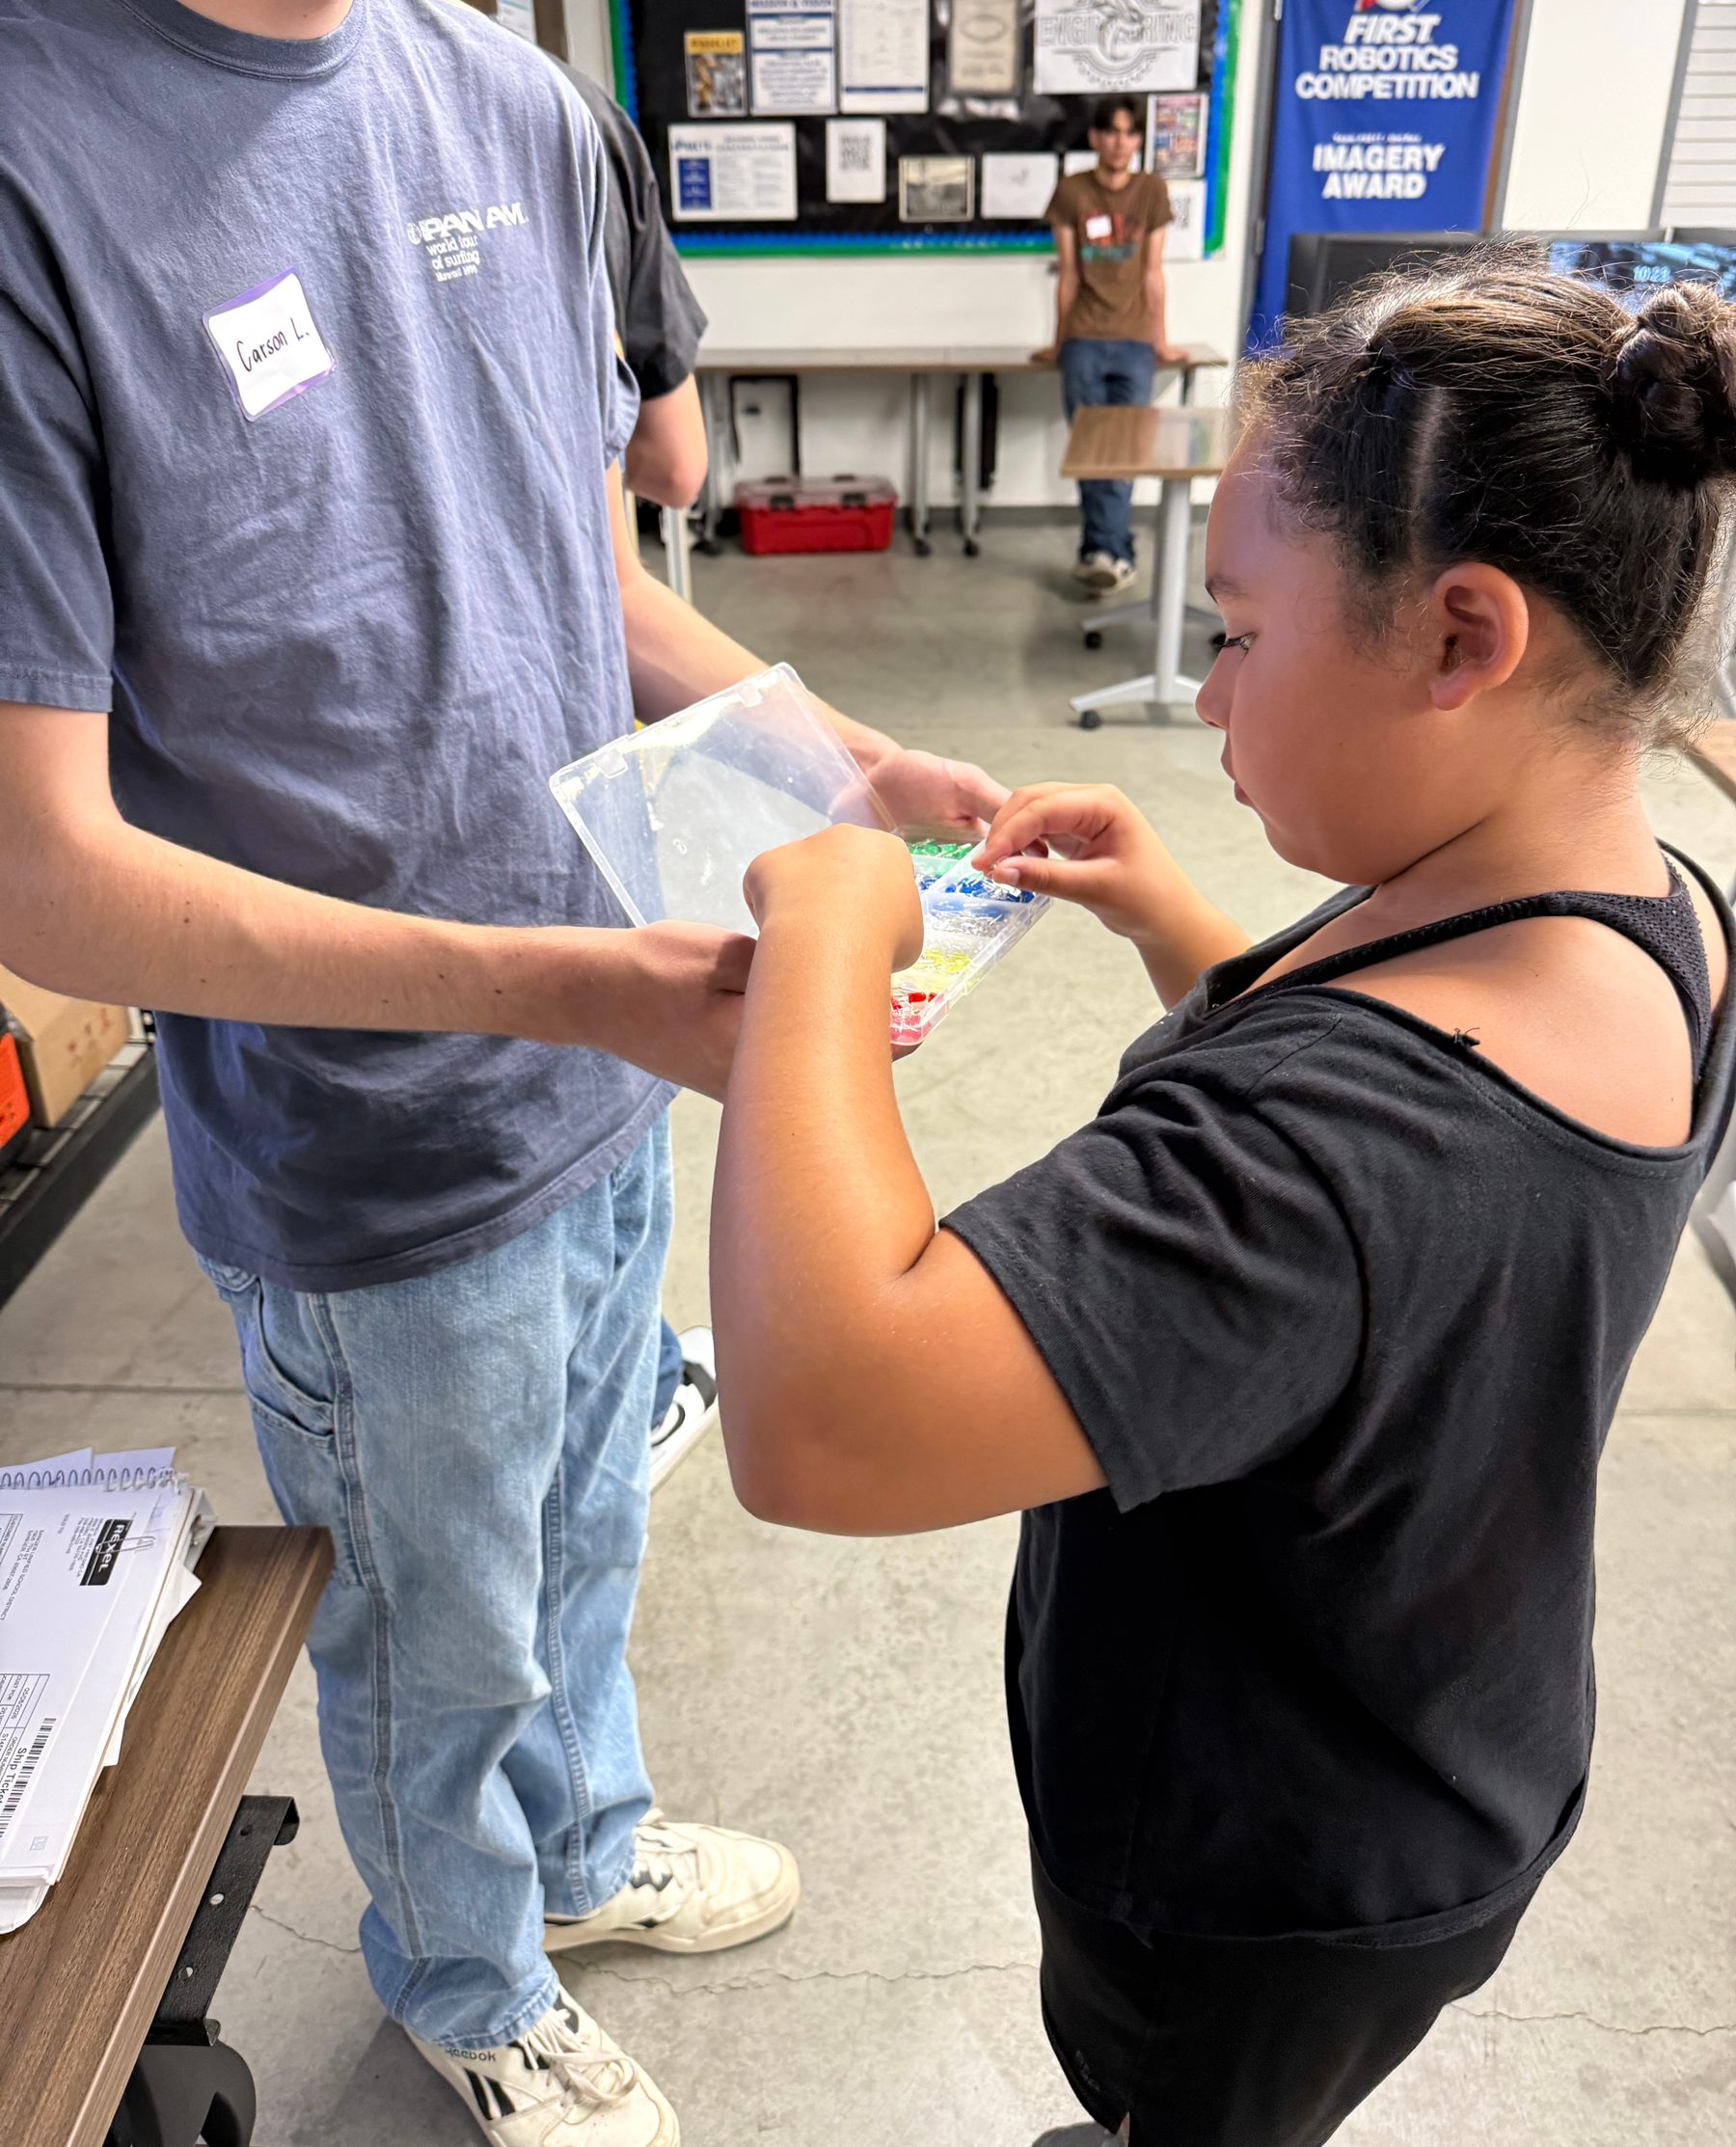
Students can choose their LED color while collecting materials before they begin building the circuit.
Understanding Why It Works
Every battery has two terminals.
One side pushes electricity out.
The other side allows electricity to return.
Copper tape acts like a wire by carrying electricity across the paper.
The LEDs only light when electricity can travel in a complete loop from one side of the battery, through the LEDs, and back to the other side.
If any part of that loop is interrupted, one or both LEDs stay off.
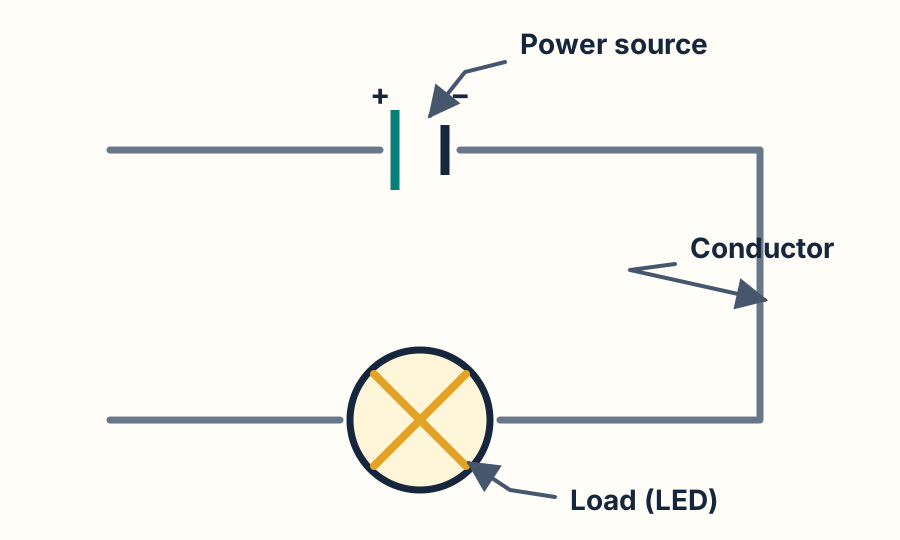
A complete loop allows electricity to flow from the battery, through the LED, and back to the battery.
Troubleshooting
Most paper circuits fail for one of four reasons.
One or both LEDs do not light
An LED only works when its positive and negative leads face the correct directions. First check each LED against the completed example, then reverse any LED that is facing the wrong way. If an LED still does not light, have an adult test it directly with a CR2032 battery and replace the LED if necessary.
The copper tape is not making good contact
Copper tape conducts electricity much better on its top surface than through the adhesive.
Students often try to fix mistakes by overlapping many short pieces of tape. Those overlaps do not always make reliable electrical connections.
If the tape was applied incorrectly, remove the section and replace it with a new piece instead of trying to patch it.
The tape is torn
Inspect every corner where the tape bends.
A small tear is enough to break the circuit.
The battery moved
Check that the battery is still firmly pressed against both pieces of copper tape.
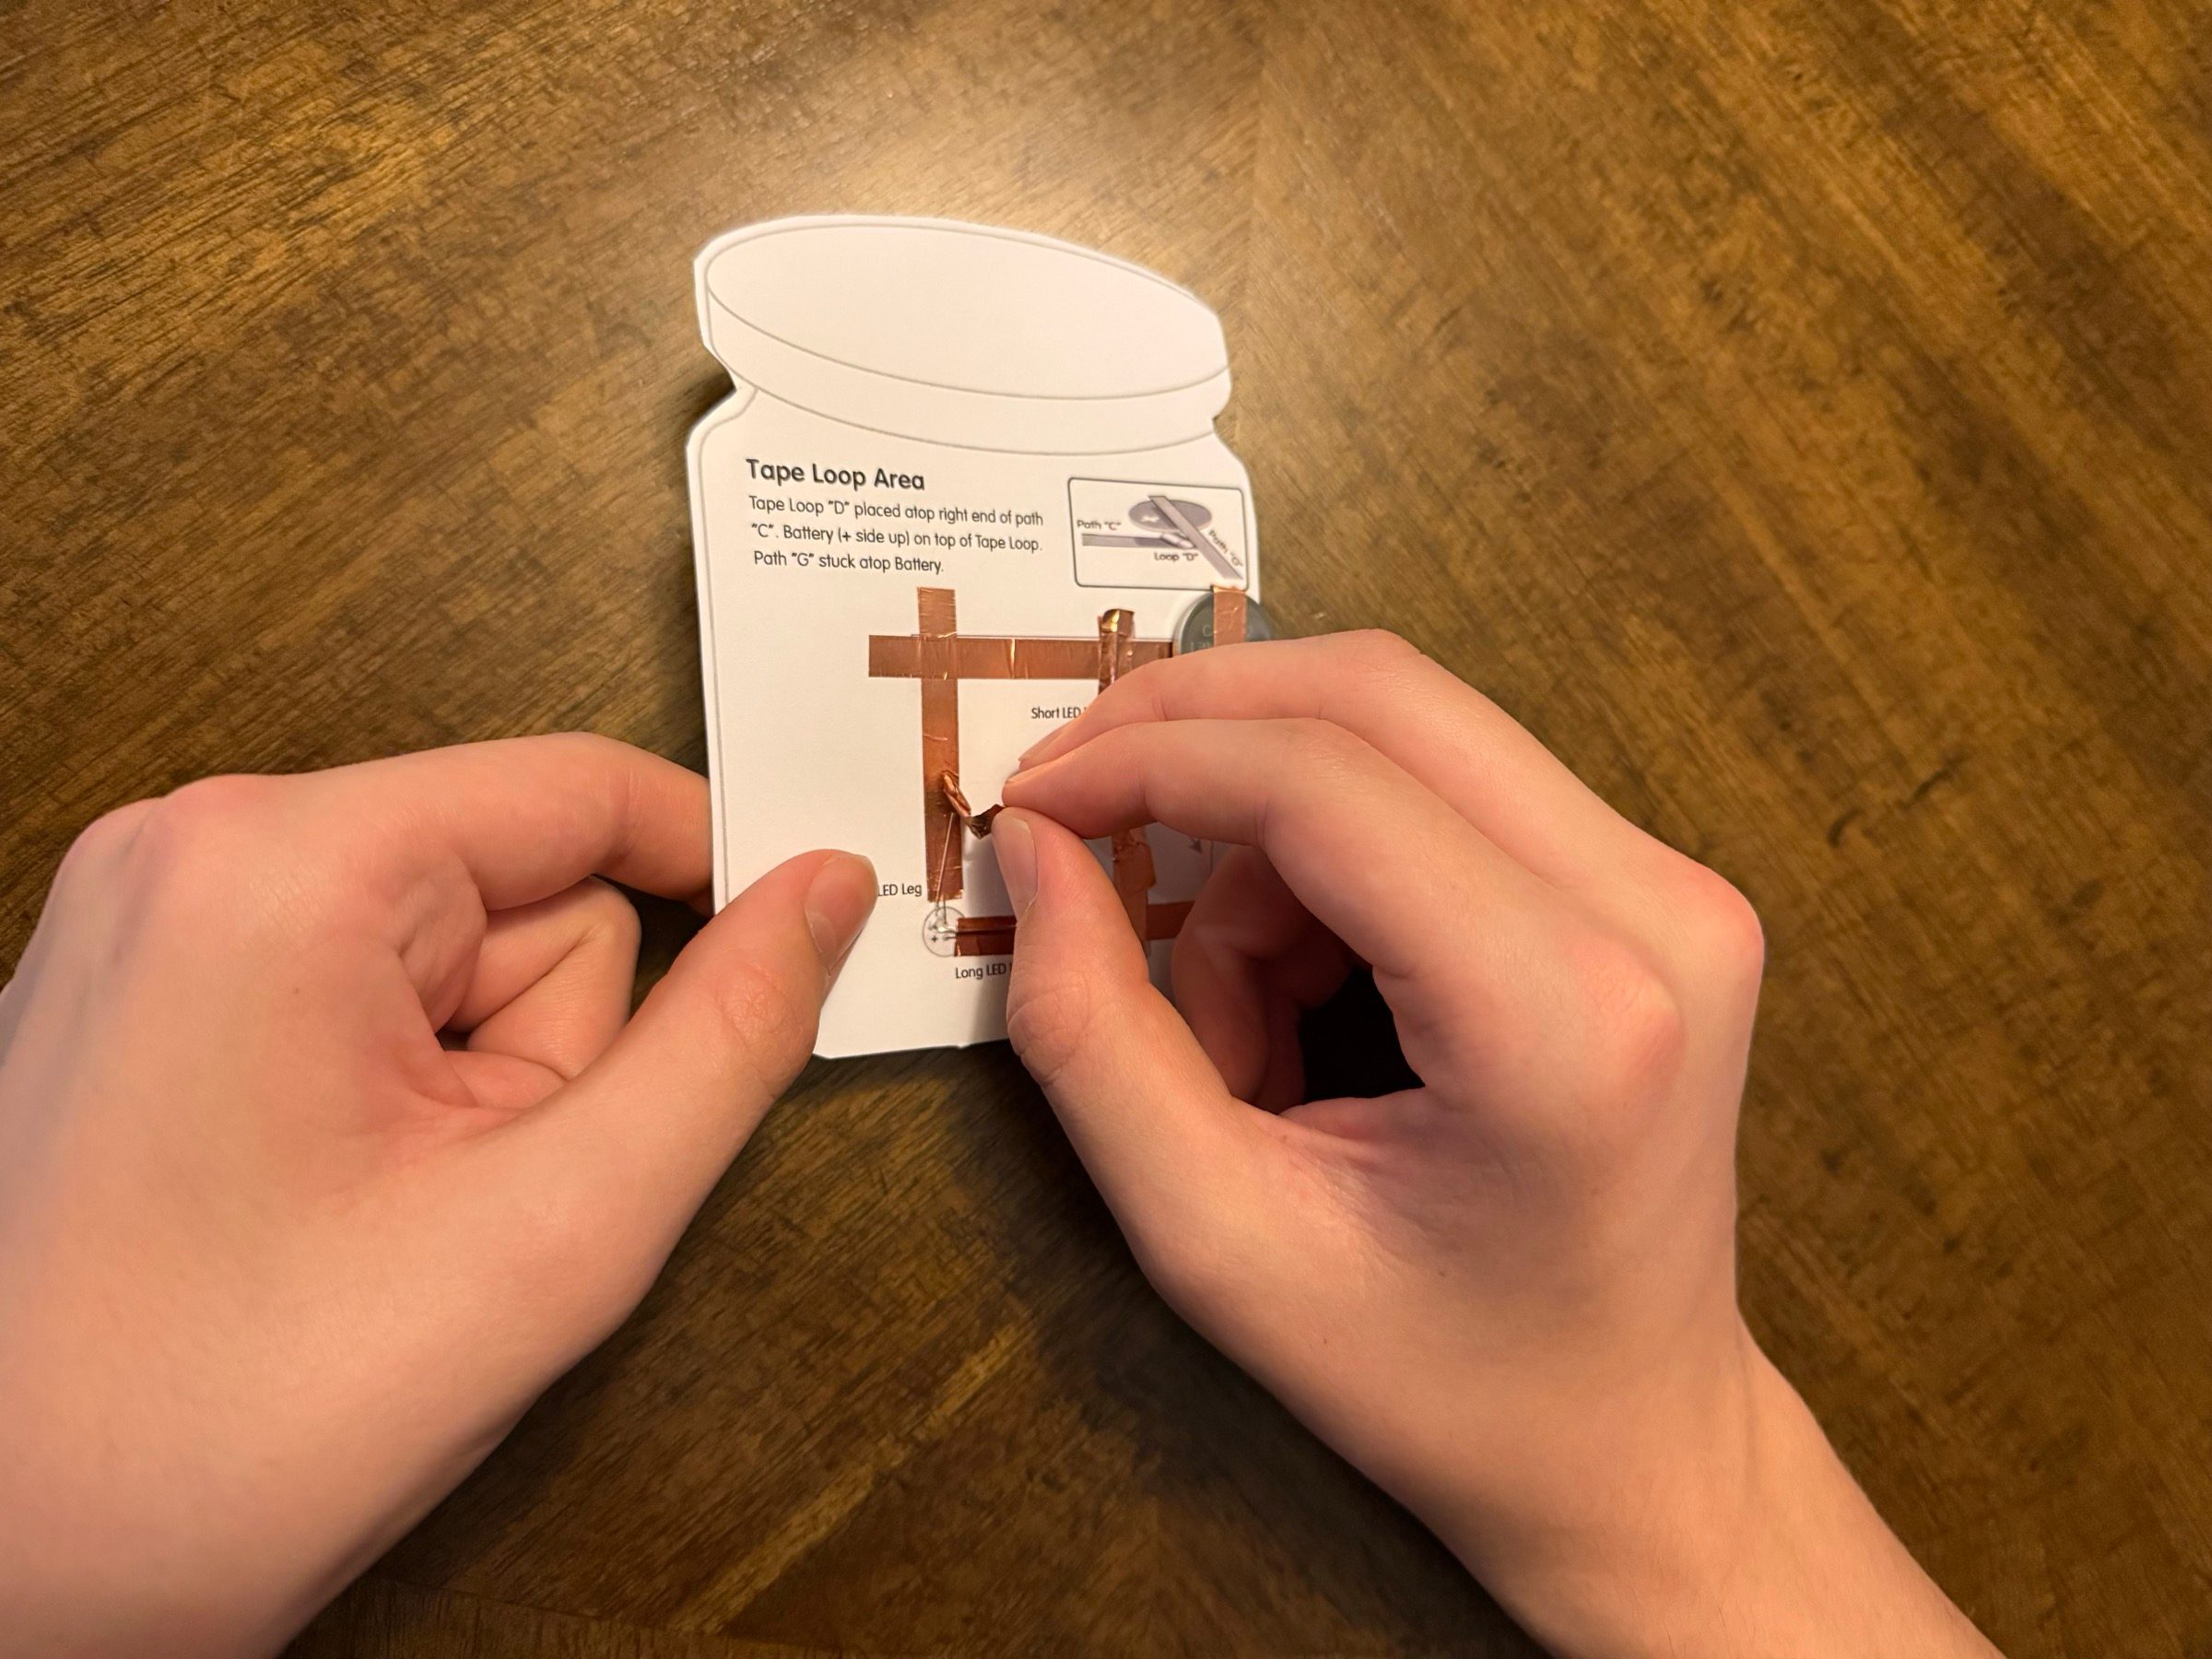
Most problems can be found by carefully tracing the electrical path from one side of the battery to the other.
Cleanup
- Remove unused batteries from the tables.
- Count every unused battery and store it in its original child-resistant packaging.
- Return unused LEDs to their container.
- Save remaining copper tape for future classes.
- Collect scissors and colored pencils.
- Allow students to take their completed paper circuits home.

Finished paper circuits ready to take home.