Personalized Tinkercad Keychains
Designing a personalized keychain is a great way to begin the first day of camp. Every student starts with the same basic tools, but no two finished designs are exactly alike. By the end of the lesson, each student will have created a custom keychain with their own name and a design that reflects their personality.
This lesson also introduces students to one of the most important ideas in engineering: before something can be manufactured, it first has to be designed. Tinkercad makes that idea approachable by letting students build with simple shapes instead of complicated CAD software.
The keychains will not be printed during class. Instead, collect the finished files after camp, print them during the week, and hand them out at the beginning of the next session. Students enjoy seeing something they designed on a computer become a real object, and delaying the lesson keeps things moving while giving everyone something to look forward to.
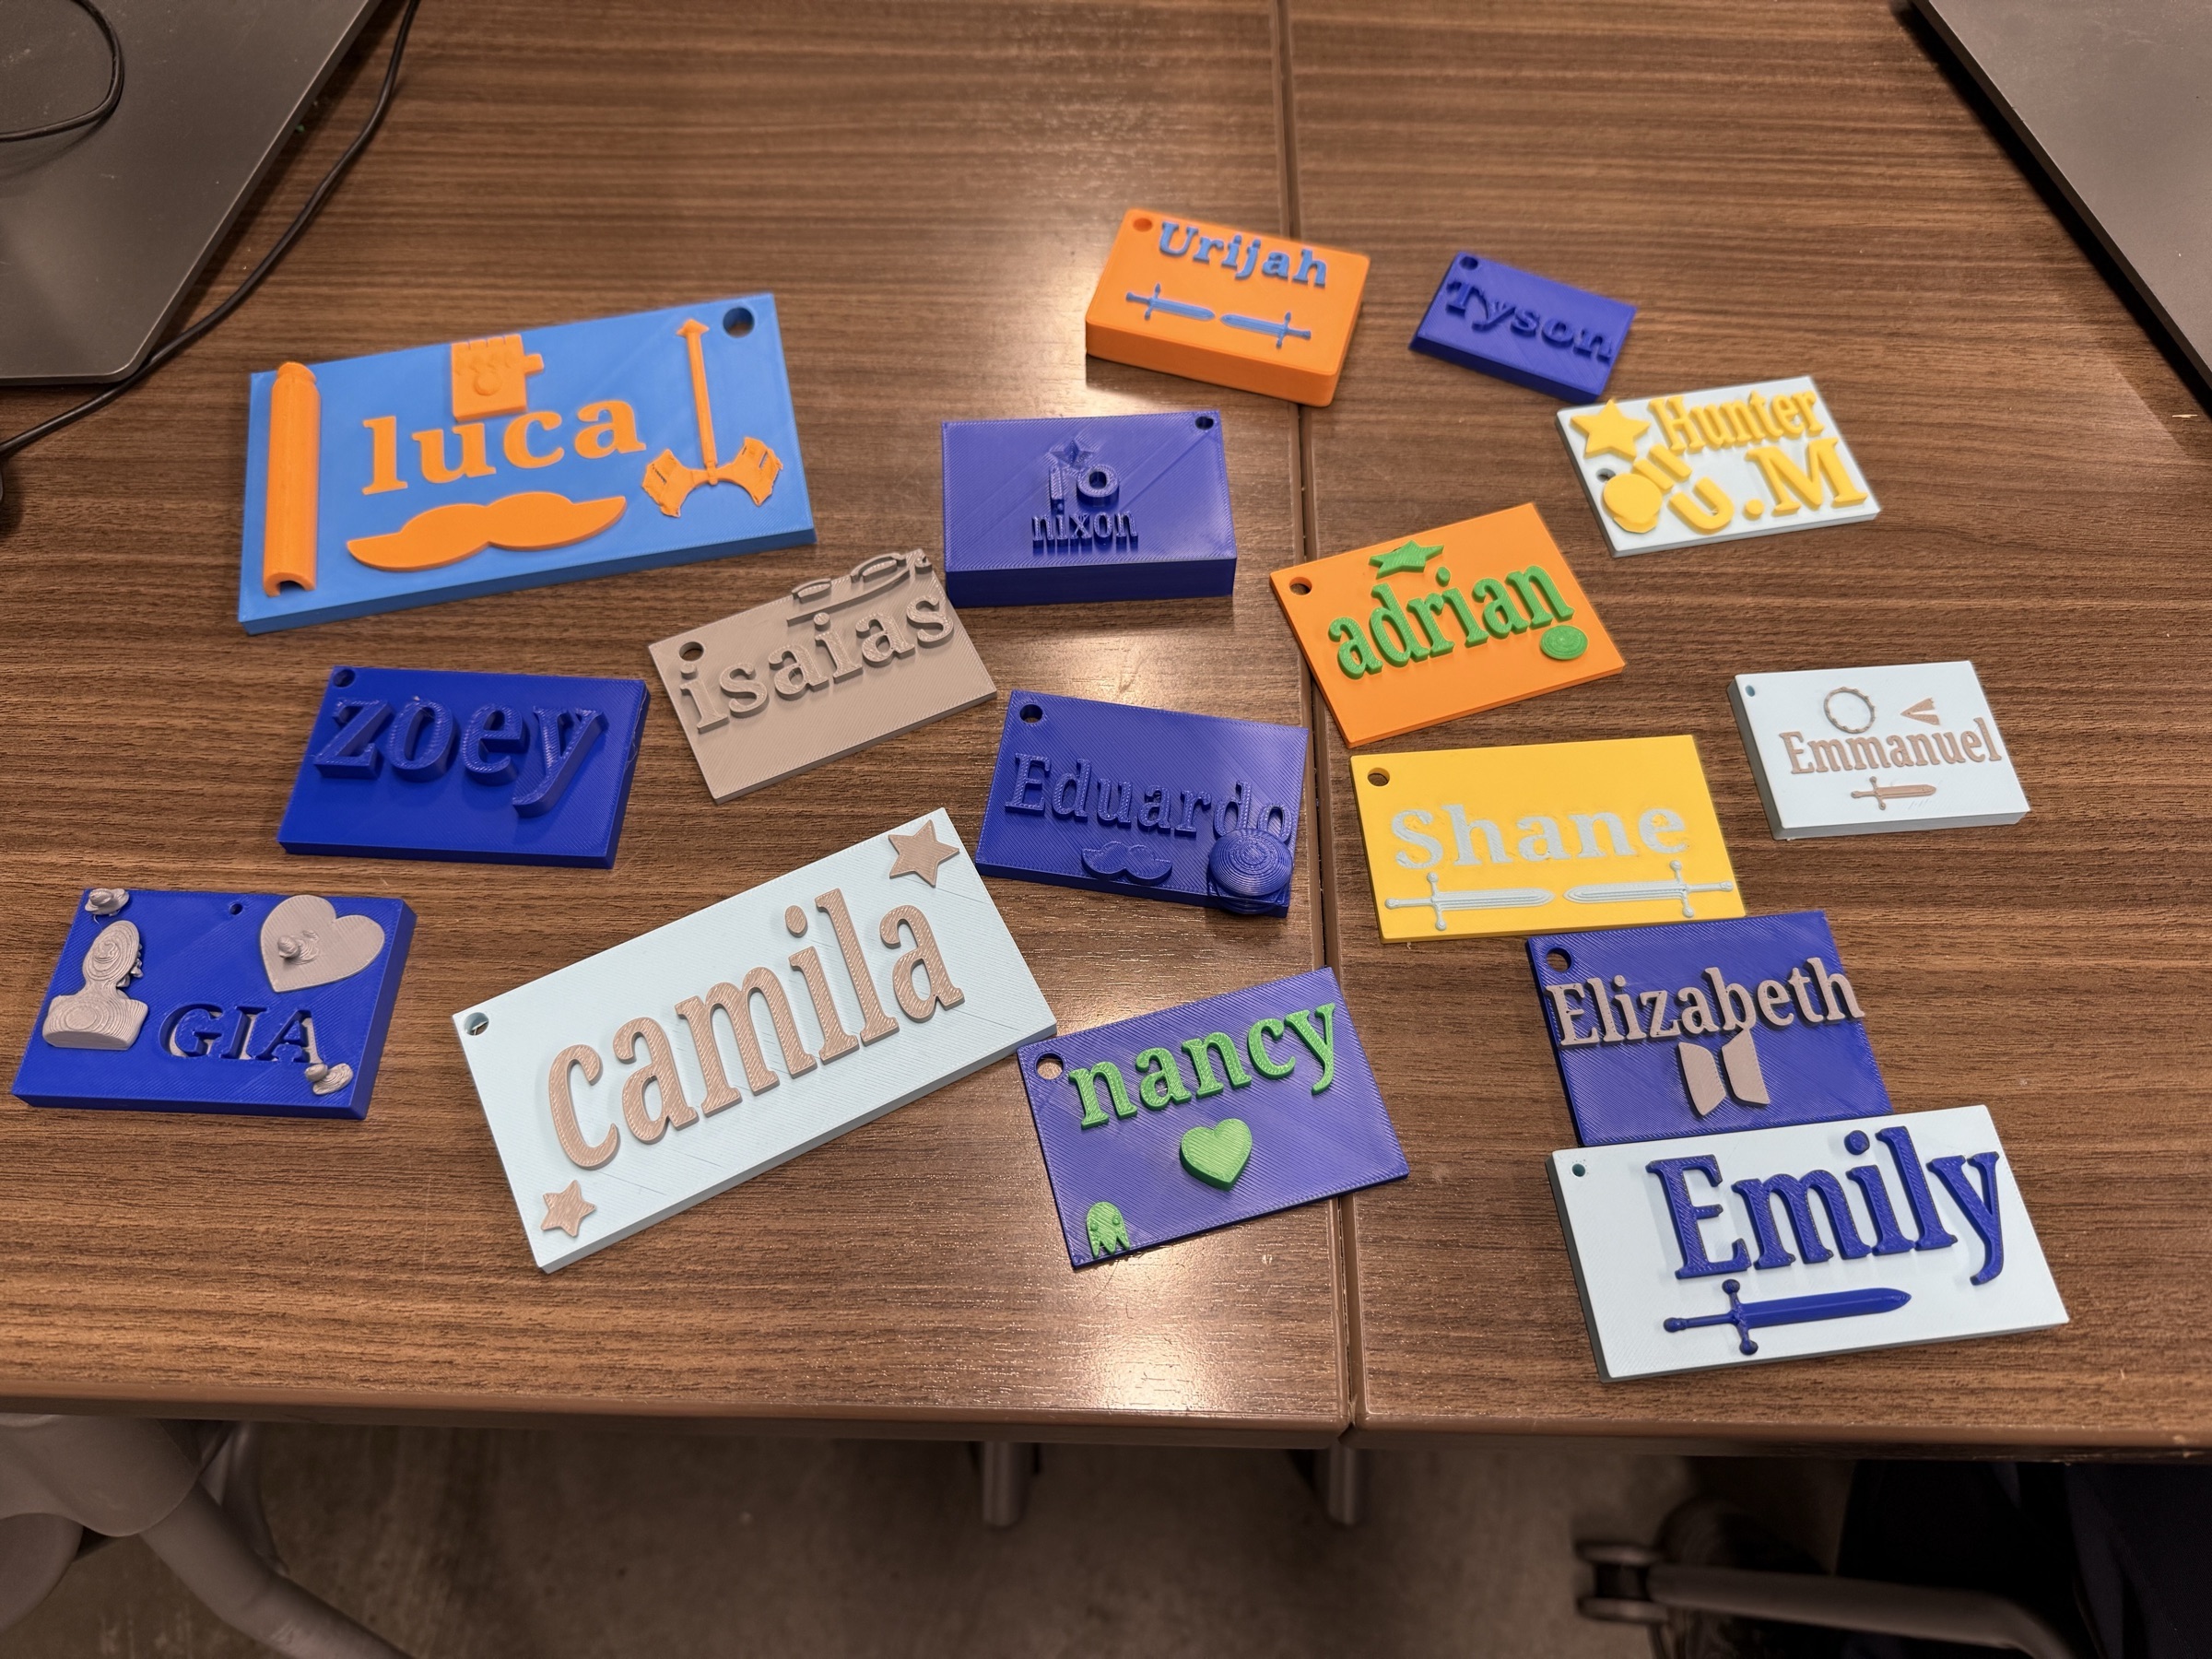
Examples of completed student keychains. Even after learning only a few basic CAD tools, students quickly begin creating unique designs of their own.
Materials
For each student
- Computer with internet access
- Access to a Tinkercad Classroom
- Individual Tinkercad login code (We recommend putting each student’s code on their name tag.)
For the instructor
- A way to project your screen (projector, classroom TV, etc.)
- Tinkercad teacher account
- One or more 3D printers
- PLA filament
- USB drive (or another way to collect STL files)
- Ball-chain key rings
How Many 3D Printers Do You Need?
We used 12 Bambu Lab X1 Carbon printers to produce the student keychains, but that amount of equipment is absolutely not necessary for this lesson. A single reliable printer can handle the project, including a basic Ender 3, if the instructor is patient and plans enough production time after camp.
More printers shorten the turnaround; they do not change what students learn. Estimate the total printing time in your slicer before promising a pickup date, place multiple keychains on a build plate when practical, and leave time to correct student models and reprint failures. If one printer cannot finish every keychain before the next session, tell families when and how the finished projects will be distributed.
Before You Begin
Before camp, create a Tinkercad Classroom and generate a login code for every student. Decide how you will distribute those codes before students arrive. We recommend printing or writing each student’s login code directly on their name tag. It eliminates the need to hand out papers or read codes aloud once everyone is seated.
Verify that every computer can access the internet, open a web browser, and load the Tinkercad website before students arrive.
Prepare two demonstration models before class begins:
- One correctly designed keychain.
- One keychain with floating text or decorations that are not connected to the base.
Showing both examples makes it much easier to explain why every printed feature needs something underneath it.
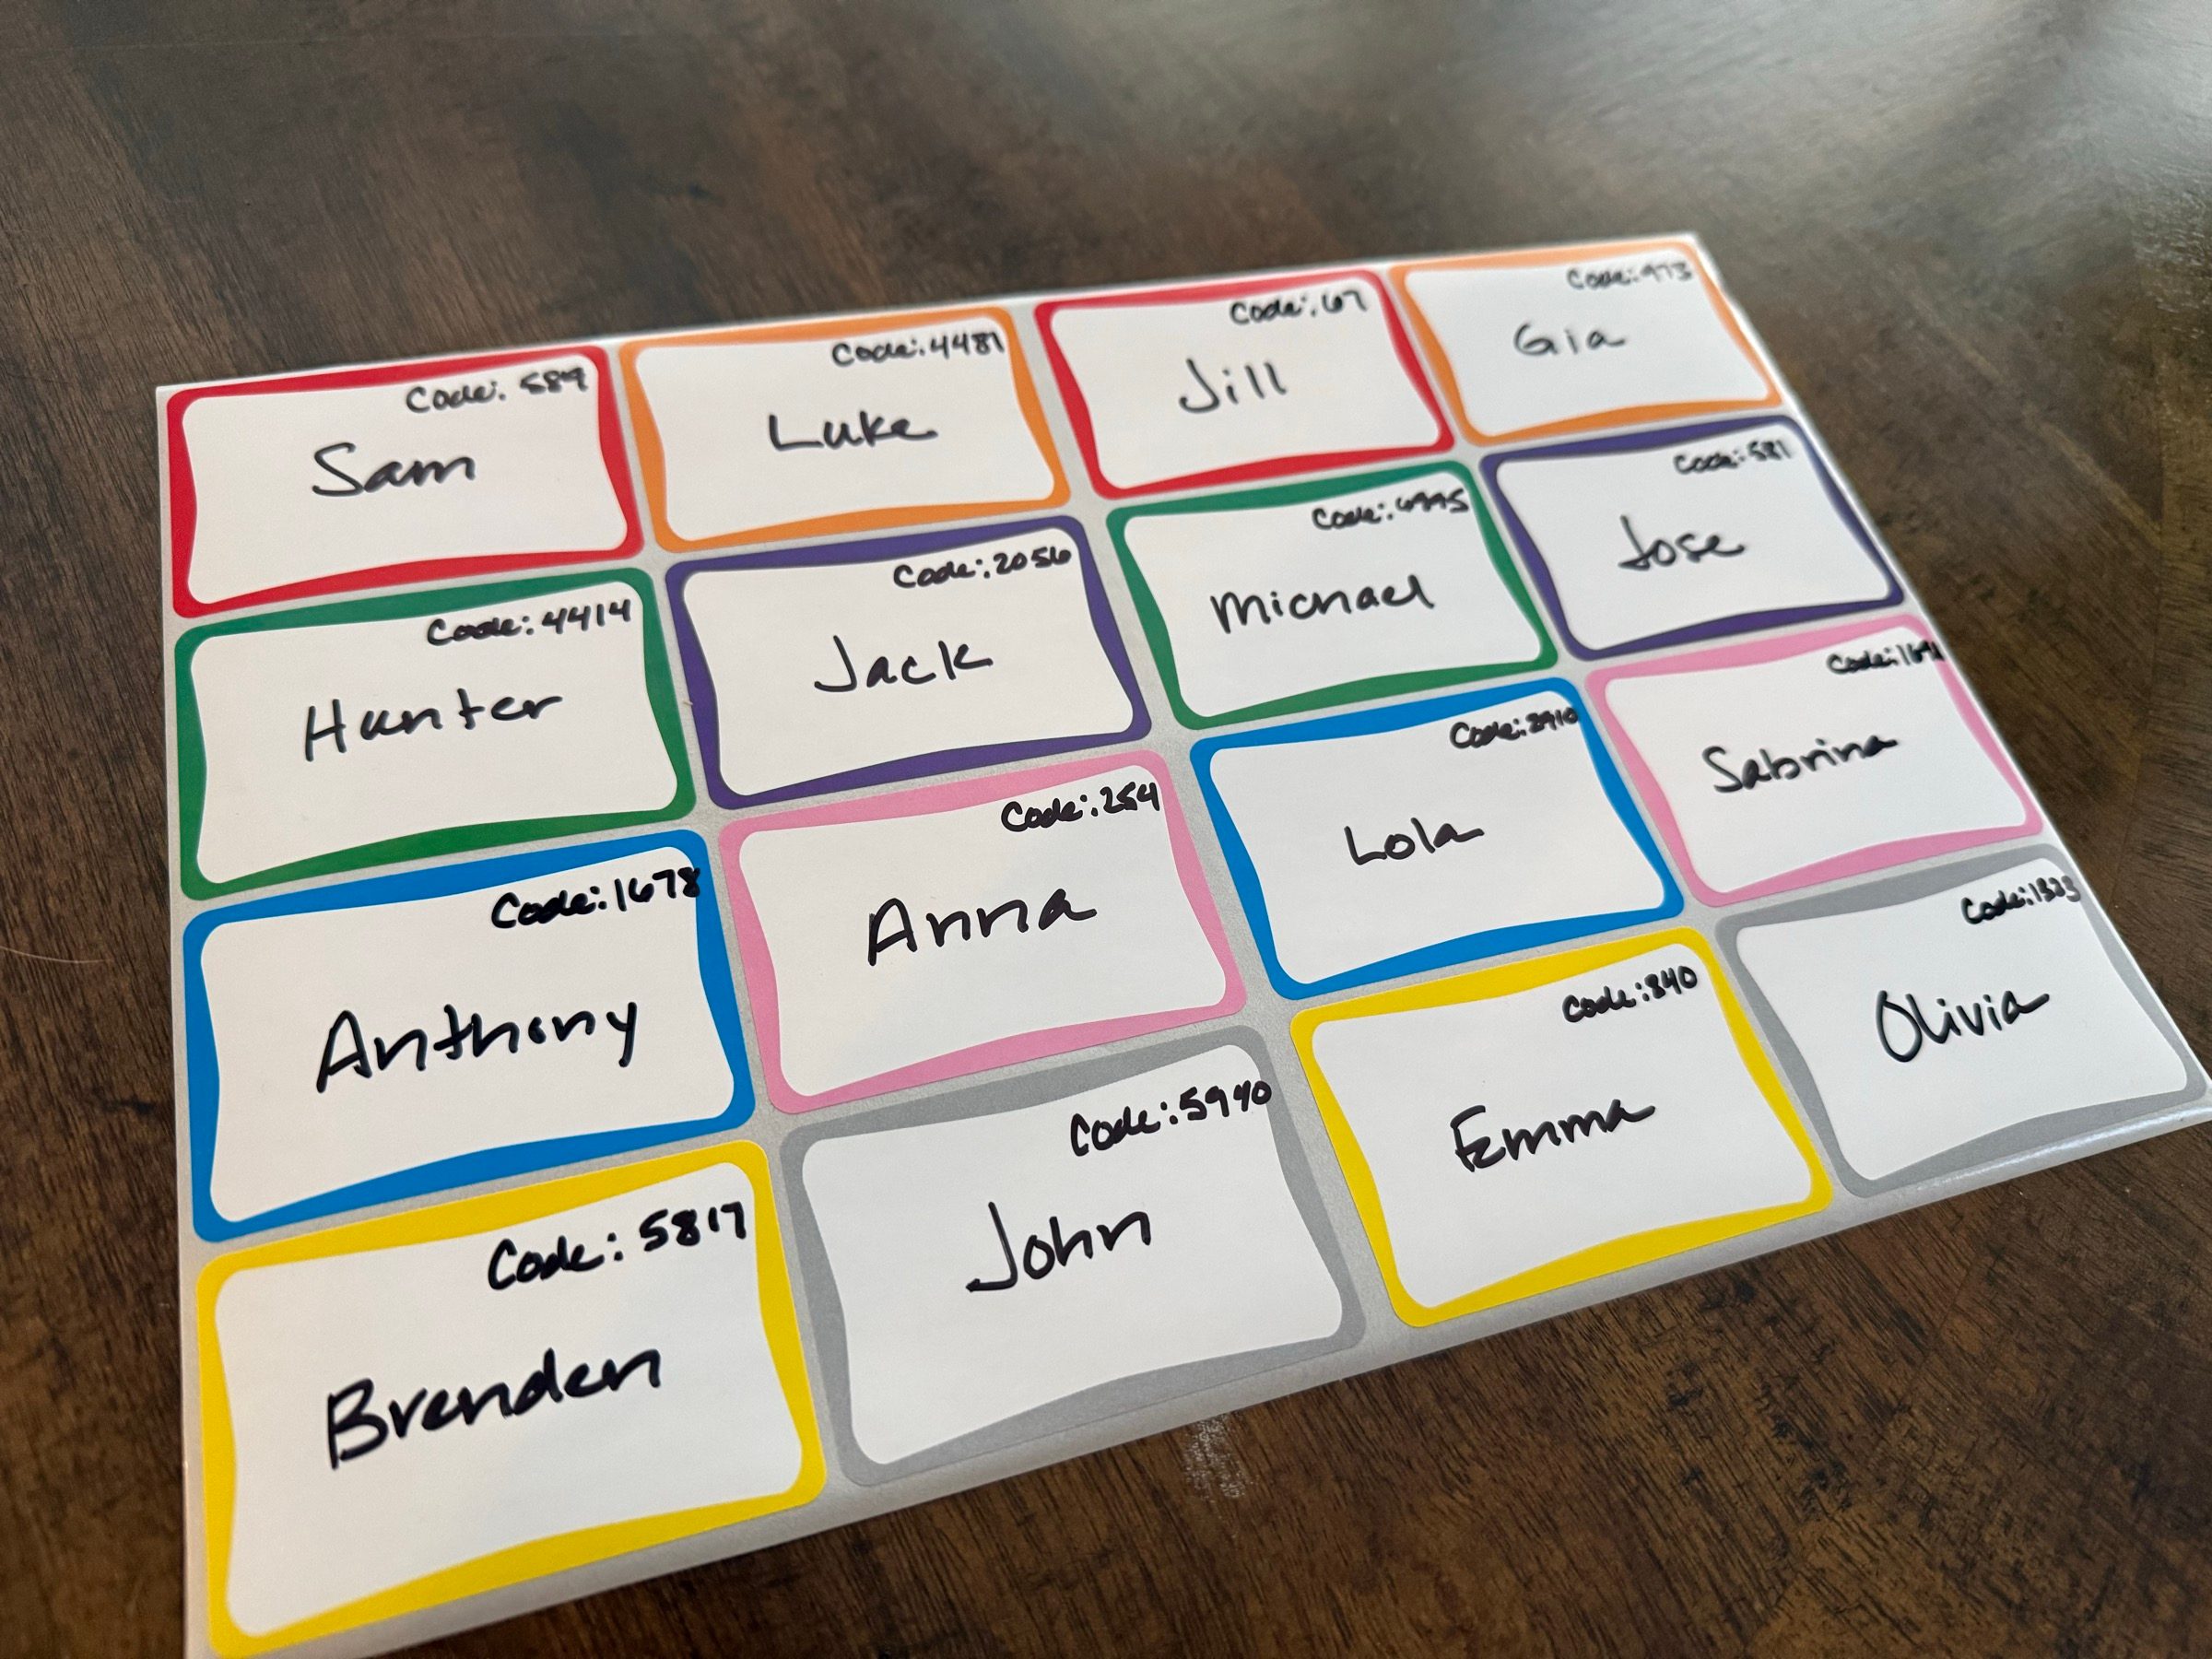
Putting each student’s login code directly on their name tag keeps the beginning of the activity organized and eliminates the need to distribute login sheets.
Teaching the Lesson
Do not assume students know how to use a Windows computer.
In our experience, many elementary students have only used touchscreen devices. Even using a keyboard and mouse can be completely new to them. Begin by showing everyone how to log in, open Chrome (or another web browser), type a website address, and join your Tinkercad Classroom.
Wait until everyone reaches the same screen before beginning the CAD demonstration. Spending an extra minute here will save much more time later.
Demonstrating the Tools
Keep your screen projected throughout the lesson.
Demonstrate only a few tools before letting students begin working.
- Drag a box onto the workplane.
- Resize the box.
- Add text.
- Change the text to the student’s name.
- Add a hole for the key ring.
After demonstrating each new tool, pause and give students a minute or two to try it themselves before moving on.
This “show, then do” rhythm keeps the class together and gives volunteers time to help anyone who falls behind.
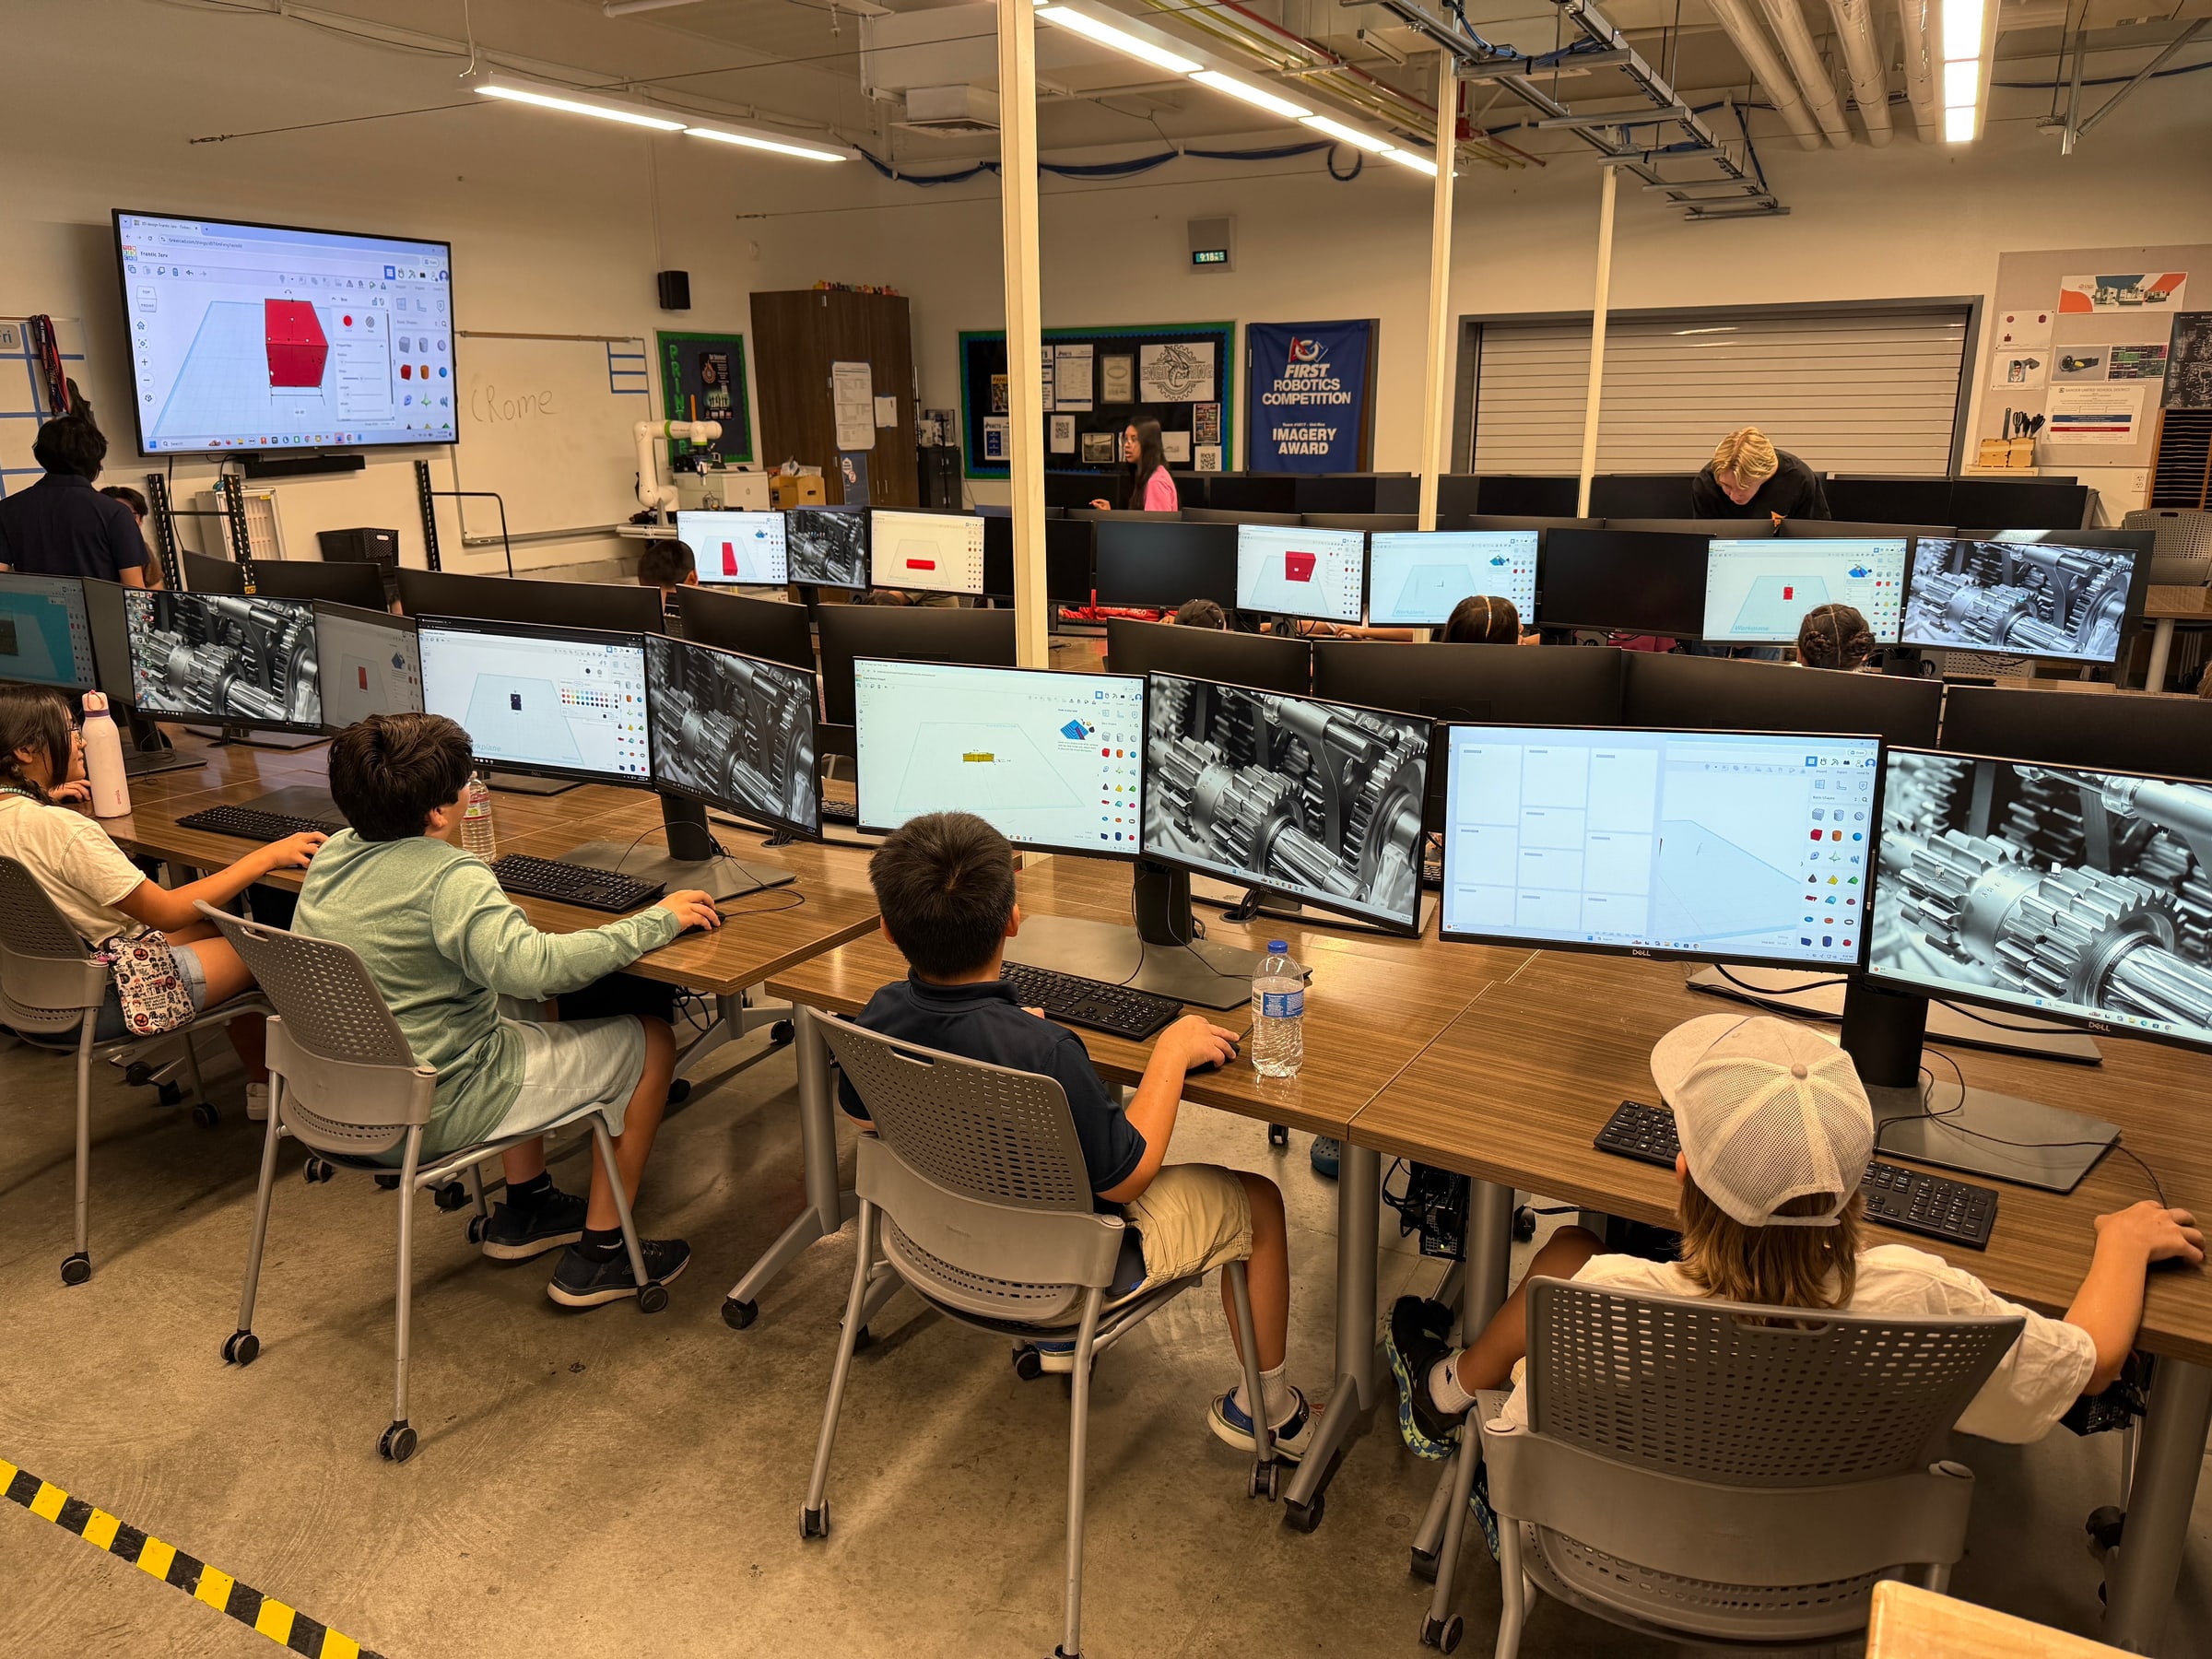
Project every step of the demonstration so students can follow along before trying each tool themselves.
Once students understand those basic tools, encourage them to experiment. Most students quickly begin adding decorations, symbols, or extra shapes to personalize their design.
Walk around the room answering questions instead of taking over the mouse. If a student gets stuck, guide them with questions that help them discover the solution themselves.
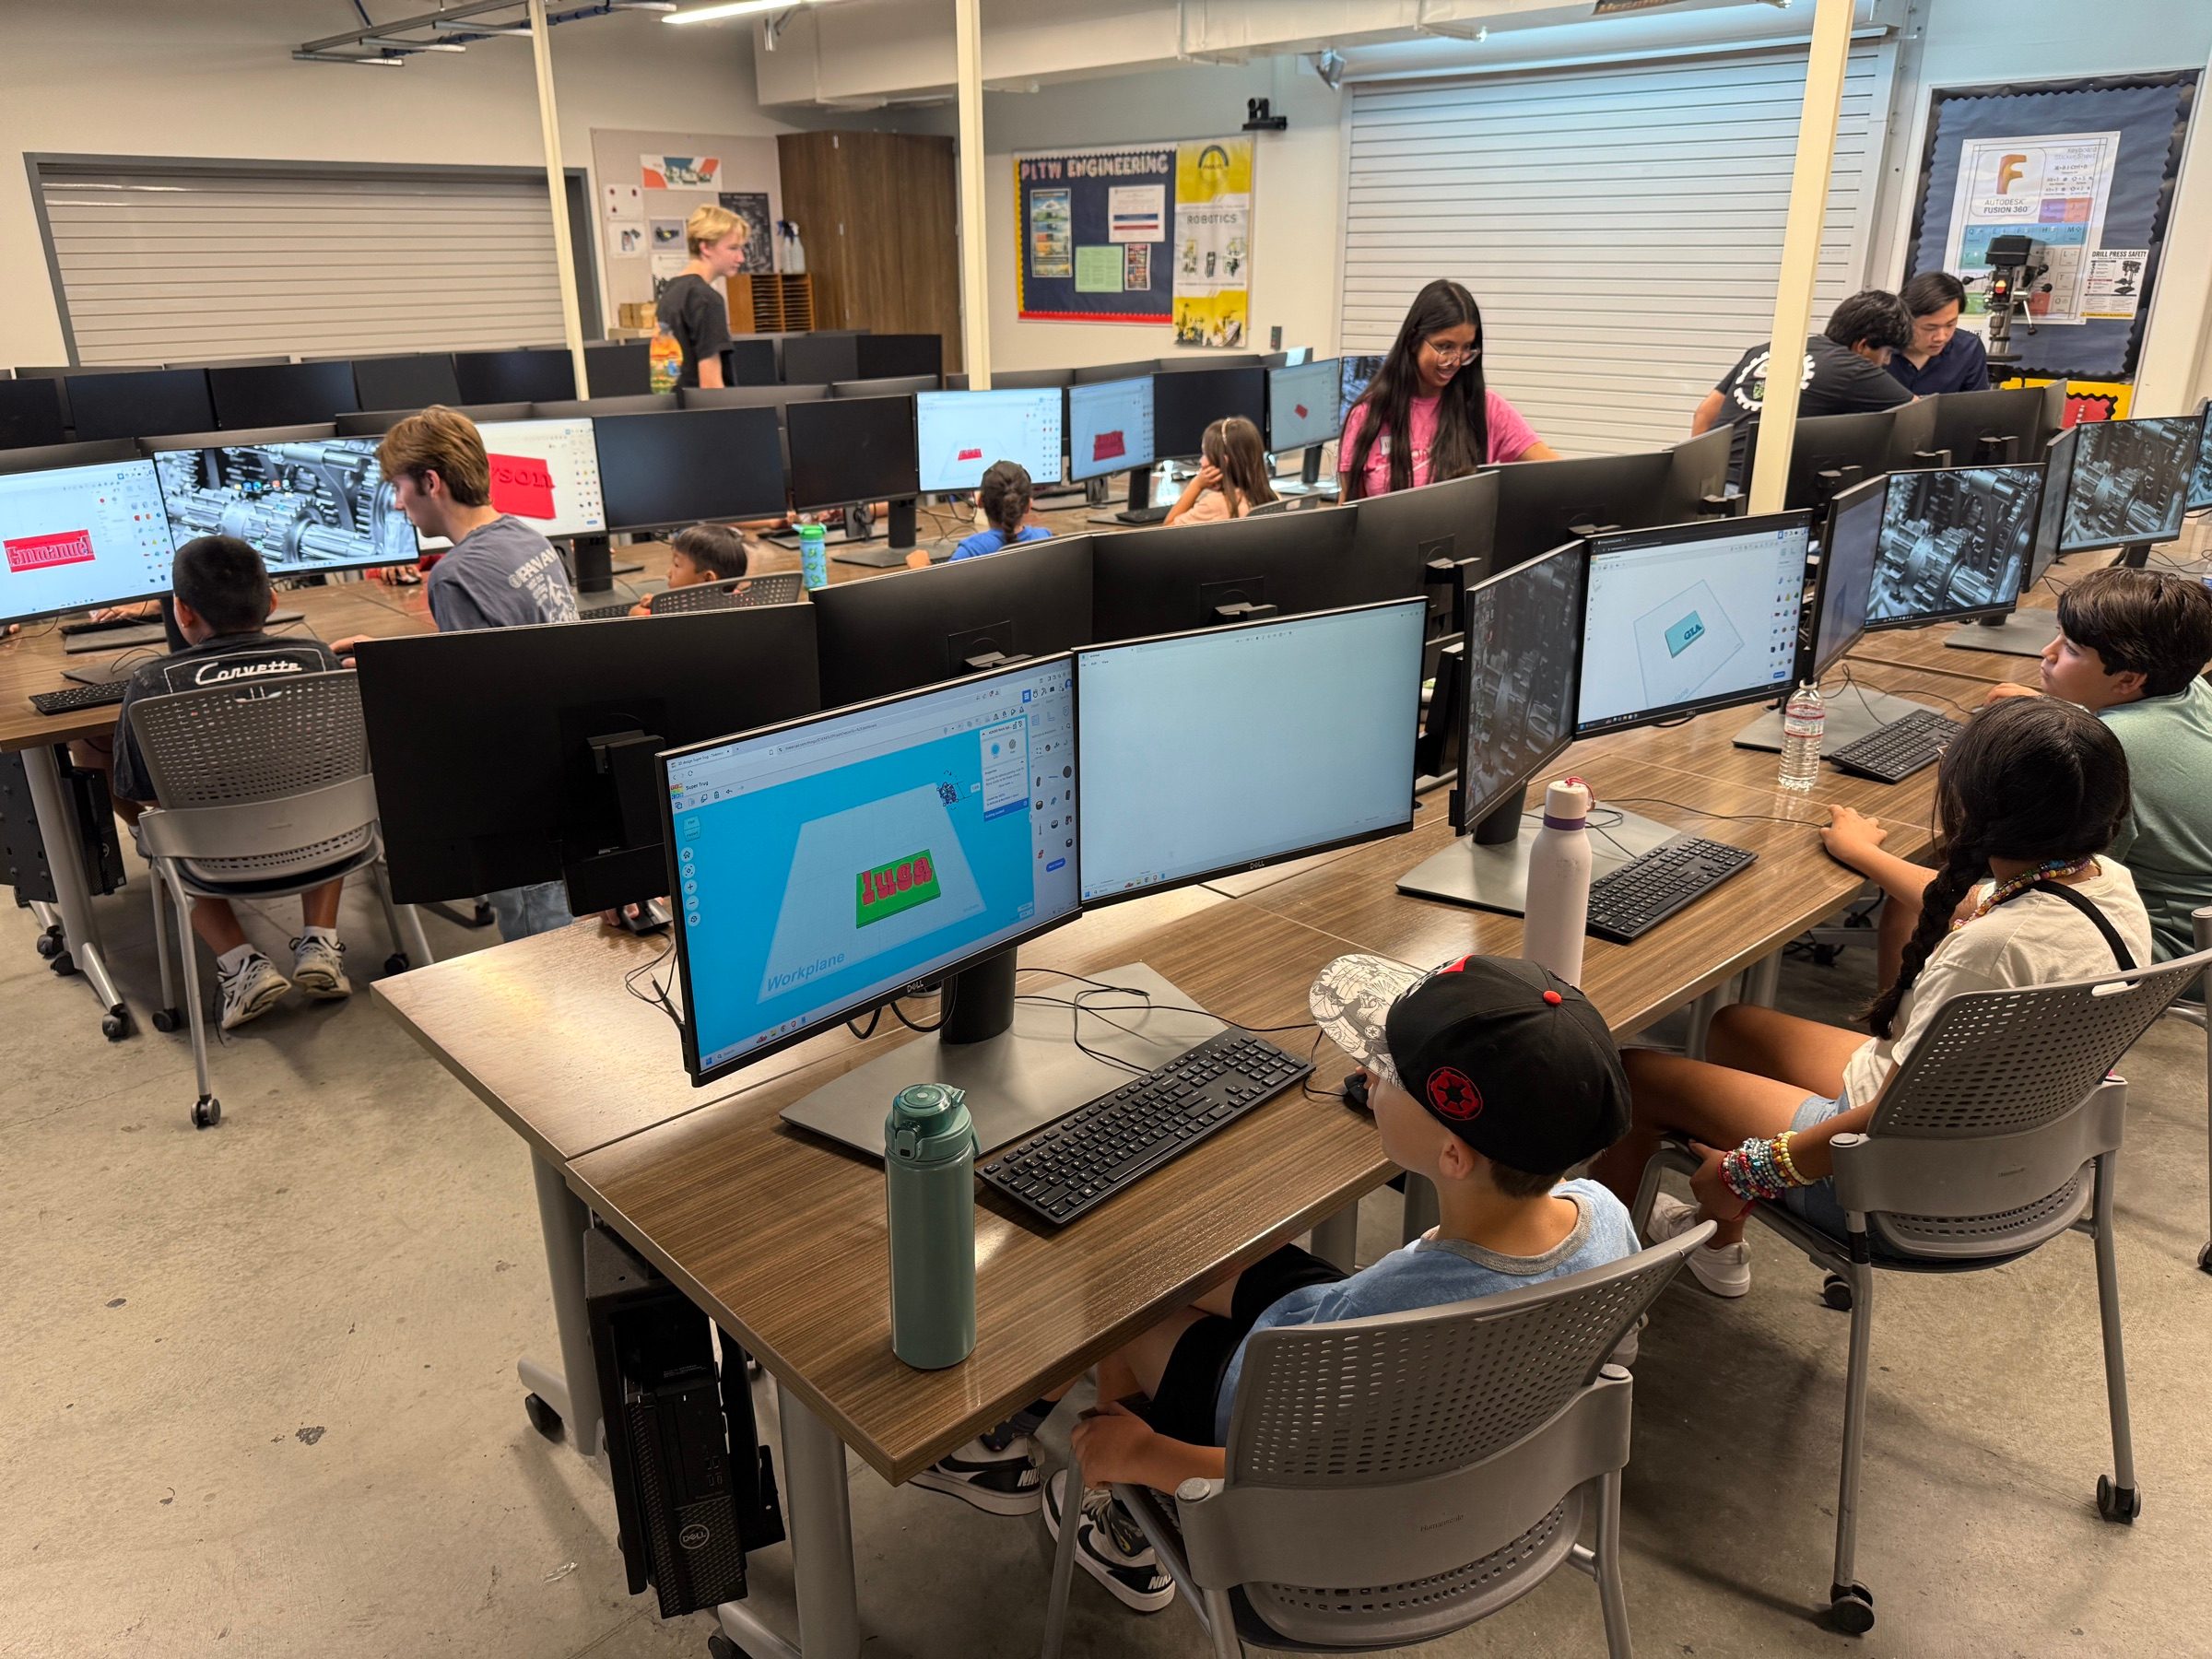
Once students understand the basics, allow them to explore while volunteers circulate around the room to answer questions.
Understanding 3D Printing
Before students spend too much time decorating their keychains, pause for a short explanation of how a filament printer works.
A filament printer builds an object one thin layer at a time. Every new layer rests on the layer below it. If text or decorations are floating above the base, there is nothing underneath for the printer to build on.
Rotate your incorrect demonstration model and show students the gap between the decoration and the base. Then compare it with the corrected version where every feature touches the keychain.
You do not need to explain infill, temperatures, or slicer settings. The important idea is simply that every new layer needs something underneath it.
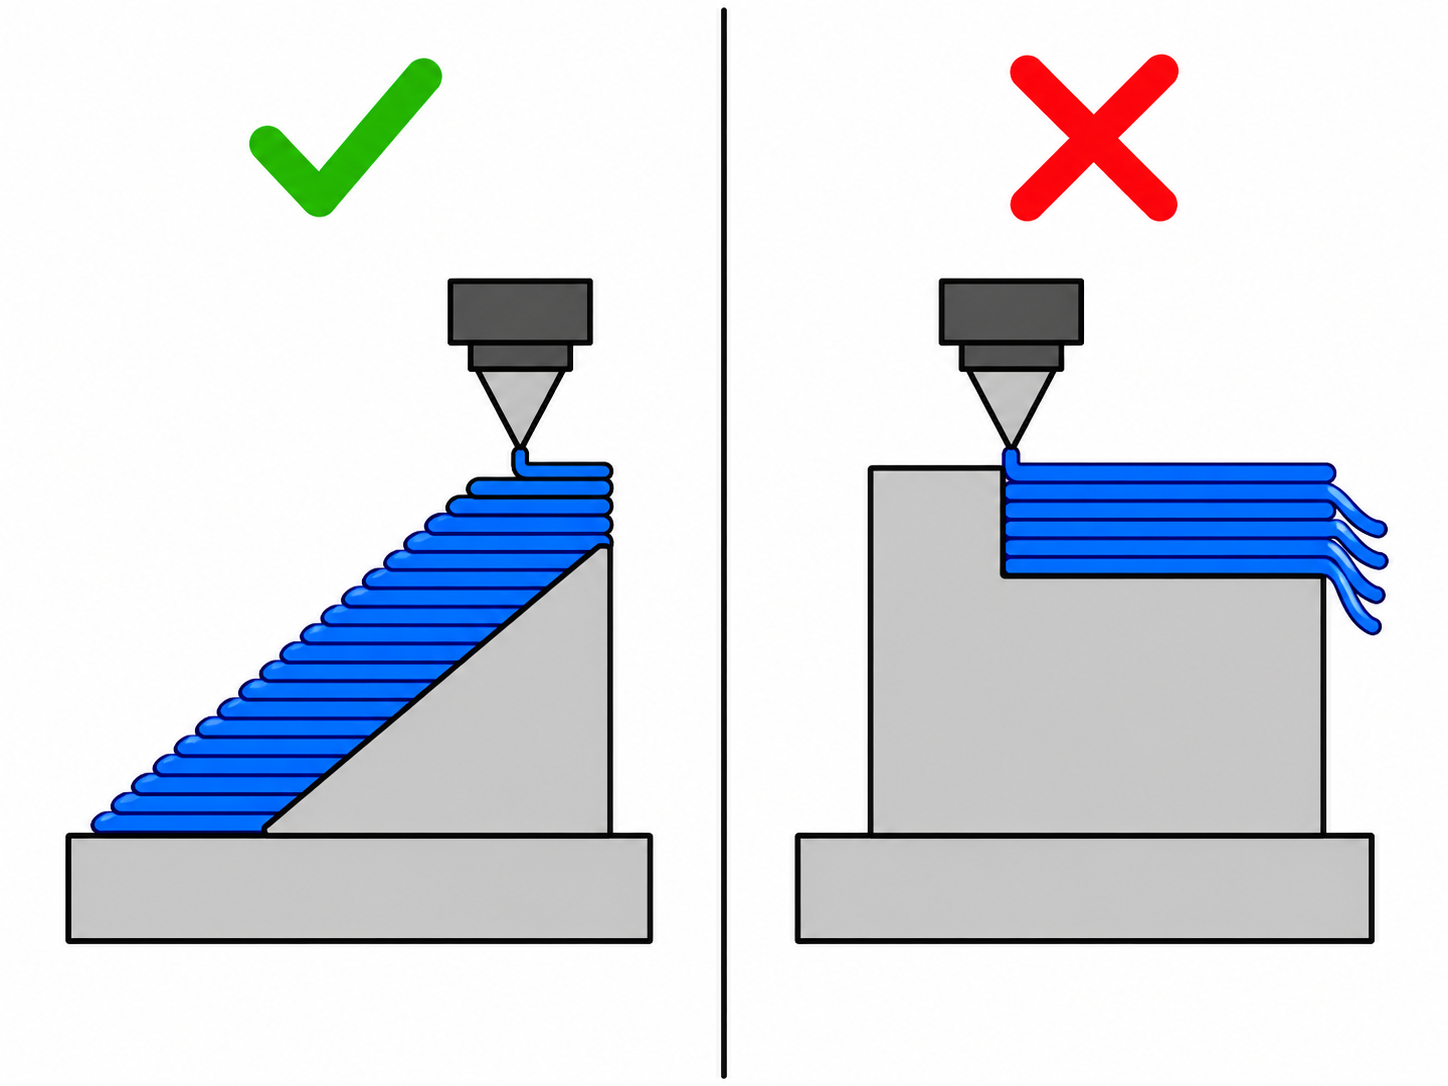
Every new layer must be supported by the layer below it. Features connected to the model can be printed, while floating geometry has nothing for the printer to build on.
Collecting Files
Before moving on to the next activity, have every student export their design as an STL file.
After camp, collect the files from each computer and inspect them for:
- Floating geometry
- Disconnected text
- Closed keychain holes
- Spelling mistakes
Correct any problems before slicing the models for printing.
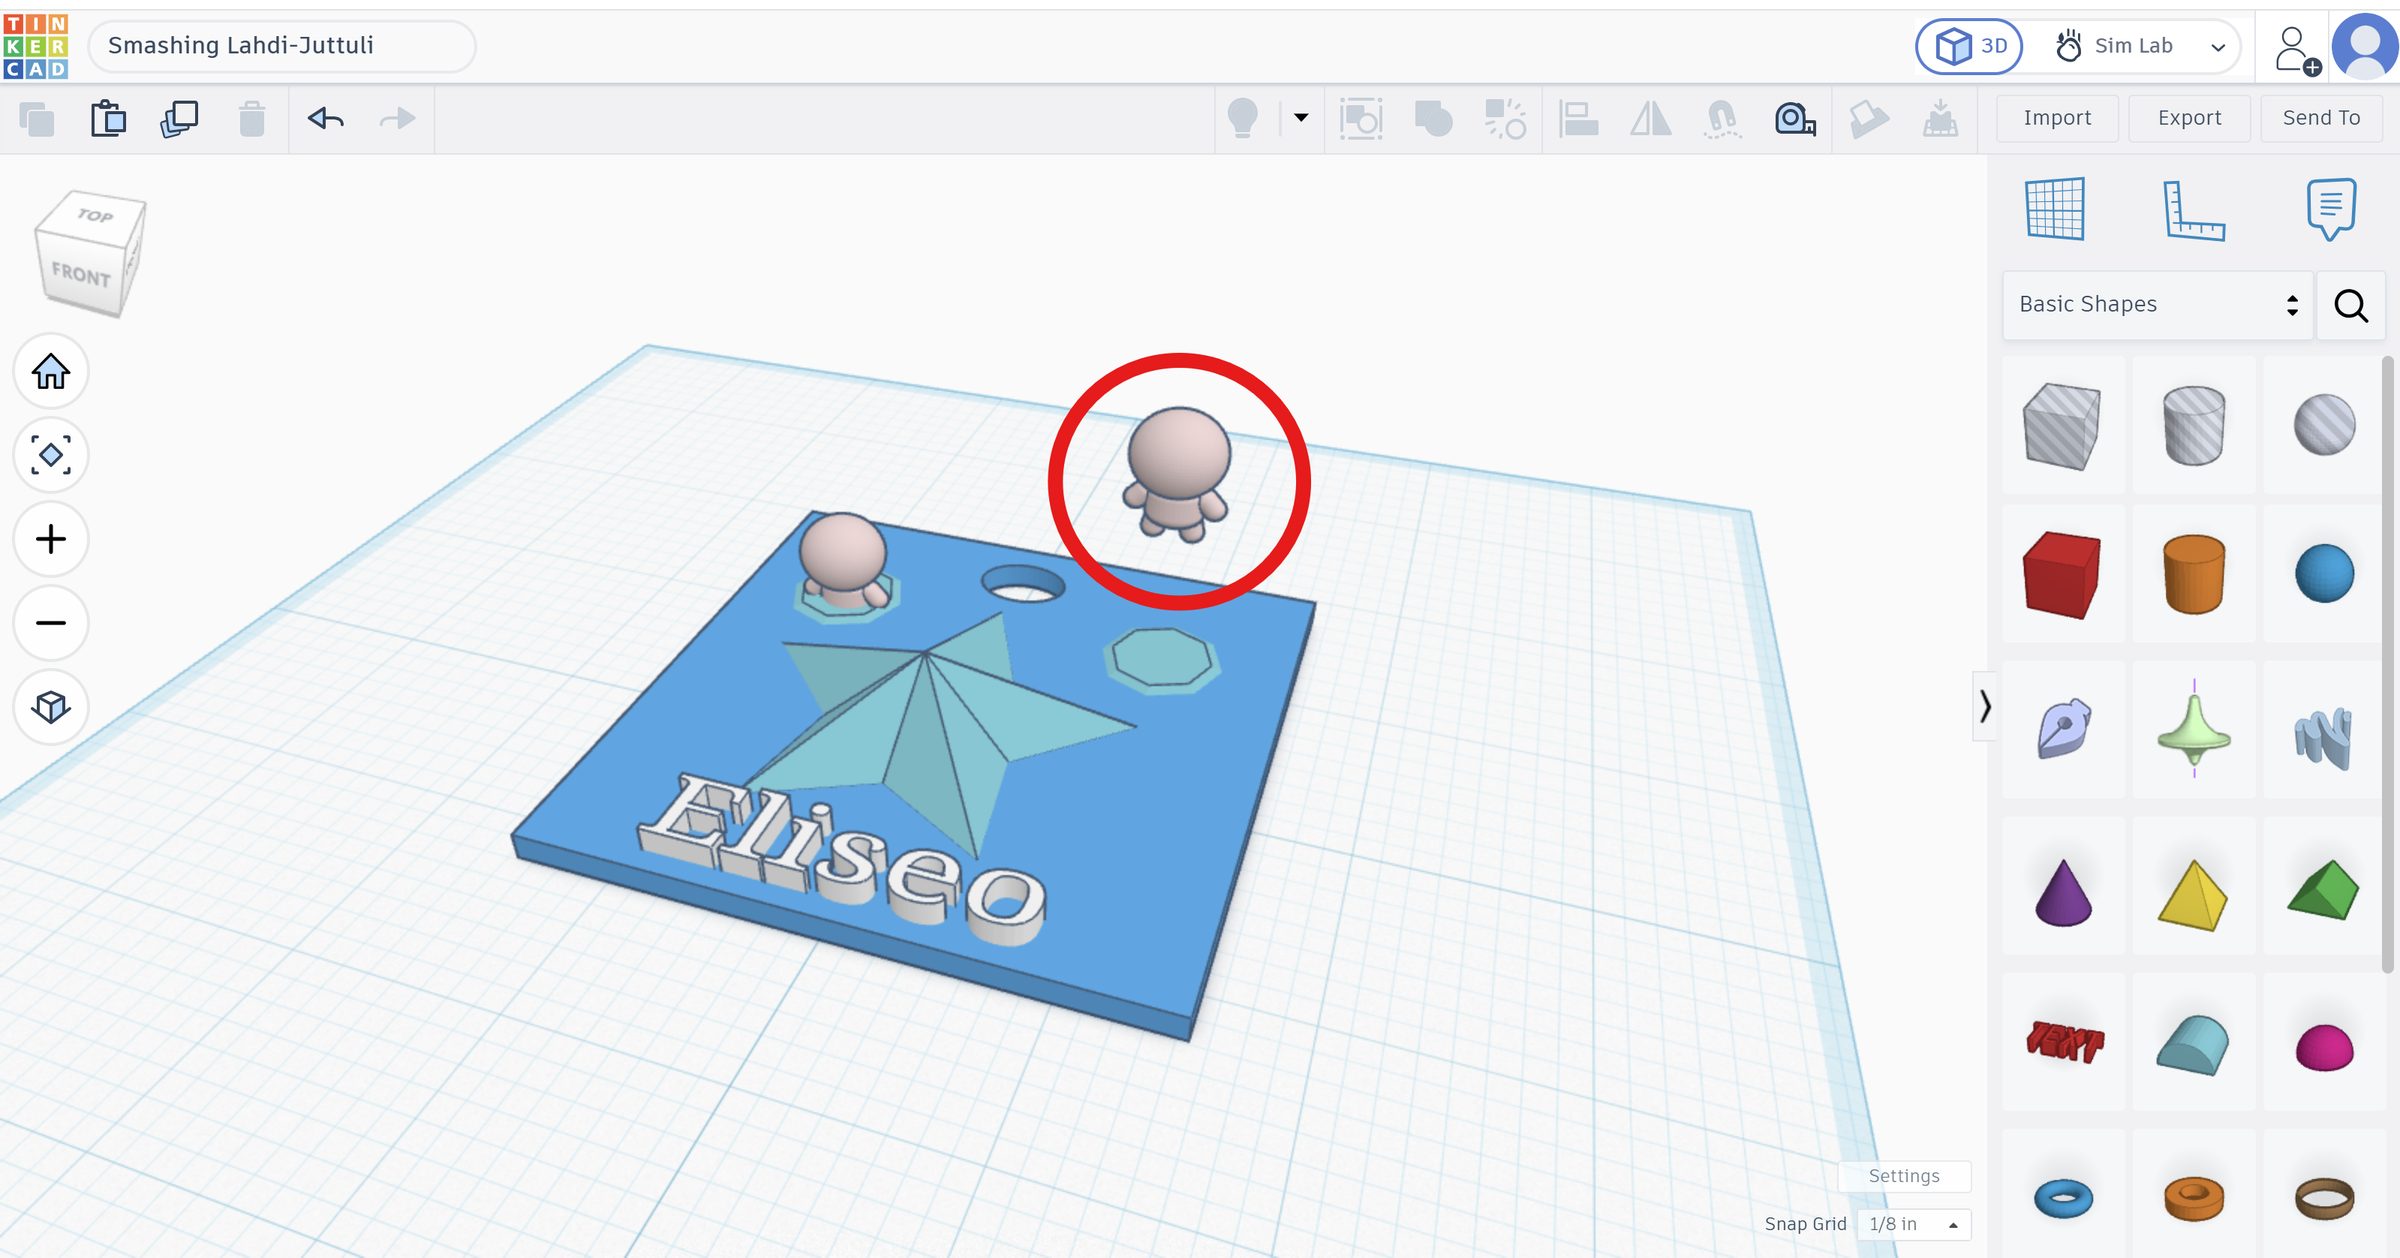
Spend a few minutes checking each model before printing. Fixing small issues now saves hours of failed prints later.
Printing the keychains after camp keeps the lesson moving and gives students something to look forward to at the next session.
If you have multiple printers available, place several keychains on the same build plate to reduce printing time.
Although offering many filament colors is exciting, we recommend limiting each keychain to two colors: one for the base and one for the raised text. It dramatically simplifies the printing process while still producing colorful finished keychains.
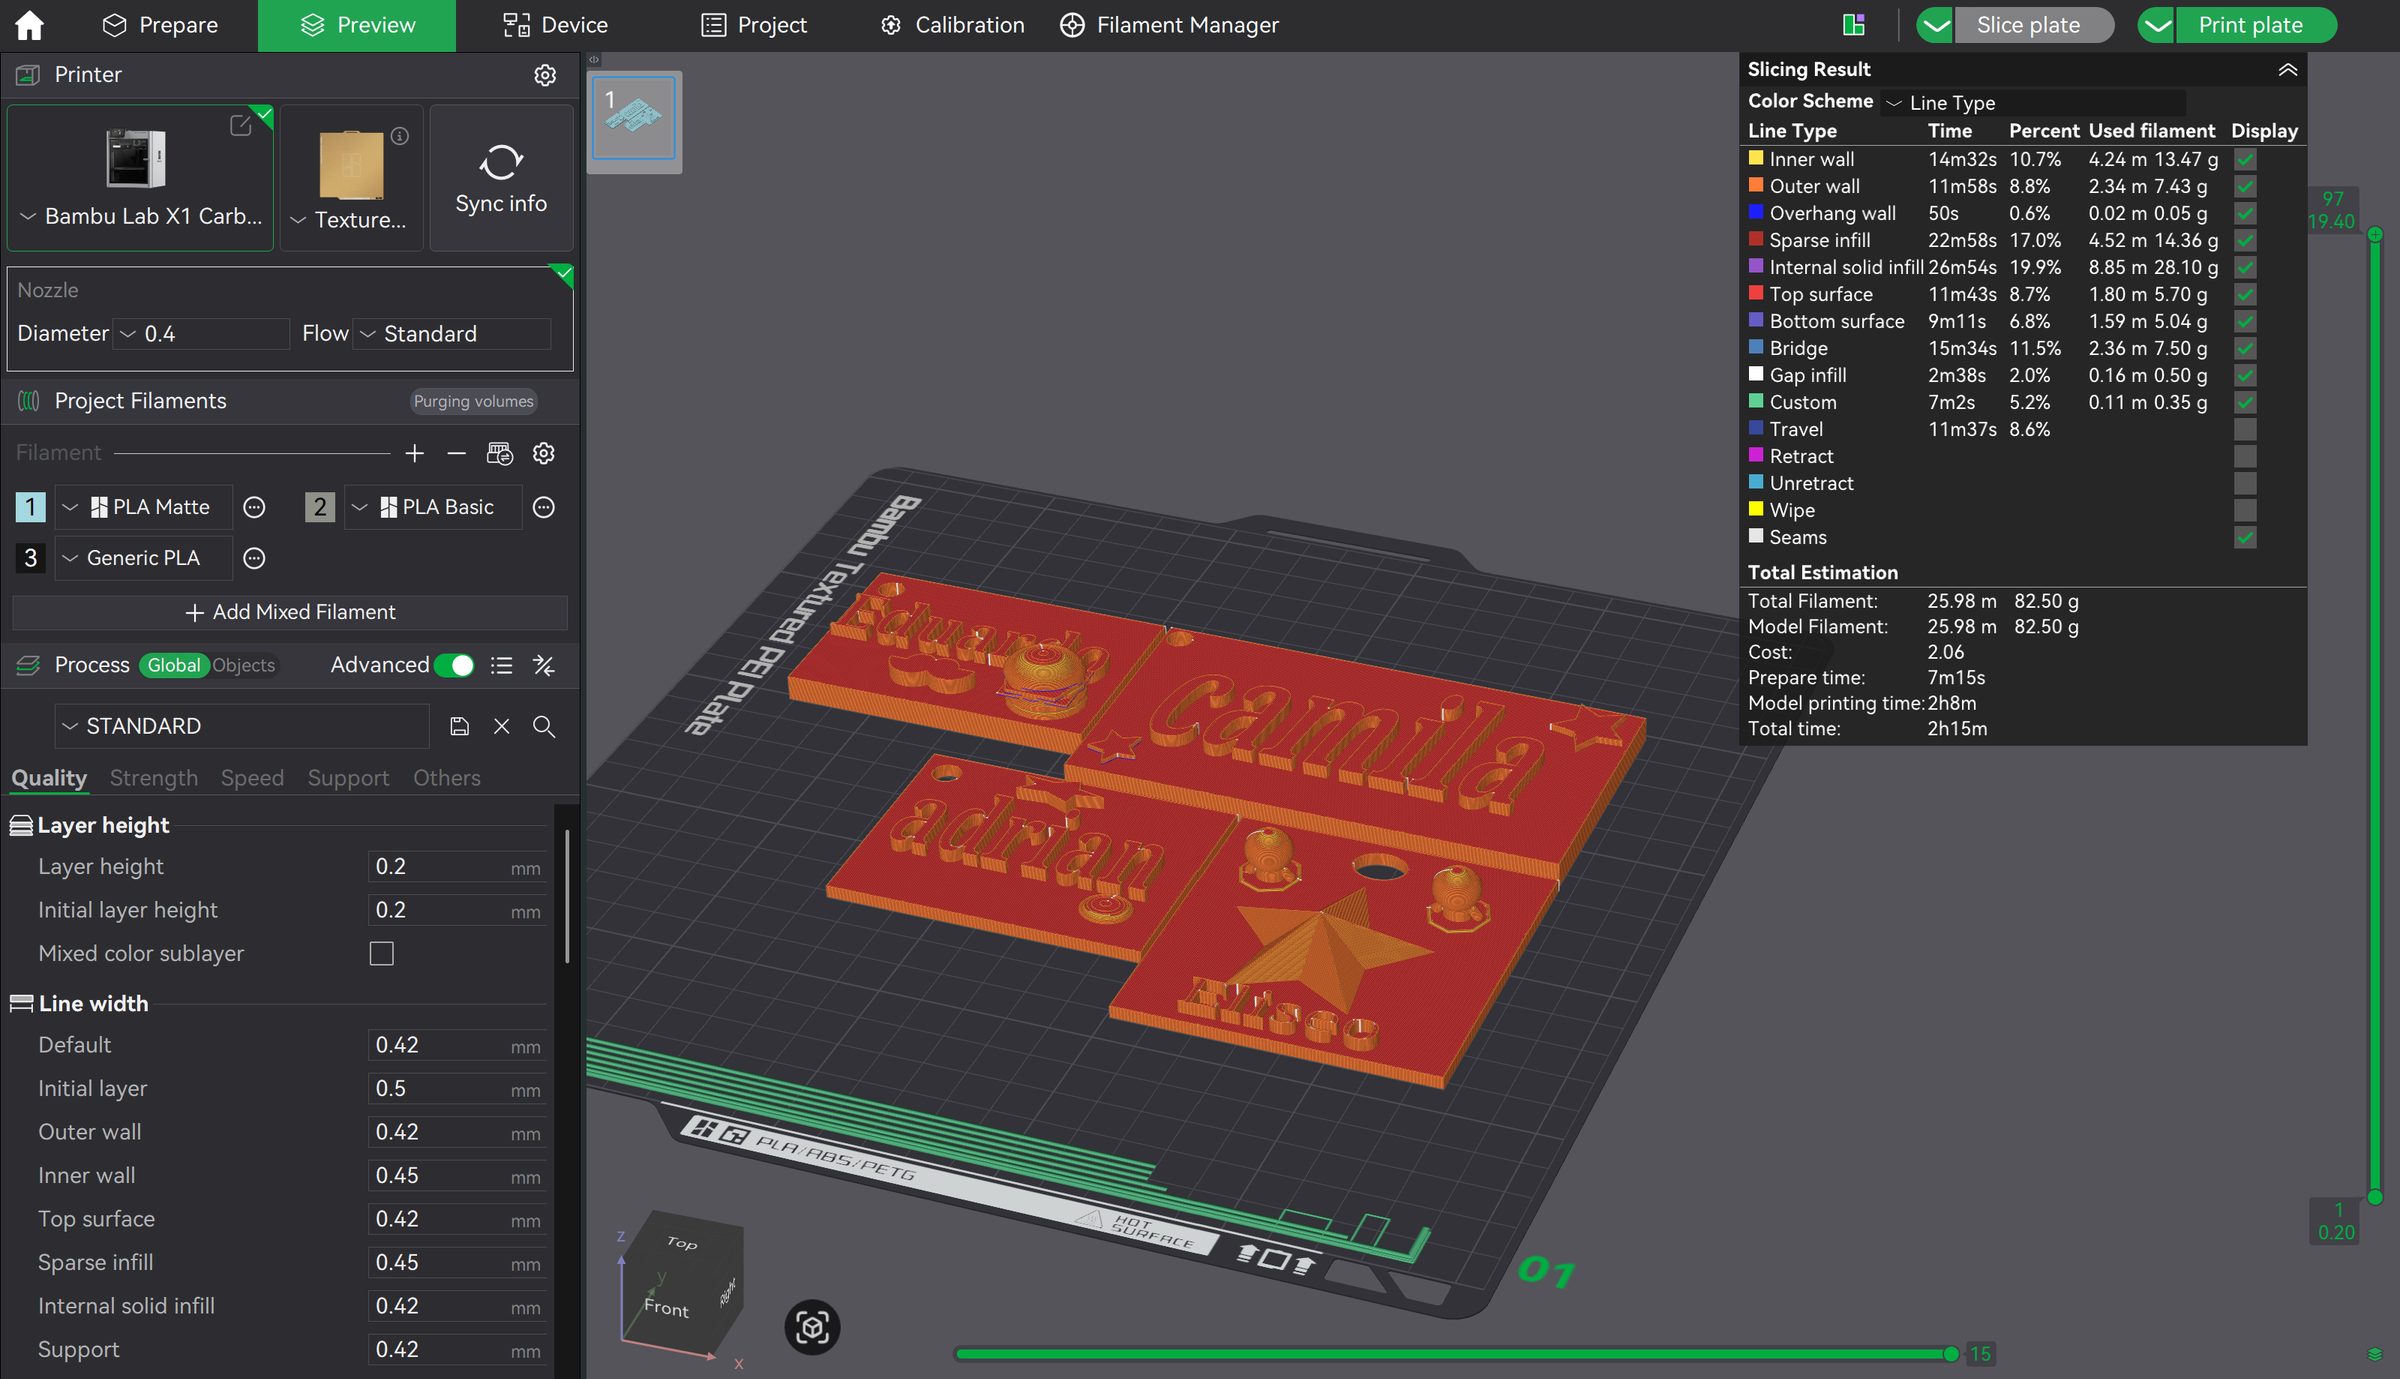
Grouping several keychains onto one build plate reduces total print time and minimizes setup between prints.
Cleanup
- Collect every STL file.
- Close Tinkercad on every computer.
- Repair any designs that need minor corrections.
- Slice and print the finished keychains.
- Attach the ball-chain key rings.
- Organize the finished keychains by student name so they are easy to hand out during the next camp session.
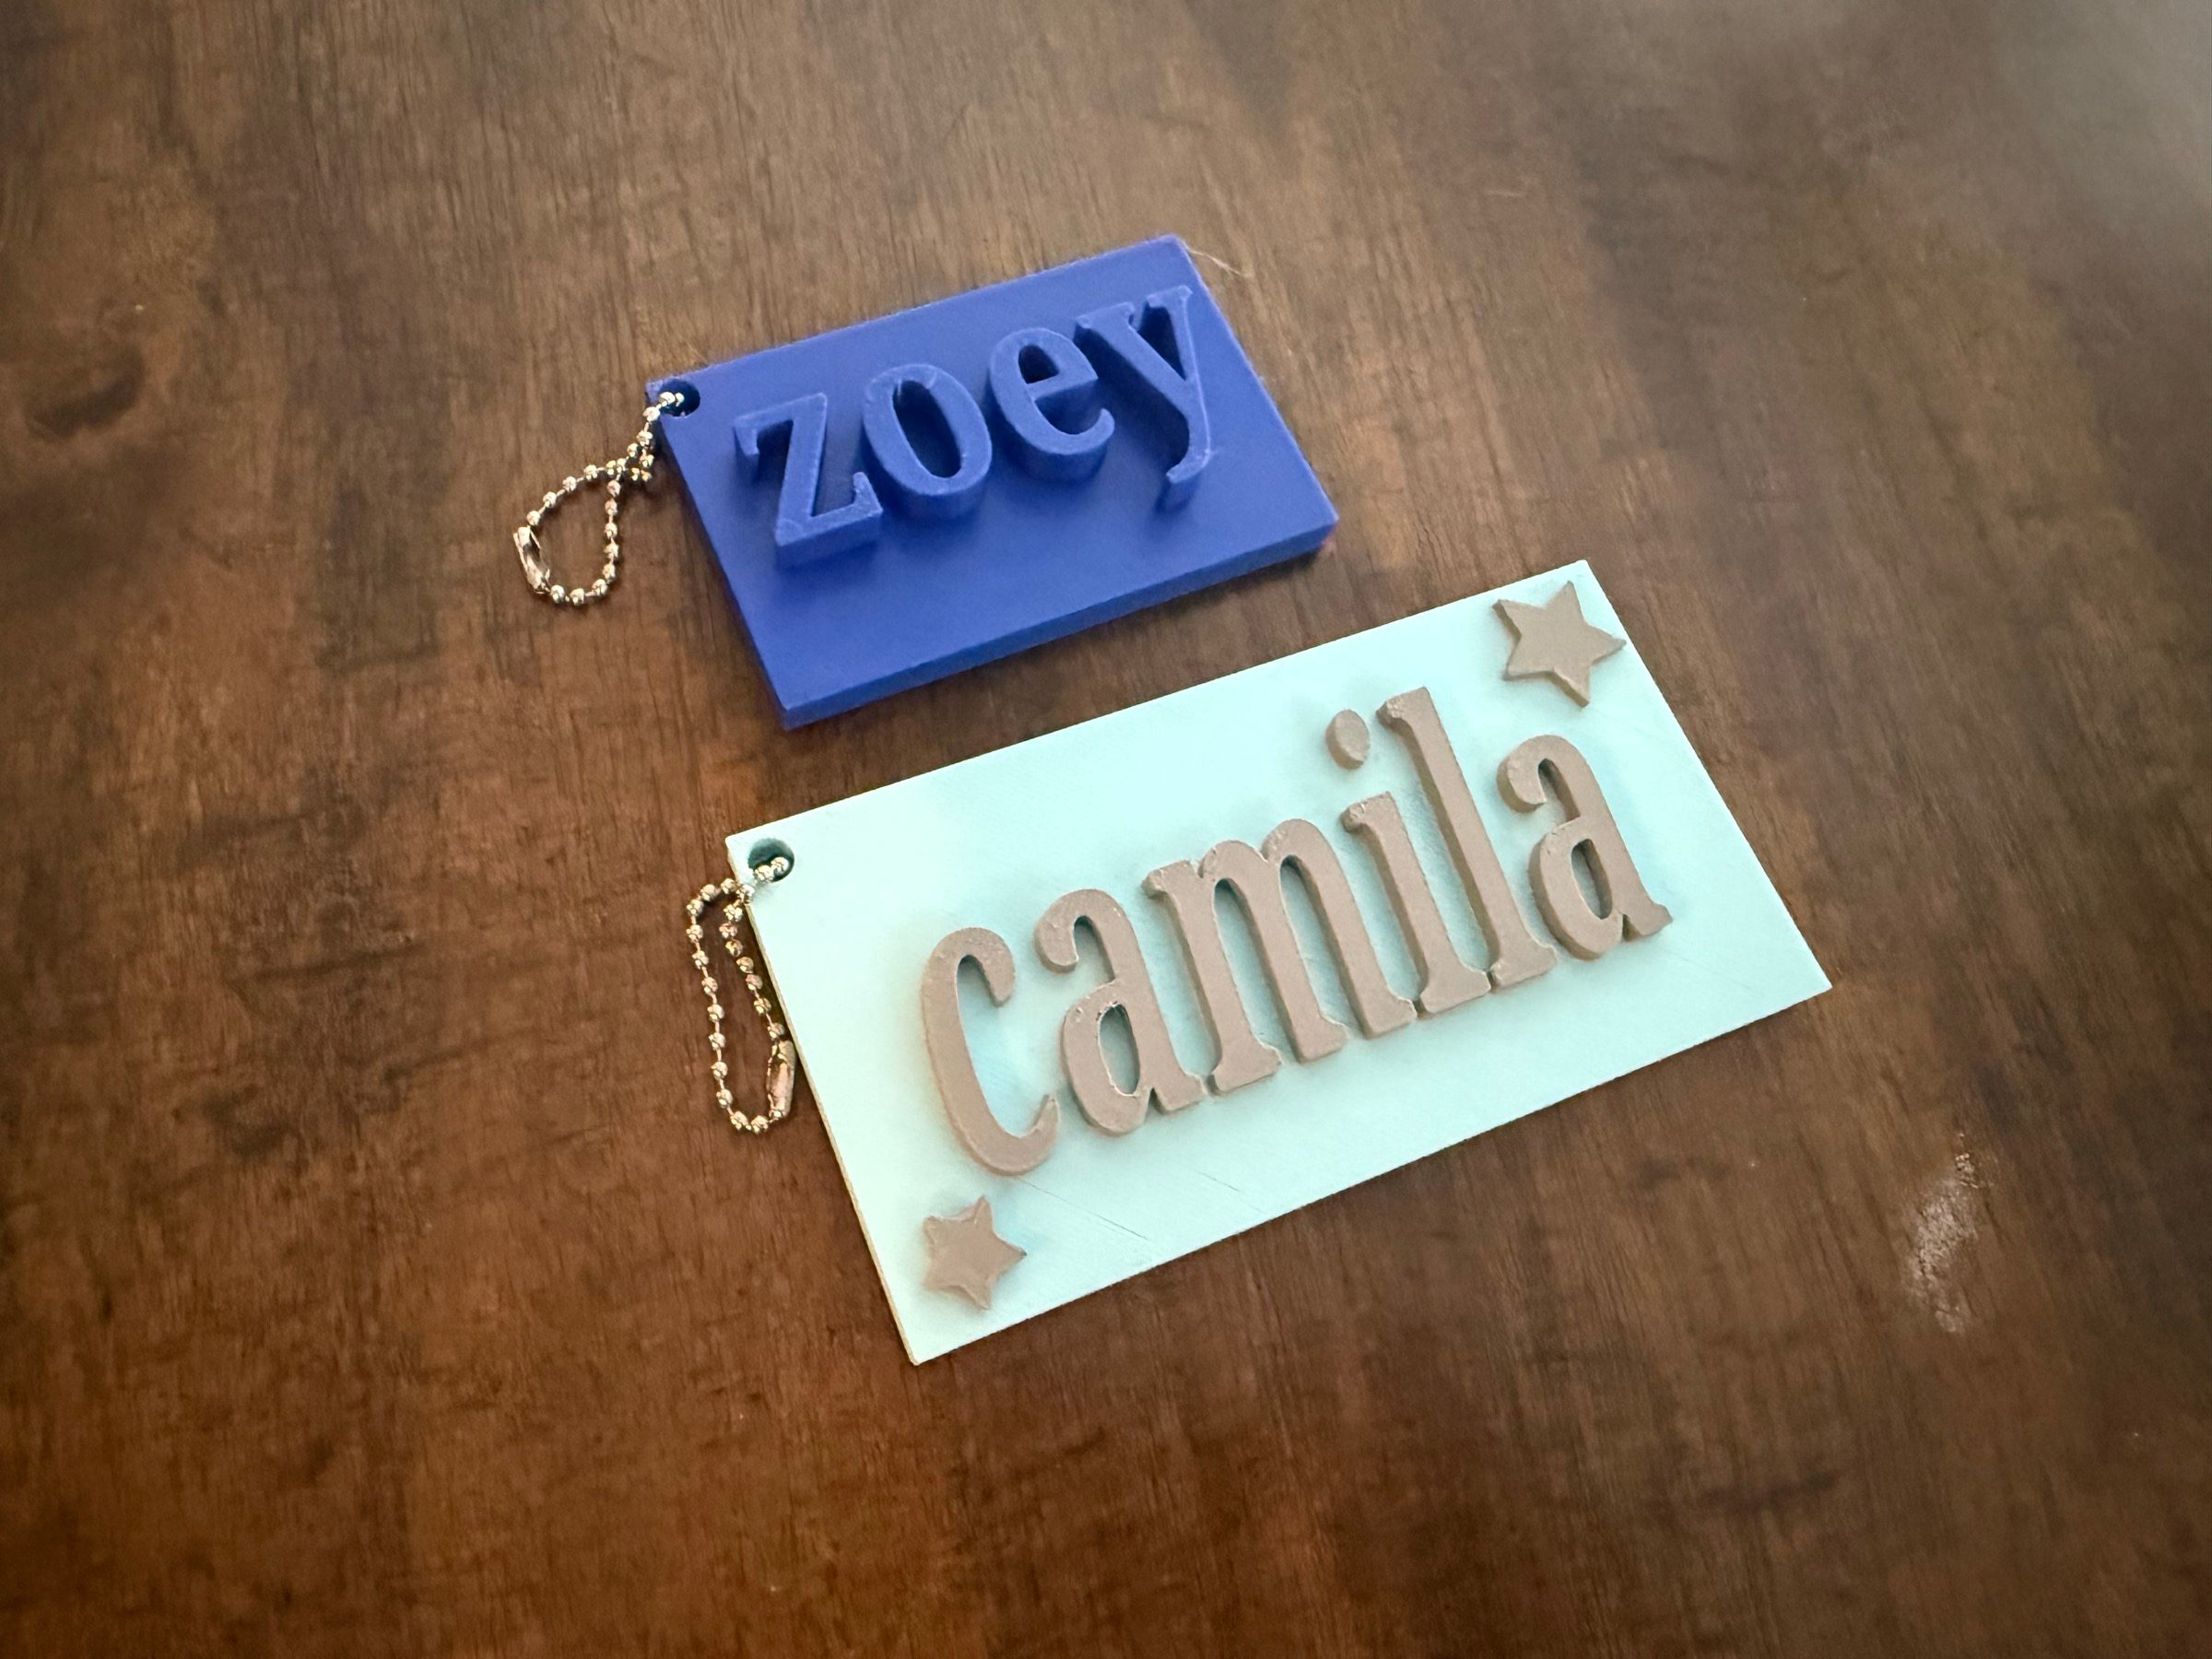
Organize the finished keychains by student name before the next camp session so they can be handed out quickly.