Makey Makey Instruments
A Makey Makey can turn everyday conductive materials into computer controls. In this activity, students work in pairs to design a musical instrument on cardstock, add copper-tape keys, connect those keys to a Makey Makey, and program Scratch to play sounds when each key is touched.
A piano is an easy place to start, but every instrument does not need to look the same. Students can make guitars, drum sets, keyboards, or something completely original.
By the end of the lesson, each pair should have a decorated paper instrument with several working sound controls.
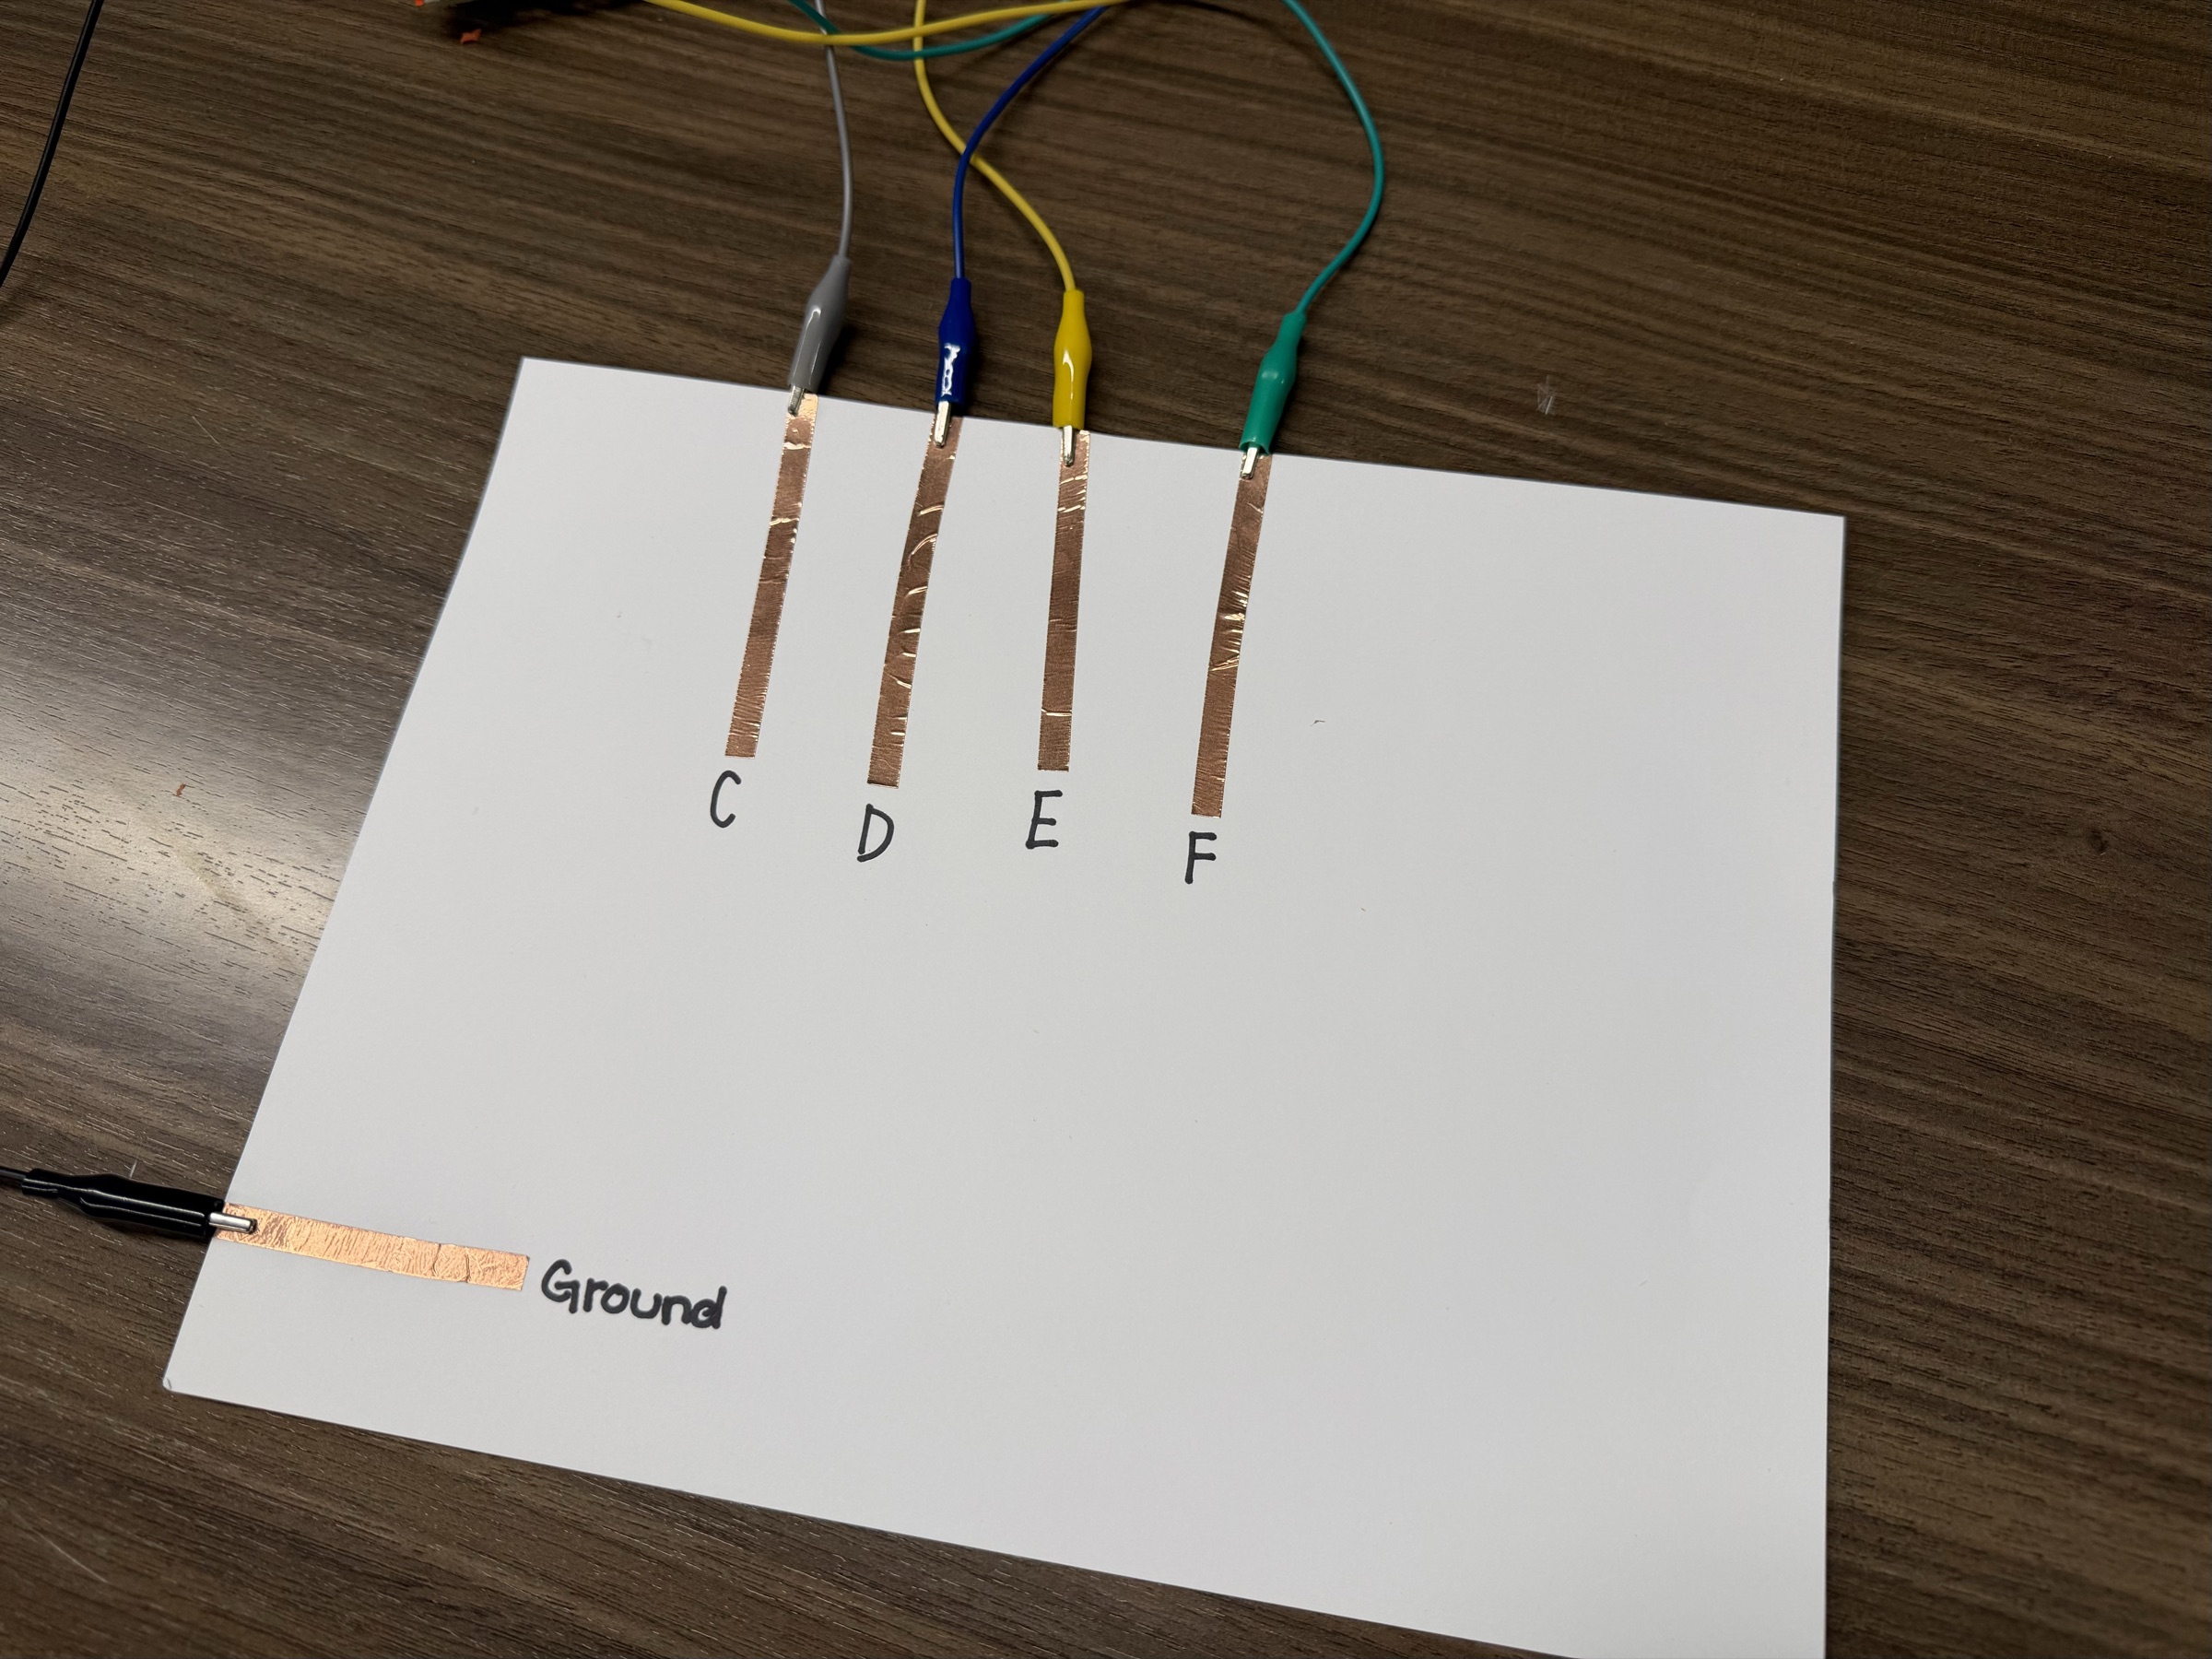
Our example paper piano uses four copper-tape notes and a separate ground control.
Adjust the Project to Your Students
Adjust the complexity of the instrument to match the age, experience, and pace of your students. A decorated instrument with three reliable keys is a successful project.
For beginners, provide a piano template, limit the instrument to three keys, and demonstrate the Scratch code for one sound at a time.
More experienced students can create additional keys, choose their own keyboard inputs, record sounds, add visual responses in Scratch, or program combinations of keys. It is better for students to finish a simple instrument they understand than to copy advanced code they cannot explain.
Suggested Timing
Plan approximately 50 to 60 minutes:
- 10 minutes to demonstrate the Makey Makey and completed instrument
- 15 minutes to design the paper instrument
- 15 to 20 minutes to add copper tape and connect the controls
- 10 minutes to program and test sounds in Scratch
- 5 minutes to share projects and clean up
Materials
For each pair of students
- One computer with internet access
- One Makey Makey kit
- One USB cable and the Makey Makey alligator-clip cables
- One sheet of cardstock
- Copper tape as needed
- Colored pencils
- Access to the Scratch project editor
- A way to play sounds, with headphones preferred
For the instructor
- A way to project your screen, such as a projector or classroom TV
- One complete Makey Makey instrument for demonstration
- Extra cardstock
- Extra copper tape
- Extra colored pencils
- Extra alligator clips and USB cables, if available
This activity assumes the school or host already has access to Makey Makey kits. The kits are reusable, but needing approximately one kit for every two students makes them the largest equipment requirement for this project.
Before You Begin
Plan for students to work in pairs. One Makey Makey and one computer for every two students gives both partners a chance to design, build, connect, program, and play the instrument.
Before students arrive:
- Check that every Makey Makey has its USB cable and alligator clips.
- Connect each board to the computer that pair will use.
- Confirm that the computer recognizes the Makey Makey as a keyboard input.
- Open the Scratch project editor.
- Test the computer’s sound and connect headphones if they will be used.
- Place cardstock, copper tape, and colored pencils where pairs can reach them.
Build one complete instrument ahead of time. A simple piano works well because the relationship between its paper keys and different sounds is easy to understand. Show the example as a starting point, not a design every pair must copy.
Use Scratch Without Student Accounts
Students can build and run this project in the Scratch editor without signing in. We found it best not to create student accounts before the session.
During parent pickup, a parent or guardian can help the student create an account and save the project online. If the family does not want to create an account, select File → Save to your computer and email the downloaded .sb3 file to the student or their parent or guardian.
Introducing the Makey Makey
Before students start drawing, demonstrate what the Makey Makey does.
Plug it into the computer and point out the labeled keyboard inputs on the board, such as the arrow keys and Space.
Connect one alligator clip from a keyboard input to a piece of copper tape. Connect a second piece of copper tape to Earth on the Makey Makey. Hold the Earth connection with one hand and touch the first piece of copper tape with the other. The computer should recognize a key press.
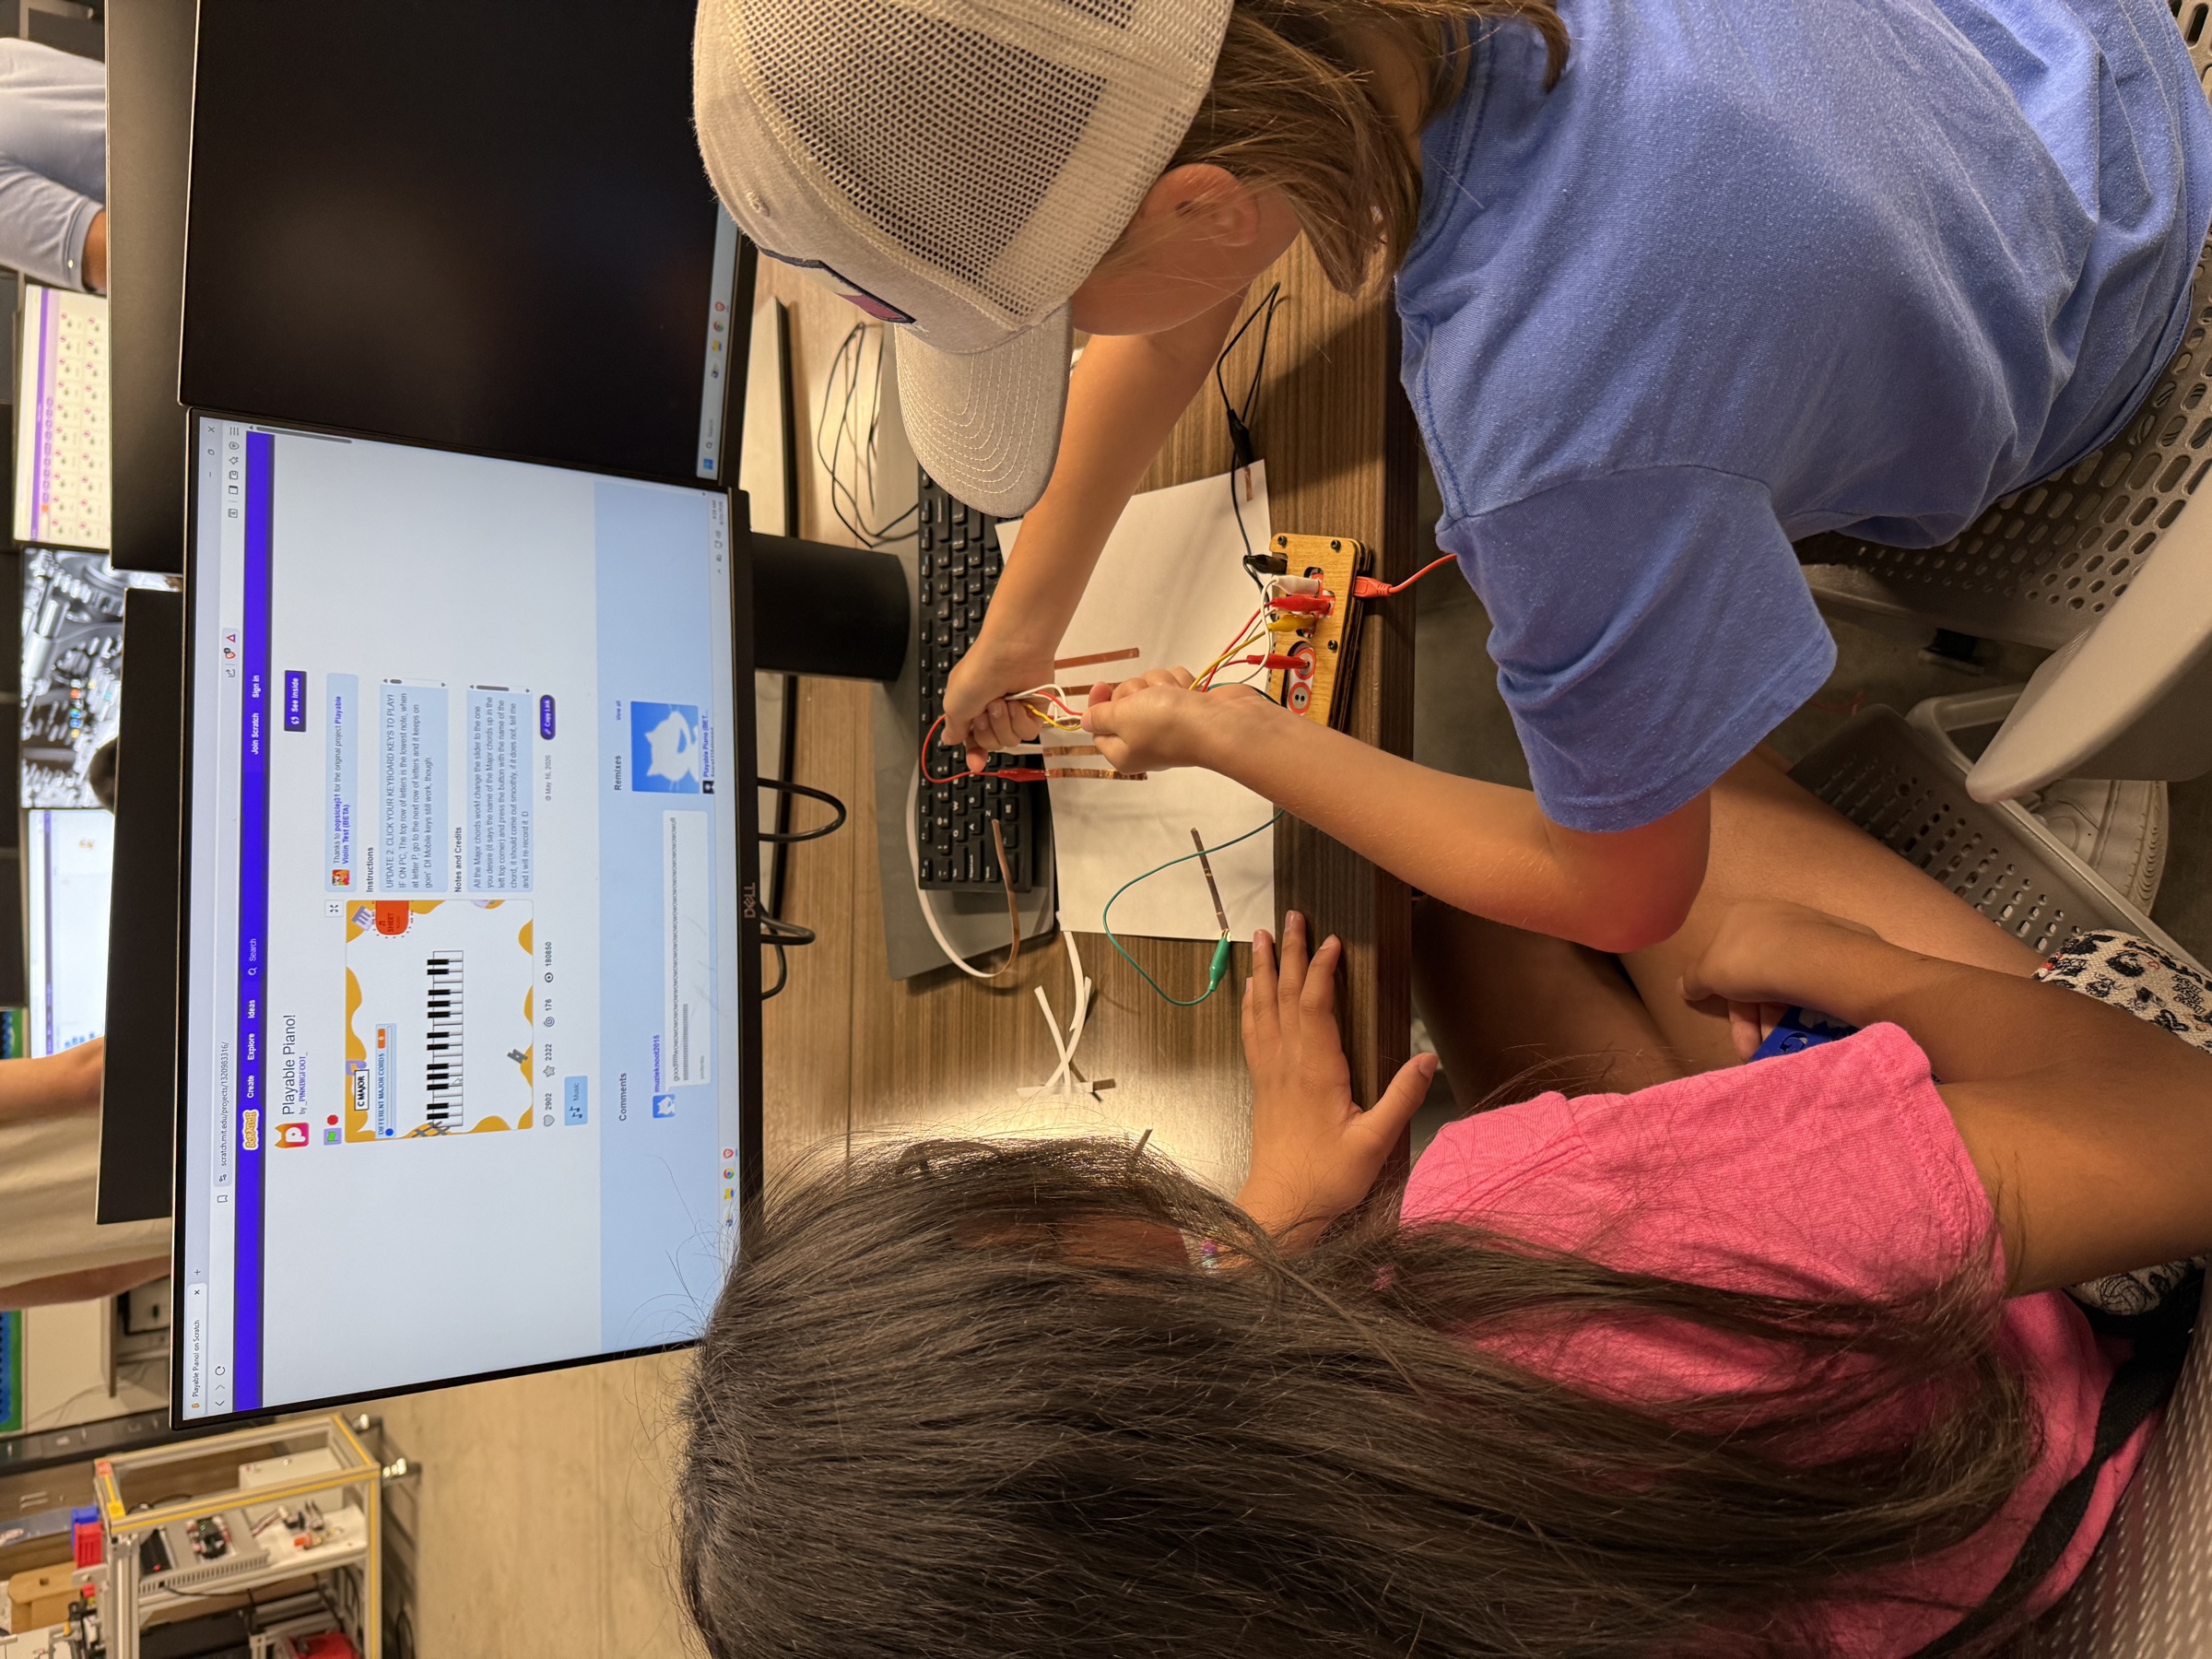
Students can trace each wire from the copper tape to the Makey Makey while checking the input and Earth connections.
Keep the explanation simple. The important idea is that touching the copper tape completes a circuit and tells the computer that a keyboard key has been pressed.
Designing the Instrument
Give each pair a sheet of cardstock and have them decide what kind of instrument they want to create.
Students might make:
- A piano
- A guitar
- A drum set
- A completely imaginary instrument
Have students draw and decorate the instrument before adding copper tape. Make each planned key large enough to touch comfortably with a finger, and leave space for one additional copper-tape control that will connect to Earth.
Adding the Copper-Tape Keys
Once the design is finished, add copper tape to the parts of the instrument that students want to make interactive. Each copper-tape area becomes a key.
One clean piece of tape is usually more reliable than several small pieces patched together. Press the tape firmly against the cardstock and leave enough exposed copper for an alligator clip to grip securely.
Connect each key to a different Makey Makey input. Keep the wires separated enough that students can follow each one from the paper instrument back to the board.
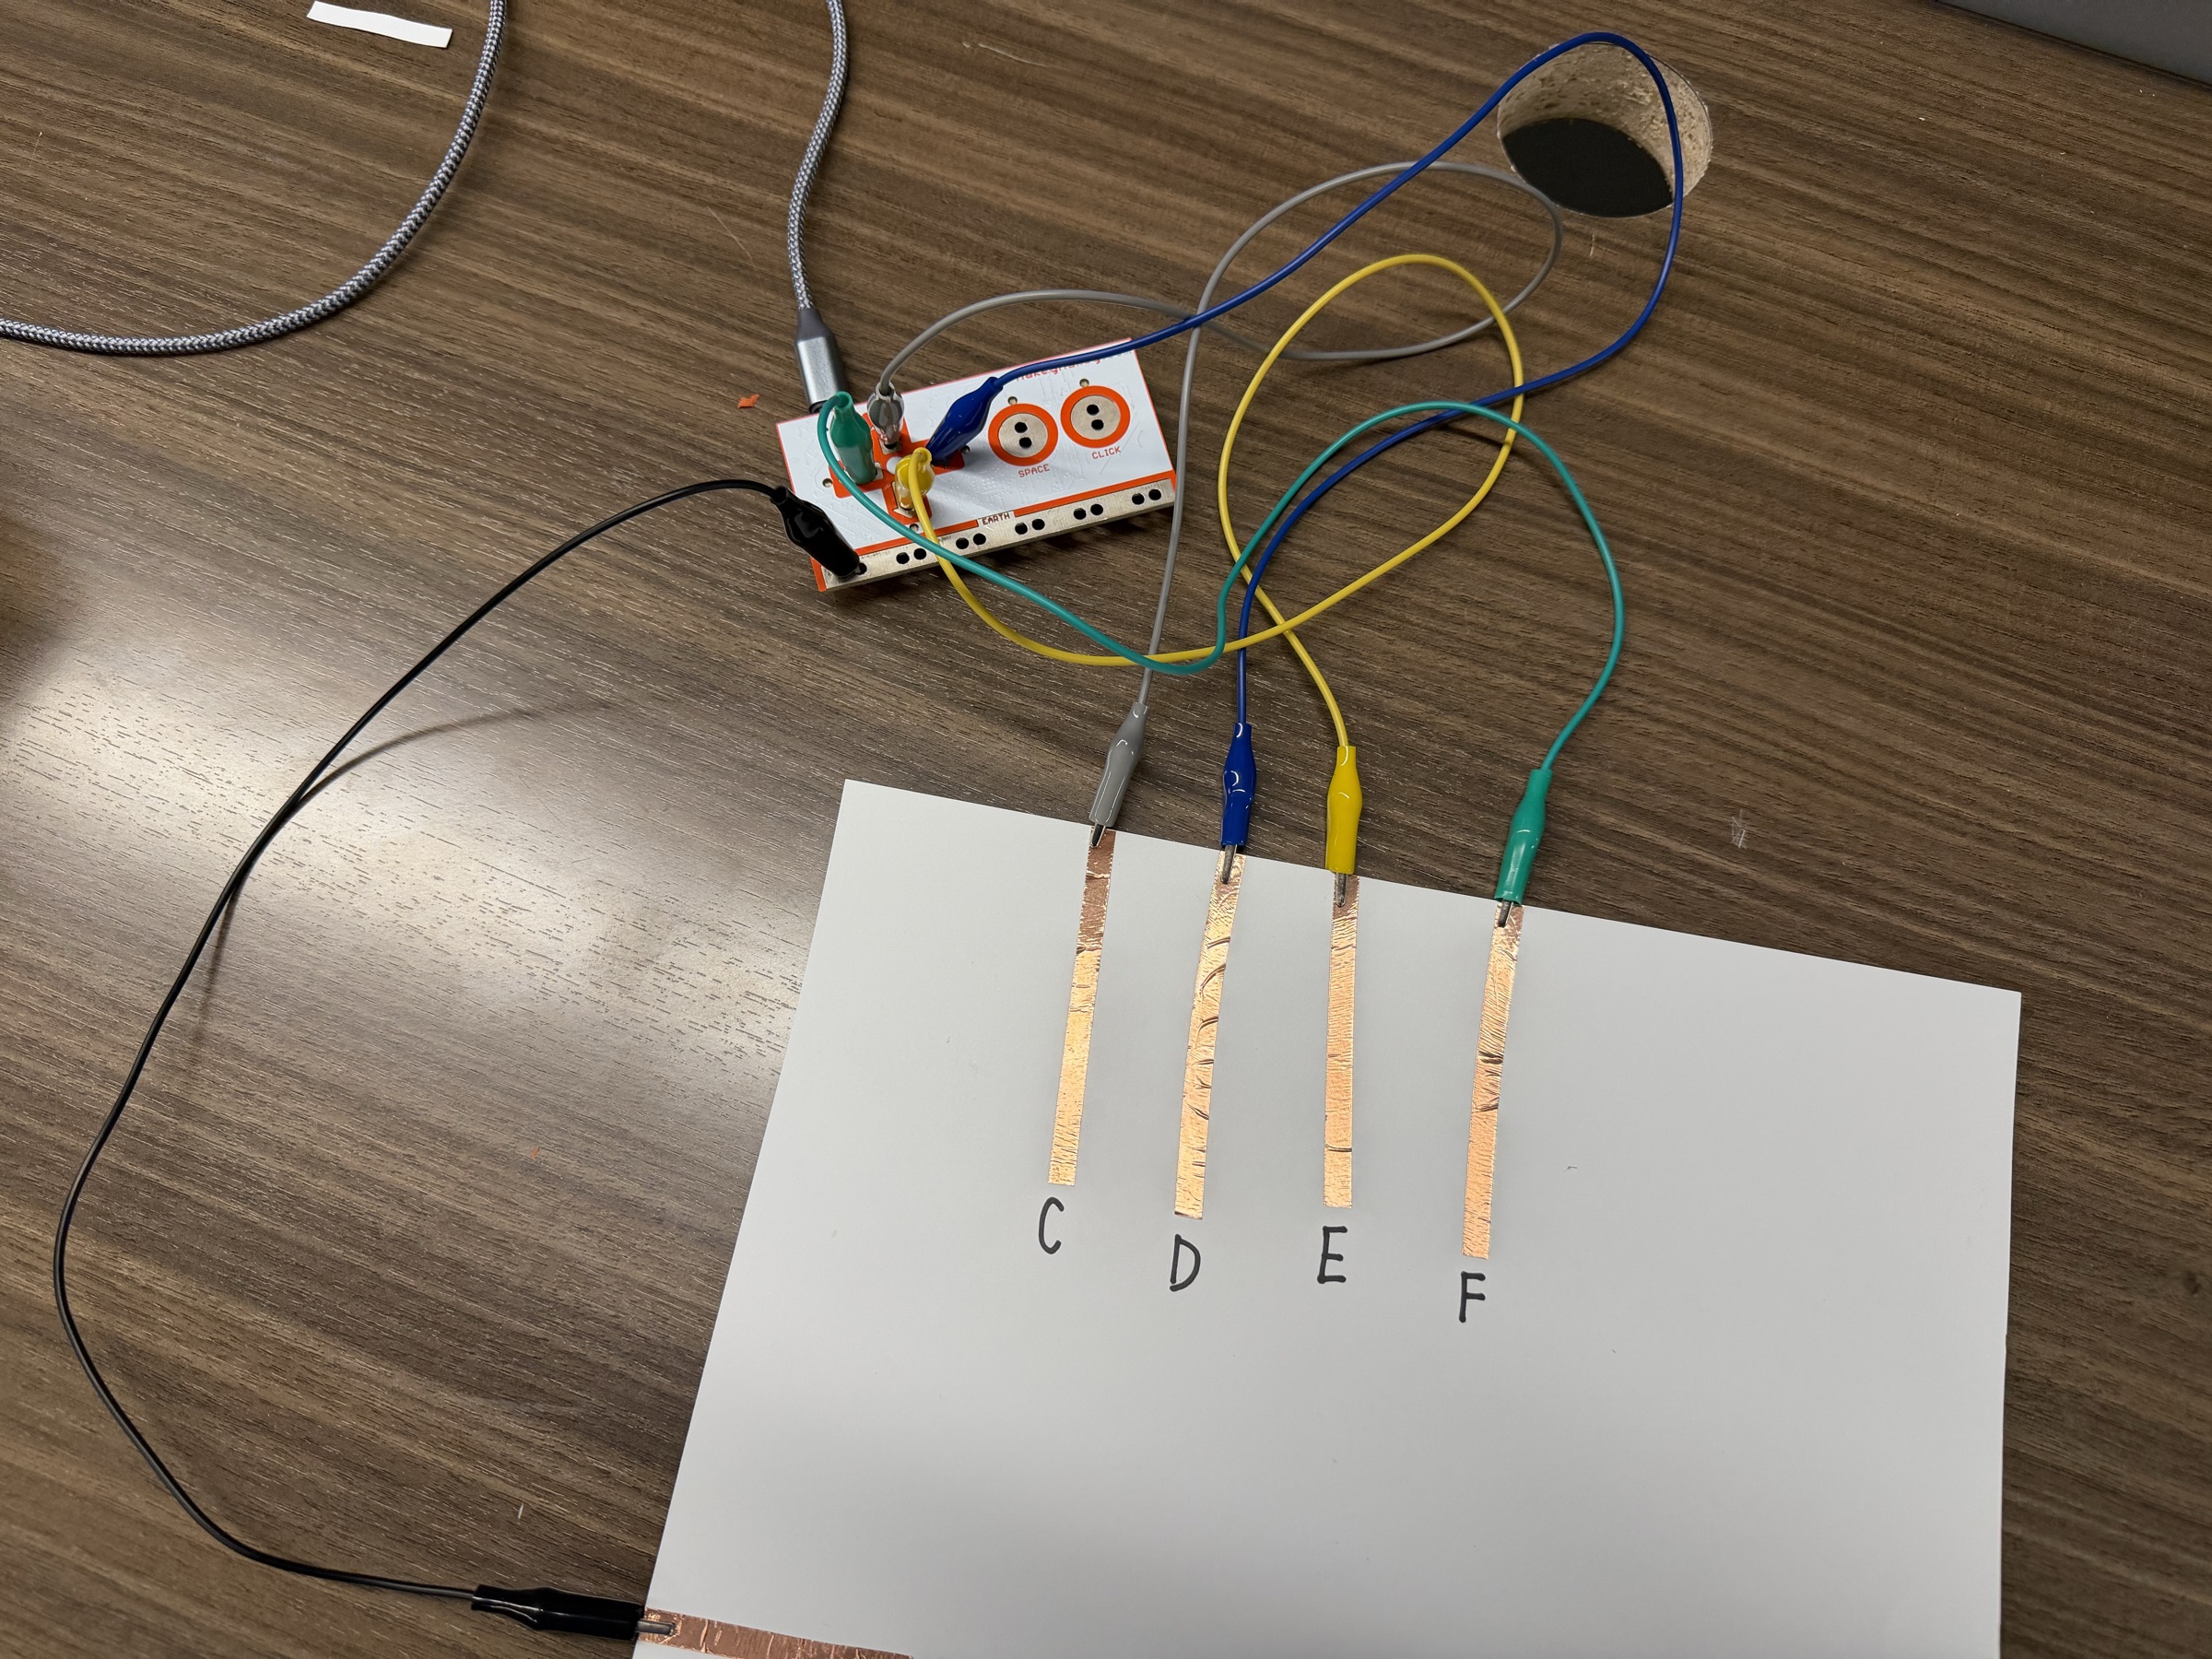
Connect each note to a different Makey Makey input and connect the separate strip along the lower edge to Earth.
Adding the Ground Key
Every instrument also needs a ground key. Place one additional piece of copper tape where it is comfortable to hold while playing, such as near the edge of the cardstock, then connect it to Earth on the Makey Makey.
While playing, the student keeps one finger, usually a thumb, on the ground key and uses the other hand to touch the instrument keys.
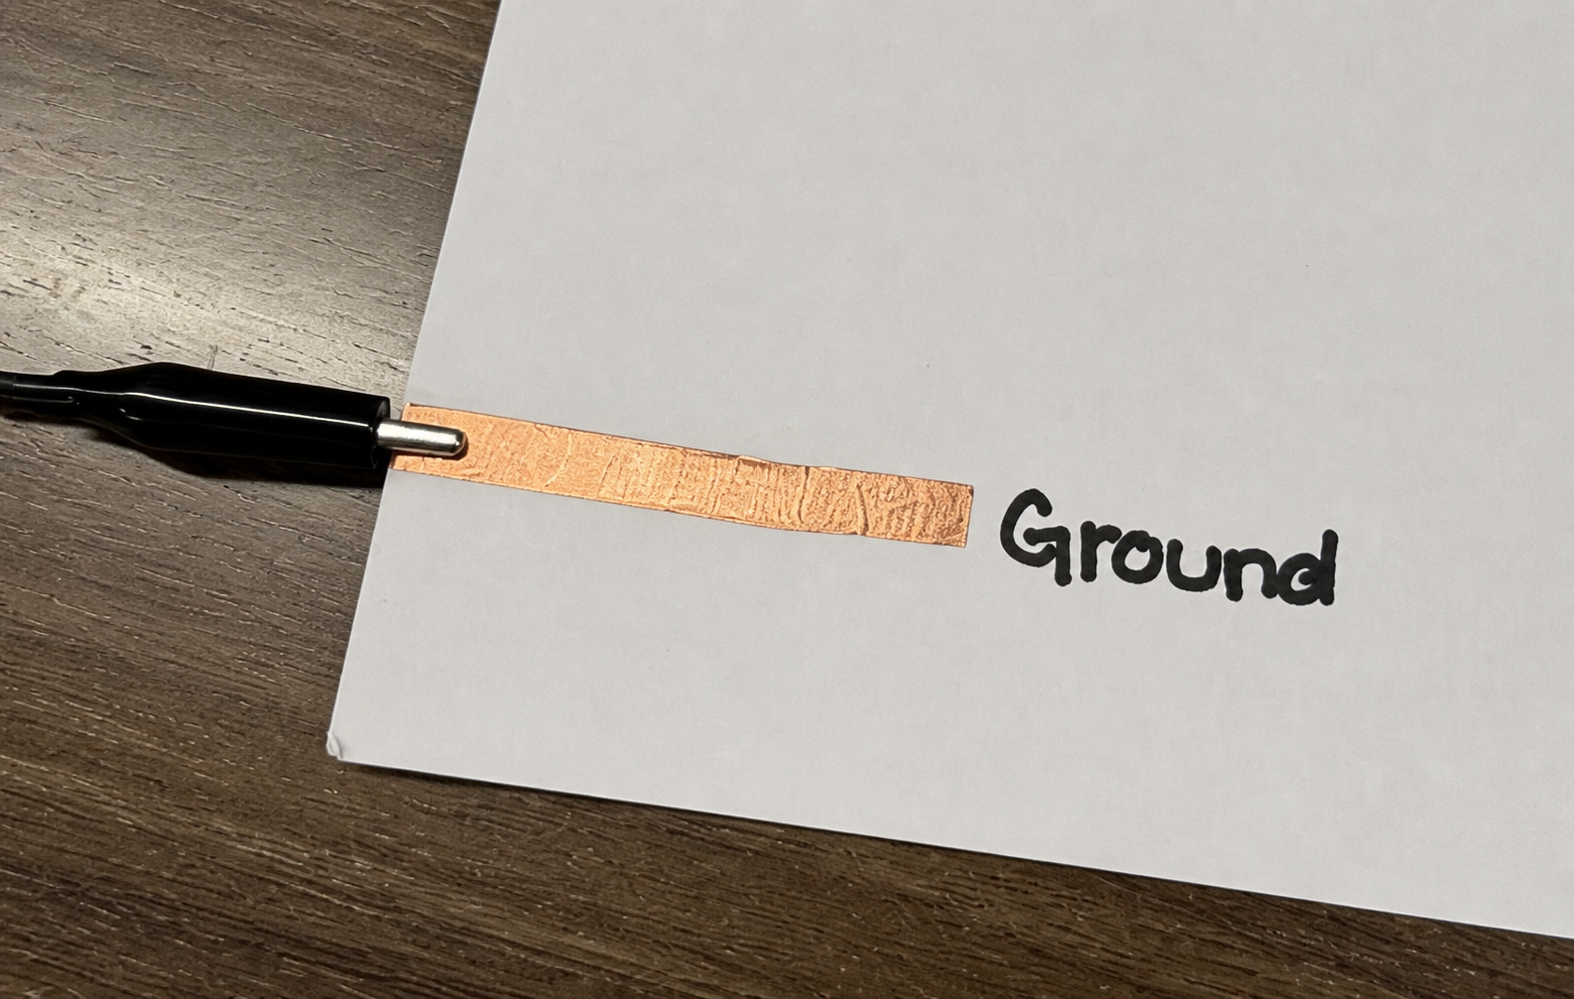
Connect the separate ground strip to Earth. The player holds this strip while touching a note key to complete the circuit.
Without the Earth connection, touching the other keys will not complete the circuit.
Programming the Instrument in Scratch
Once the instrument is wired, open Scratch and program one key at a time.
Open the example Makey Makey instrument project before the lesson so students can see a working Scratch setup while they build their own.
- Follow an alligator clip from the paper key to its Makey Makey input.
- Add a matching when [key] key pressed event block in Scratch.
- Add a sound block underneath it.
- Hold the ground key and touch the copper-tape key.
- Confirm that Scratch plays the expected sound.
- Repeat for the remaining controls.
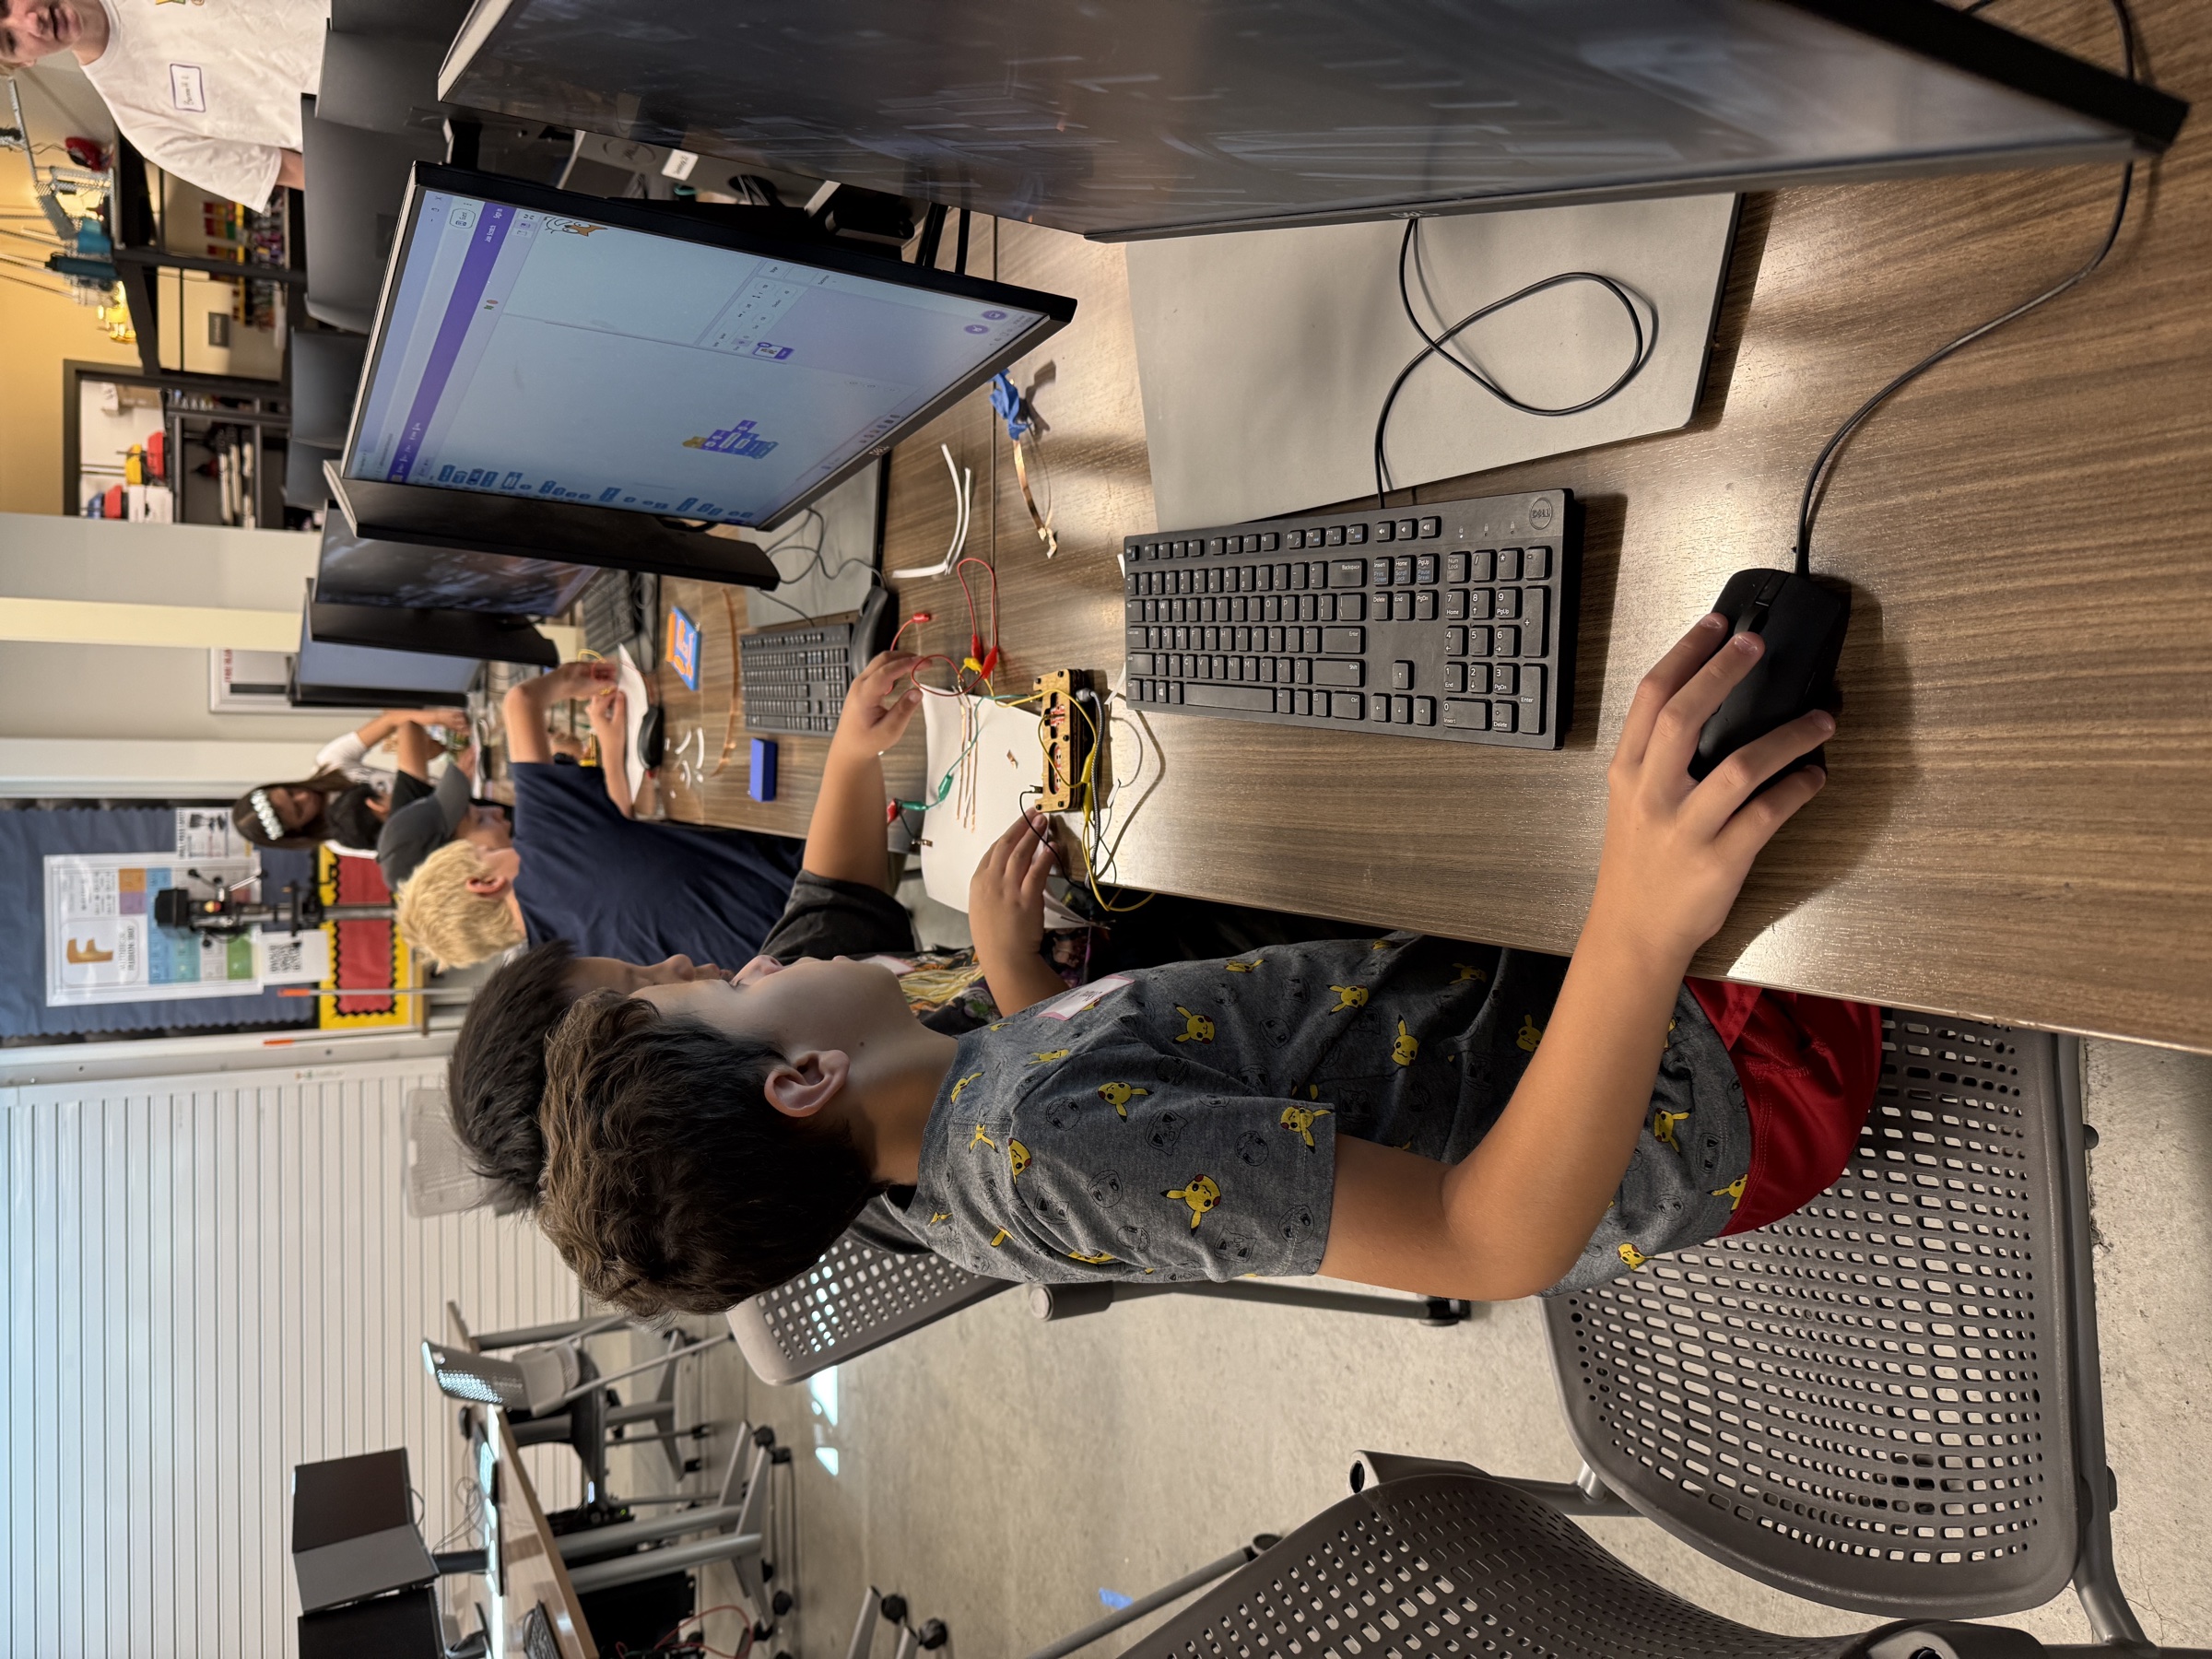
Pairs program and test one input at a time while keeping the Makey Makey and copper-tape controls connected beside the computer.
Each copper-tape key can play a different sound. Keep the example Scratch project projected while students work so they can reference the basic script without stopping the entire class.
How It Works
The Makey Makey sits between the paper instrument and the computer.
When a student holds the ground key, they are connected to Earth on the Makey Makey. Touching one of the instrument keys completes an electrical path between Earth and that input. The Makey Makey detects the connection and sends the corresponding keyboard press to the computer.
Scratch waits for that keyboard press. When it detects the key, it runs the code beneath the matching when [key] key pressed block and plays the selected sound.
The copper tape does not produce the music. It is part of the circuit that tells the Makey Makey which key has been touched.
Testing and Experimenting
Once every key works, give students time to play their instruments and make improvements.
They can:
- Change the sound assigned to a key.
- Rearrange which sound belongs to each key.
- Add a sound or visual response in Scratch.
- Adjust a copper-tape key that is difficult to touch.
- Perform a short pattern or song for another pair.
Two groups can use the same Makey Makey hardware and still create completely different instruments.
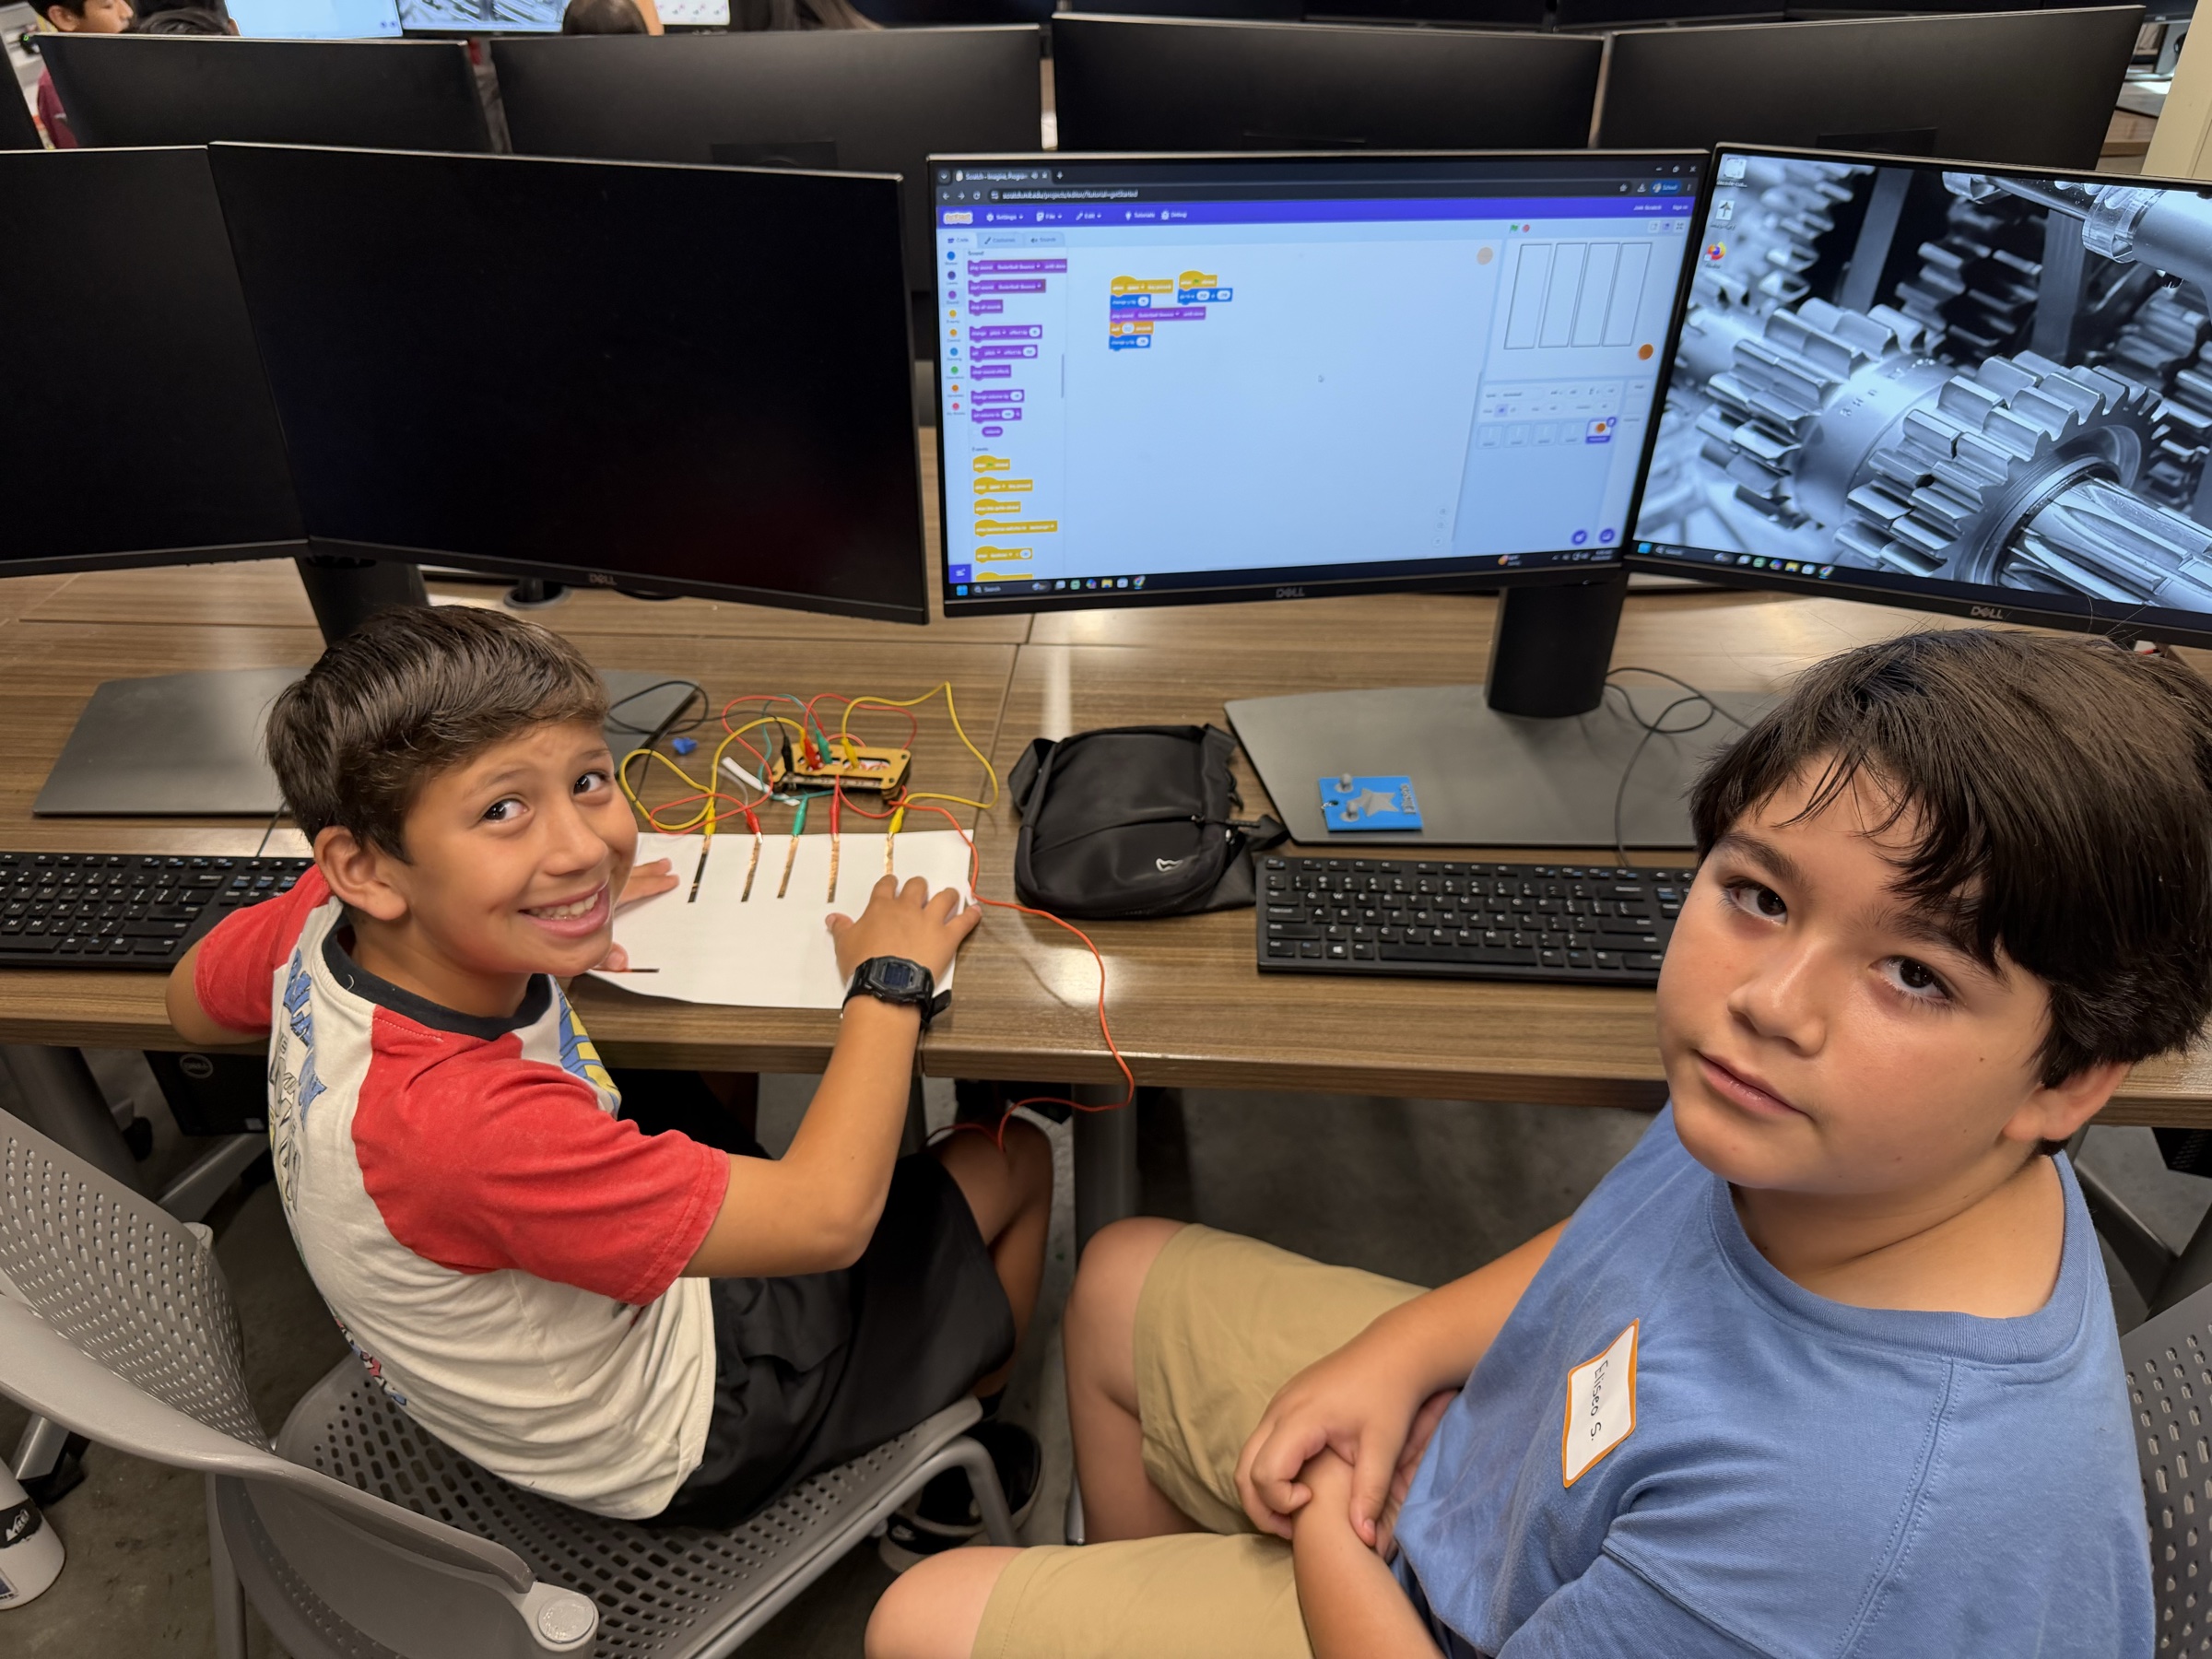
As soon as the first input works, students can test the instrument and continue adding or improving sounds.
Troubleshooting
Nothing happens when a key is touched
Start by checking the ground key. Make sure the student is touching the copper tape connected to Earth while also touching the instrument key.
If that is correct, check each part in order:
- Confirm that the Makey Makey is connected to the computer.
- Check that the alligator clip is attached to the intended input.
- Make sure the clip contacts the exposed copper tape.
- Confirm that Scratch listens for the same keyboard input.
Change one thing at a time so students can identify what fixed the problem.
One key plays the wrong sound
Follow the alligator clip from the paper key to the Makey Makey. Compare that input with the when [key] key pressed block in Scratch. Move the clip or change the Scratch event so they match.
The copper tape works inconsistently
Press the tape firmly against the cardstock and confirm that the alligator clip touches the copper surface. Replace a key made from several loose pieces with one clean strip.
Scratch works, but the paper instrument does not
Test the Makey Makey input without the paper instrument. If the input works directly, check the copper tape, alligator clips, and ground connection.
Saving Projects
Have students give the Scratch project a recognizable name before parent pickup.
During pickup, give each family two choices:
- A parent or guardian helps the student create a Scratch account and save the project online.
- The student selects File → Save to your computer, confirms that the
.sb3file downloaded, and emails it to themselves or their parent or guardian.
Resources
Cleanup
- Save any Scratch projects students want to keep.
- Disconnect the Makey Makeys from the computers.
- Remove alligator clips by the clips instead of pulling on the wires.
- Return each Makey Makey, USB cable, and set of clips to its kit.
- Collect unused copper tape and colored pencils.
- Allow students to keep their paper instruments.
Before putting the kits away, check that every kit has all of its cables and components.