How Does Weight Affect a Paper Airplane?
Every engineer makes predictions before testing an idea. Sometimes those predictions are correct, and sometimes the results are surprising. This activity introduces students to that process by investigating how moving the same amount of weight changes the way a paper airplane flies.
Each student will build the same Nakamura Lock paper airplane and test it three times. The only thing that changes is the position of a single paper clip. After every flight, students record the distance their airplane traveled before moving the paper clip to a new location.
By the end of the activity, students will have collected real data, compared it with their original prediction, and discovered how weight distribution can affect flight.
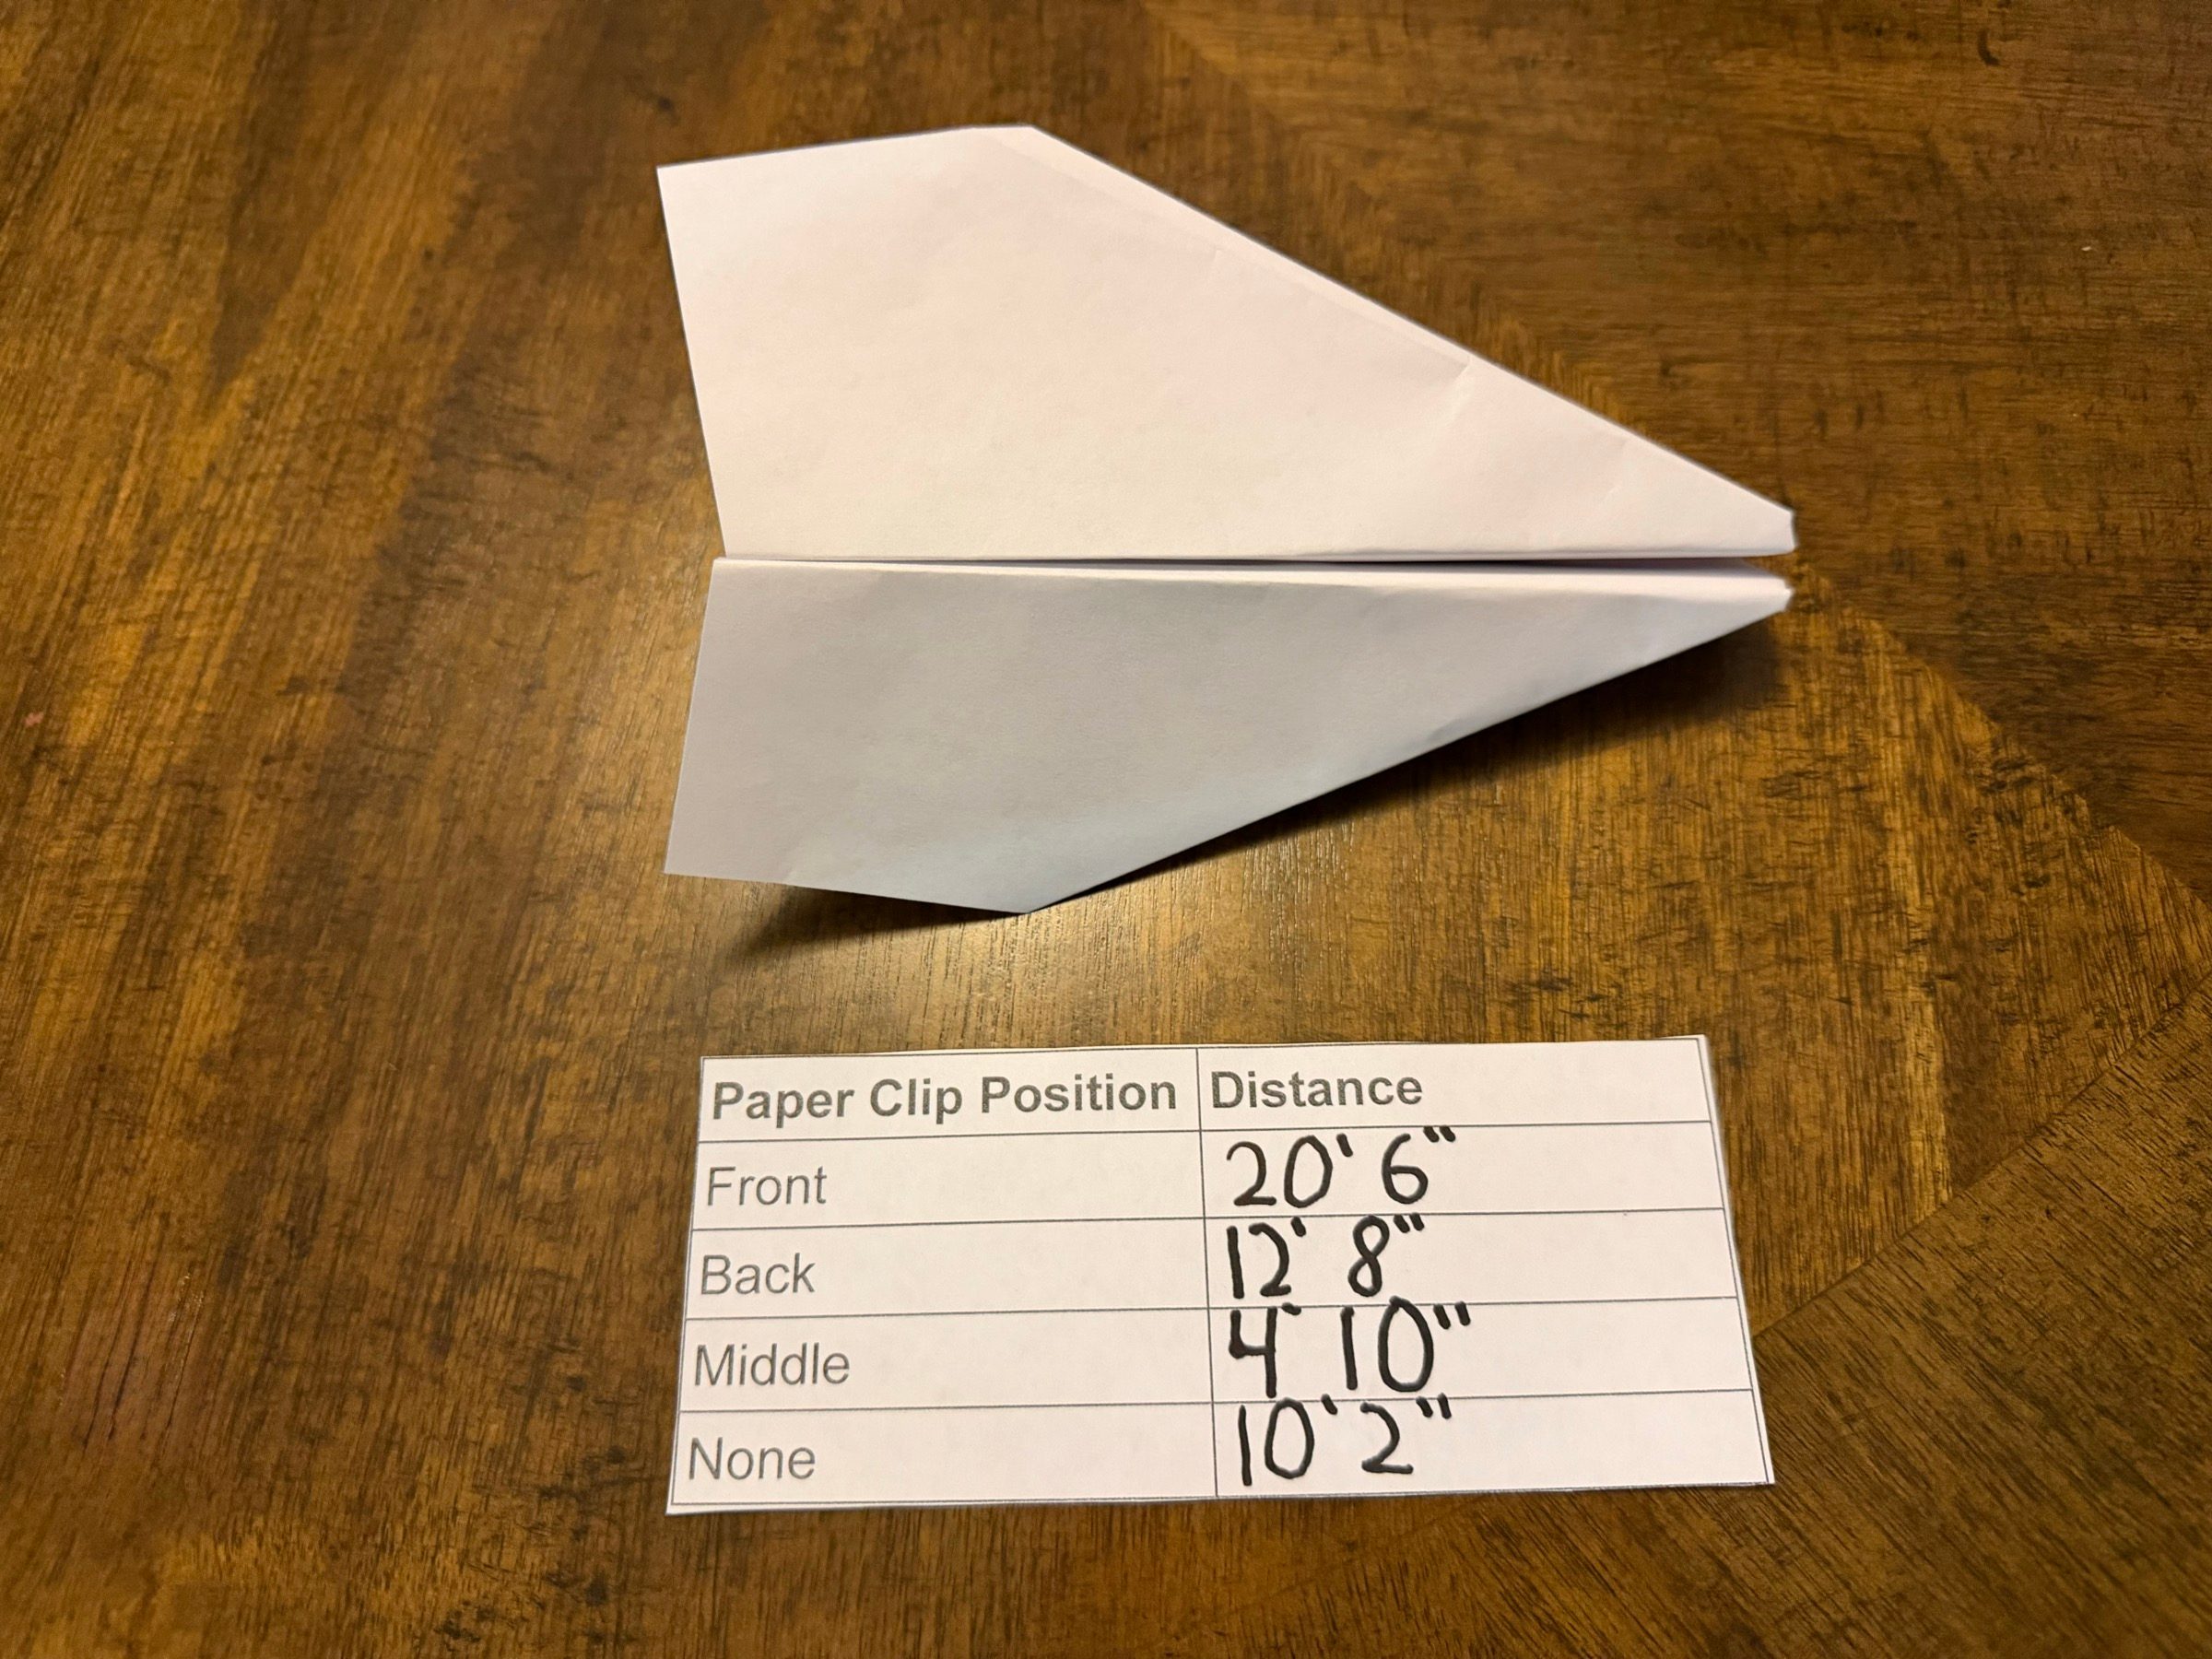
Every student uses the same airplane and the same paper clip so the only changing variable is where the weight is placed.
Materials
For each student
- One sheet of 8.5 × 11-inch printer paper
- One identical paper clip
- One data collection sheet: Download
- Pencil
For the instructor
- Projector or classroom display
- One completed Nakamura Lock paper airplane
- Blue painter’s tape
- Three tape measures (approximately 25 feet each)
Before You Begin
Choose a hallway or other open space where students can safely throw paper airplanes in a straight line.
Before students arrive, place a strip of blue painter’s tape across the floor to create a common starting line.
Lay the tape measures end to end along one side of the hallway, beginning at the starting line. Tape them down at several points so they stay straight and remain in place while students measure each flight.
Print one data sheet for every student before class begins.
Finally, fold one example Nakamura Lock paper airplane ahead of time so you can demonstrate each step during the lesson.
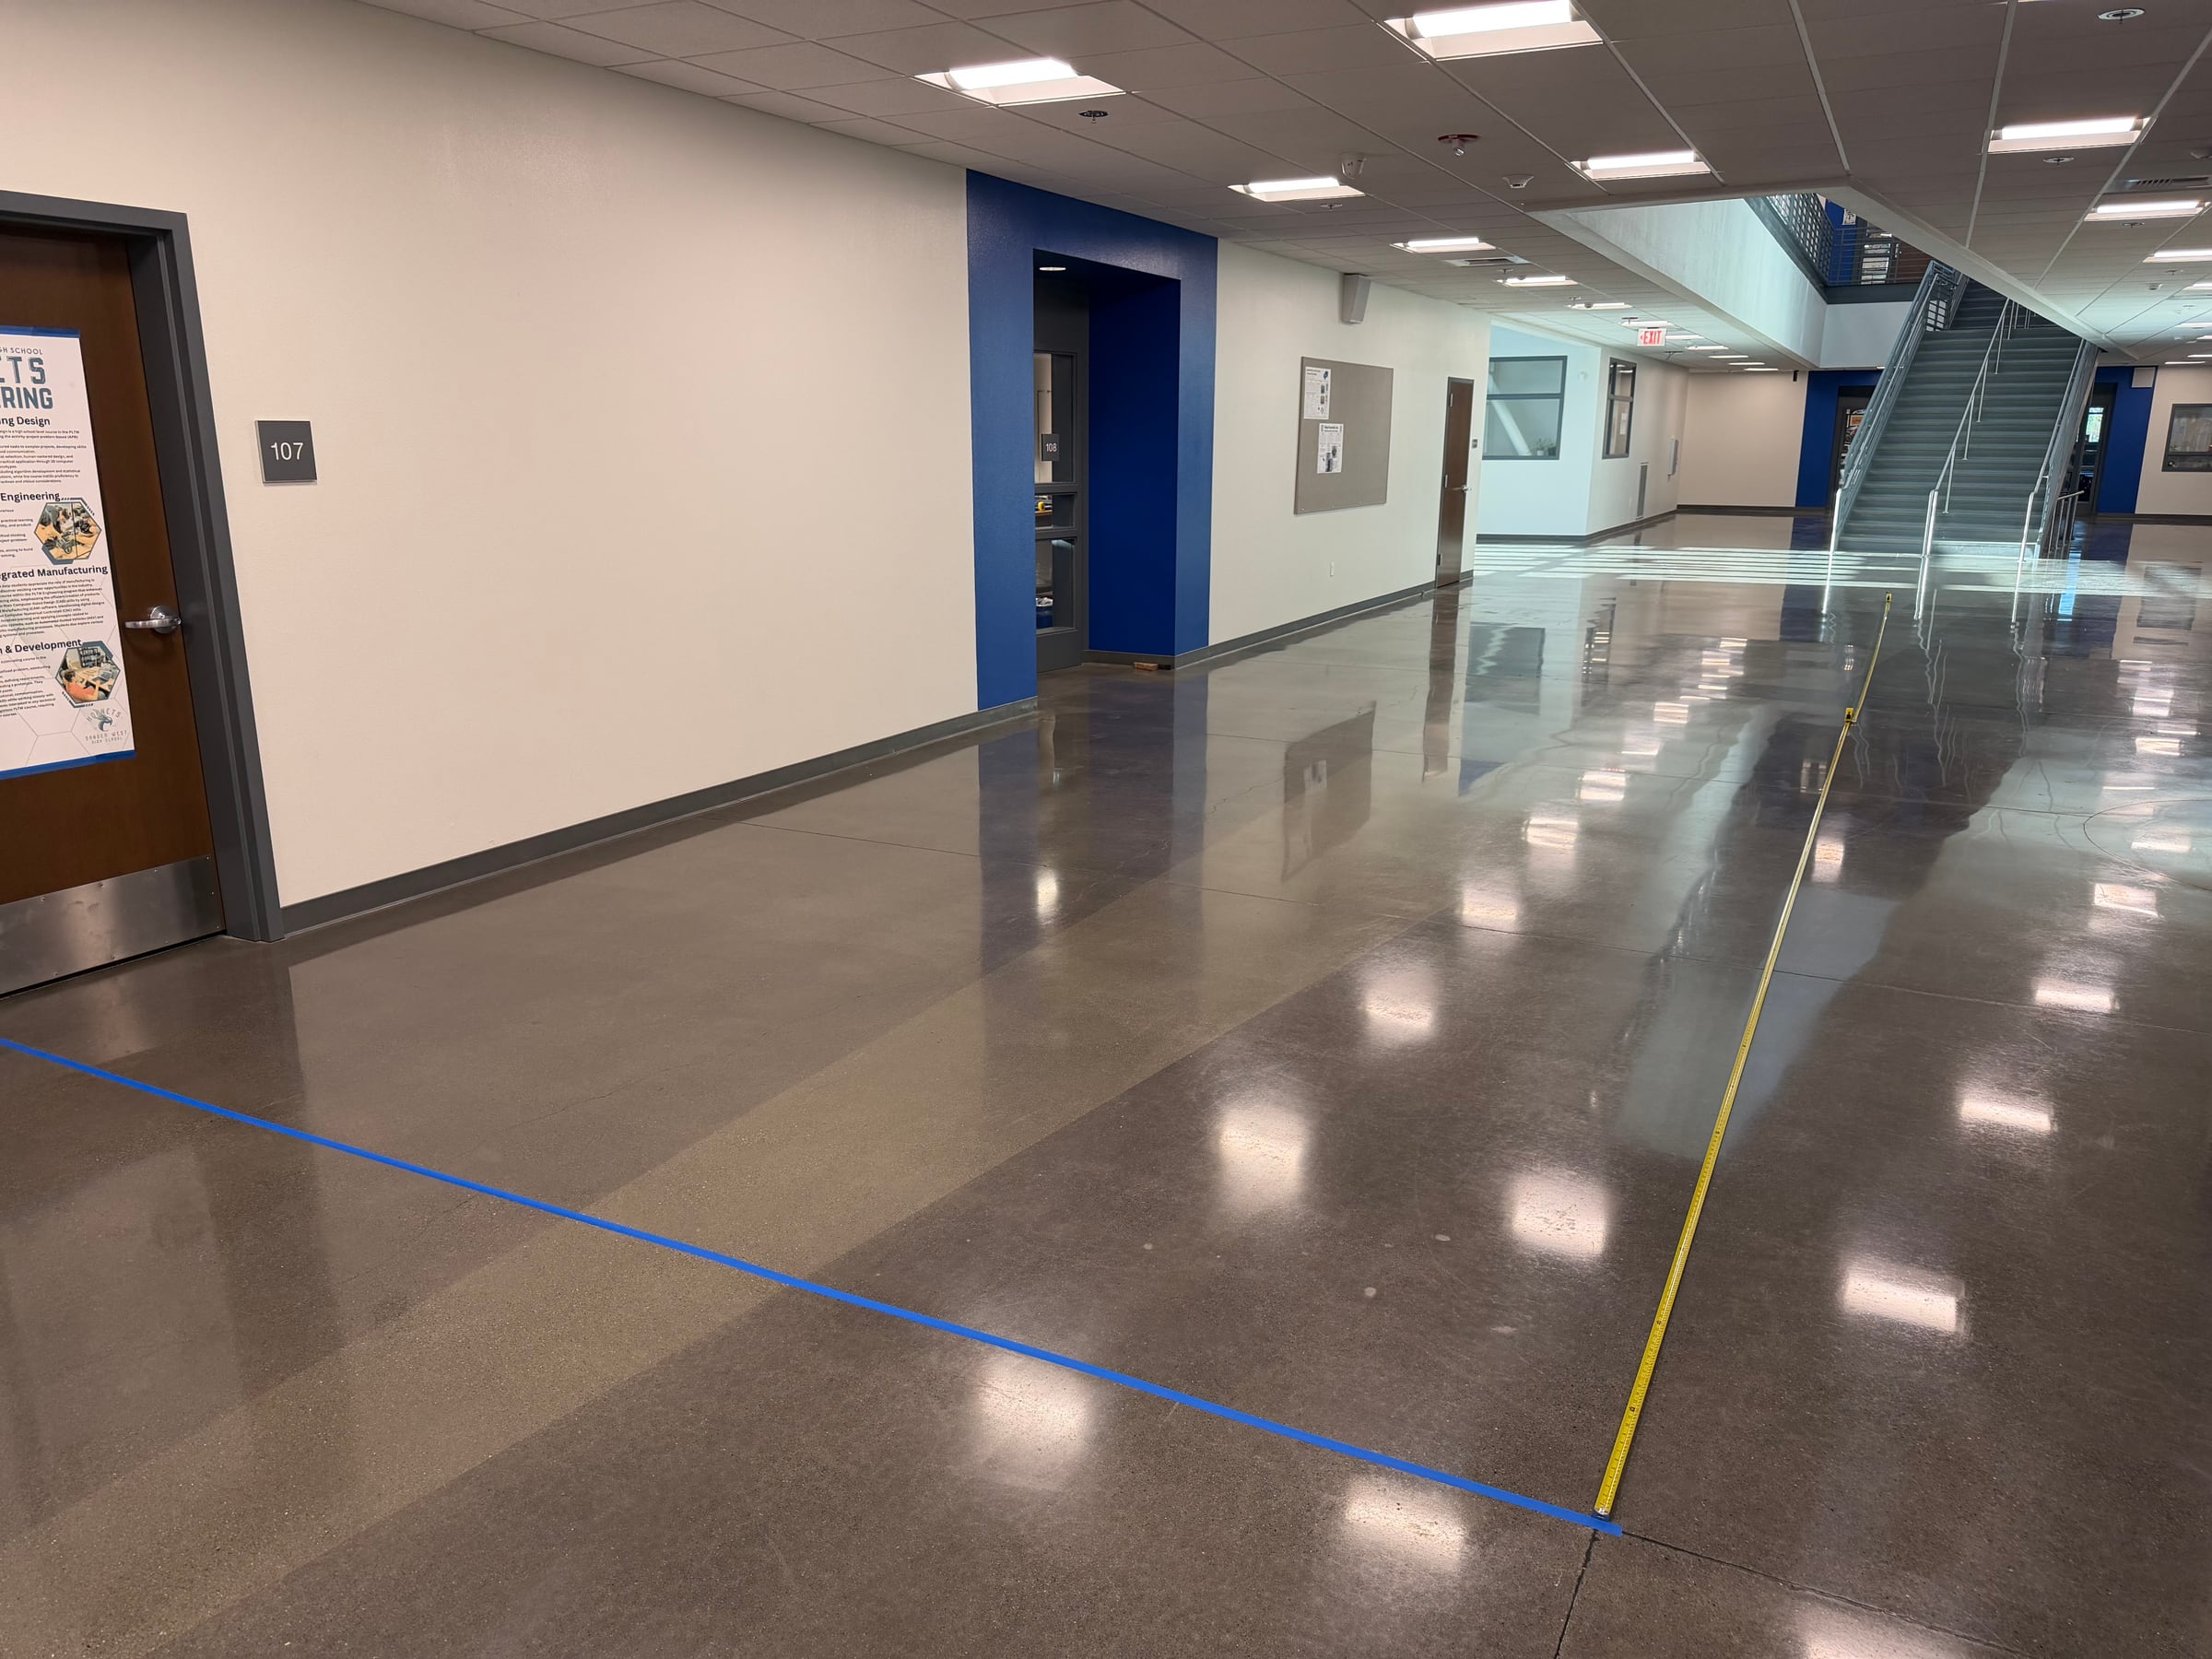
Our hallway setup used a blue starting line across the floor and tape measures running down the course. Preparing the full testing area before class keeps the experiment moving once students finish folding their Nakamura Lock airplanes.
Teaching the Lesson
Begin by asking a simple question:
“Where do you think the paper clip should go to make the airplane fly the farthest?”
Have students choose one of the three locations before building their airplane.
Do not tell them the answer.
The purpose of the activity is to compare their prediction with the results of the experiment.
Building the Nakamura Lock Airplane
Recommended paper airplane model: Nakamura Lock folding tutorial. This easy, classic design works with standard 8.5 × 11-inch printer paper and is a good fit for the experiment.
Project a top-down view of your workspace so every student can clearly see each fold.
Fold the Nakamura Lock airplane one step at a time.
Pause after every fold and give students time to catch up before moving on.
Walk around the room helping students who fall behind.
Encourage students to write their name somewhere on the airplane before beginning the experiment.
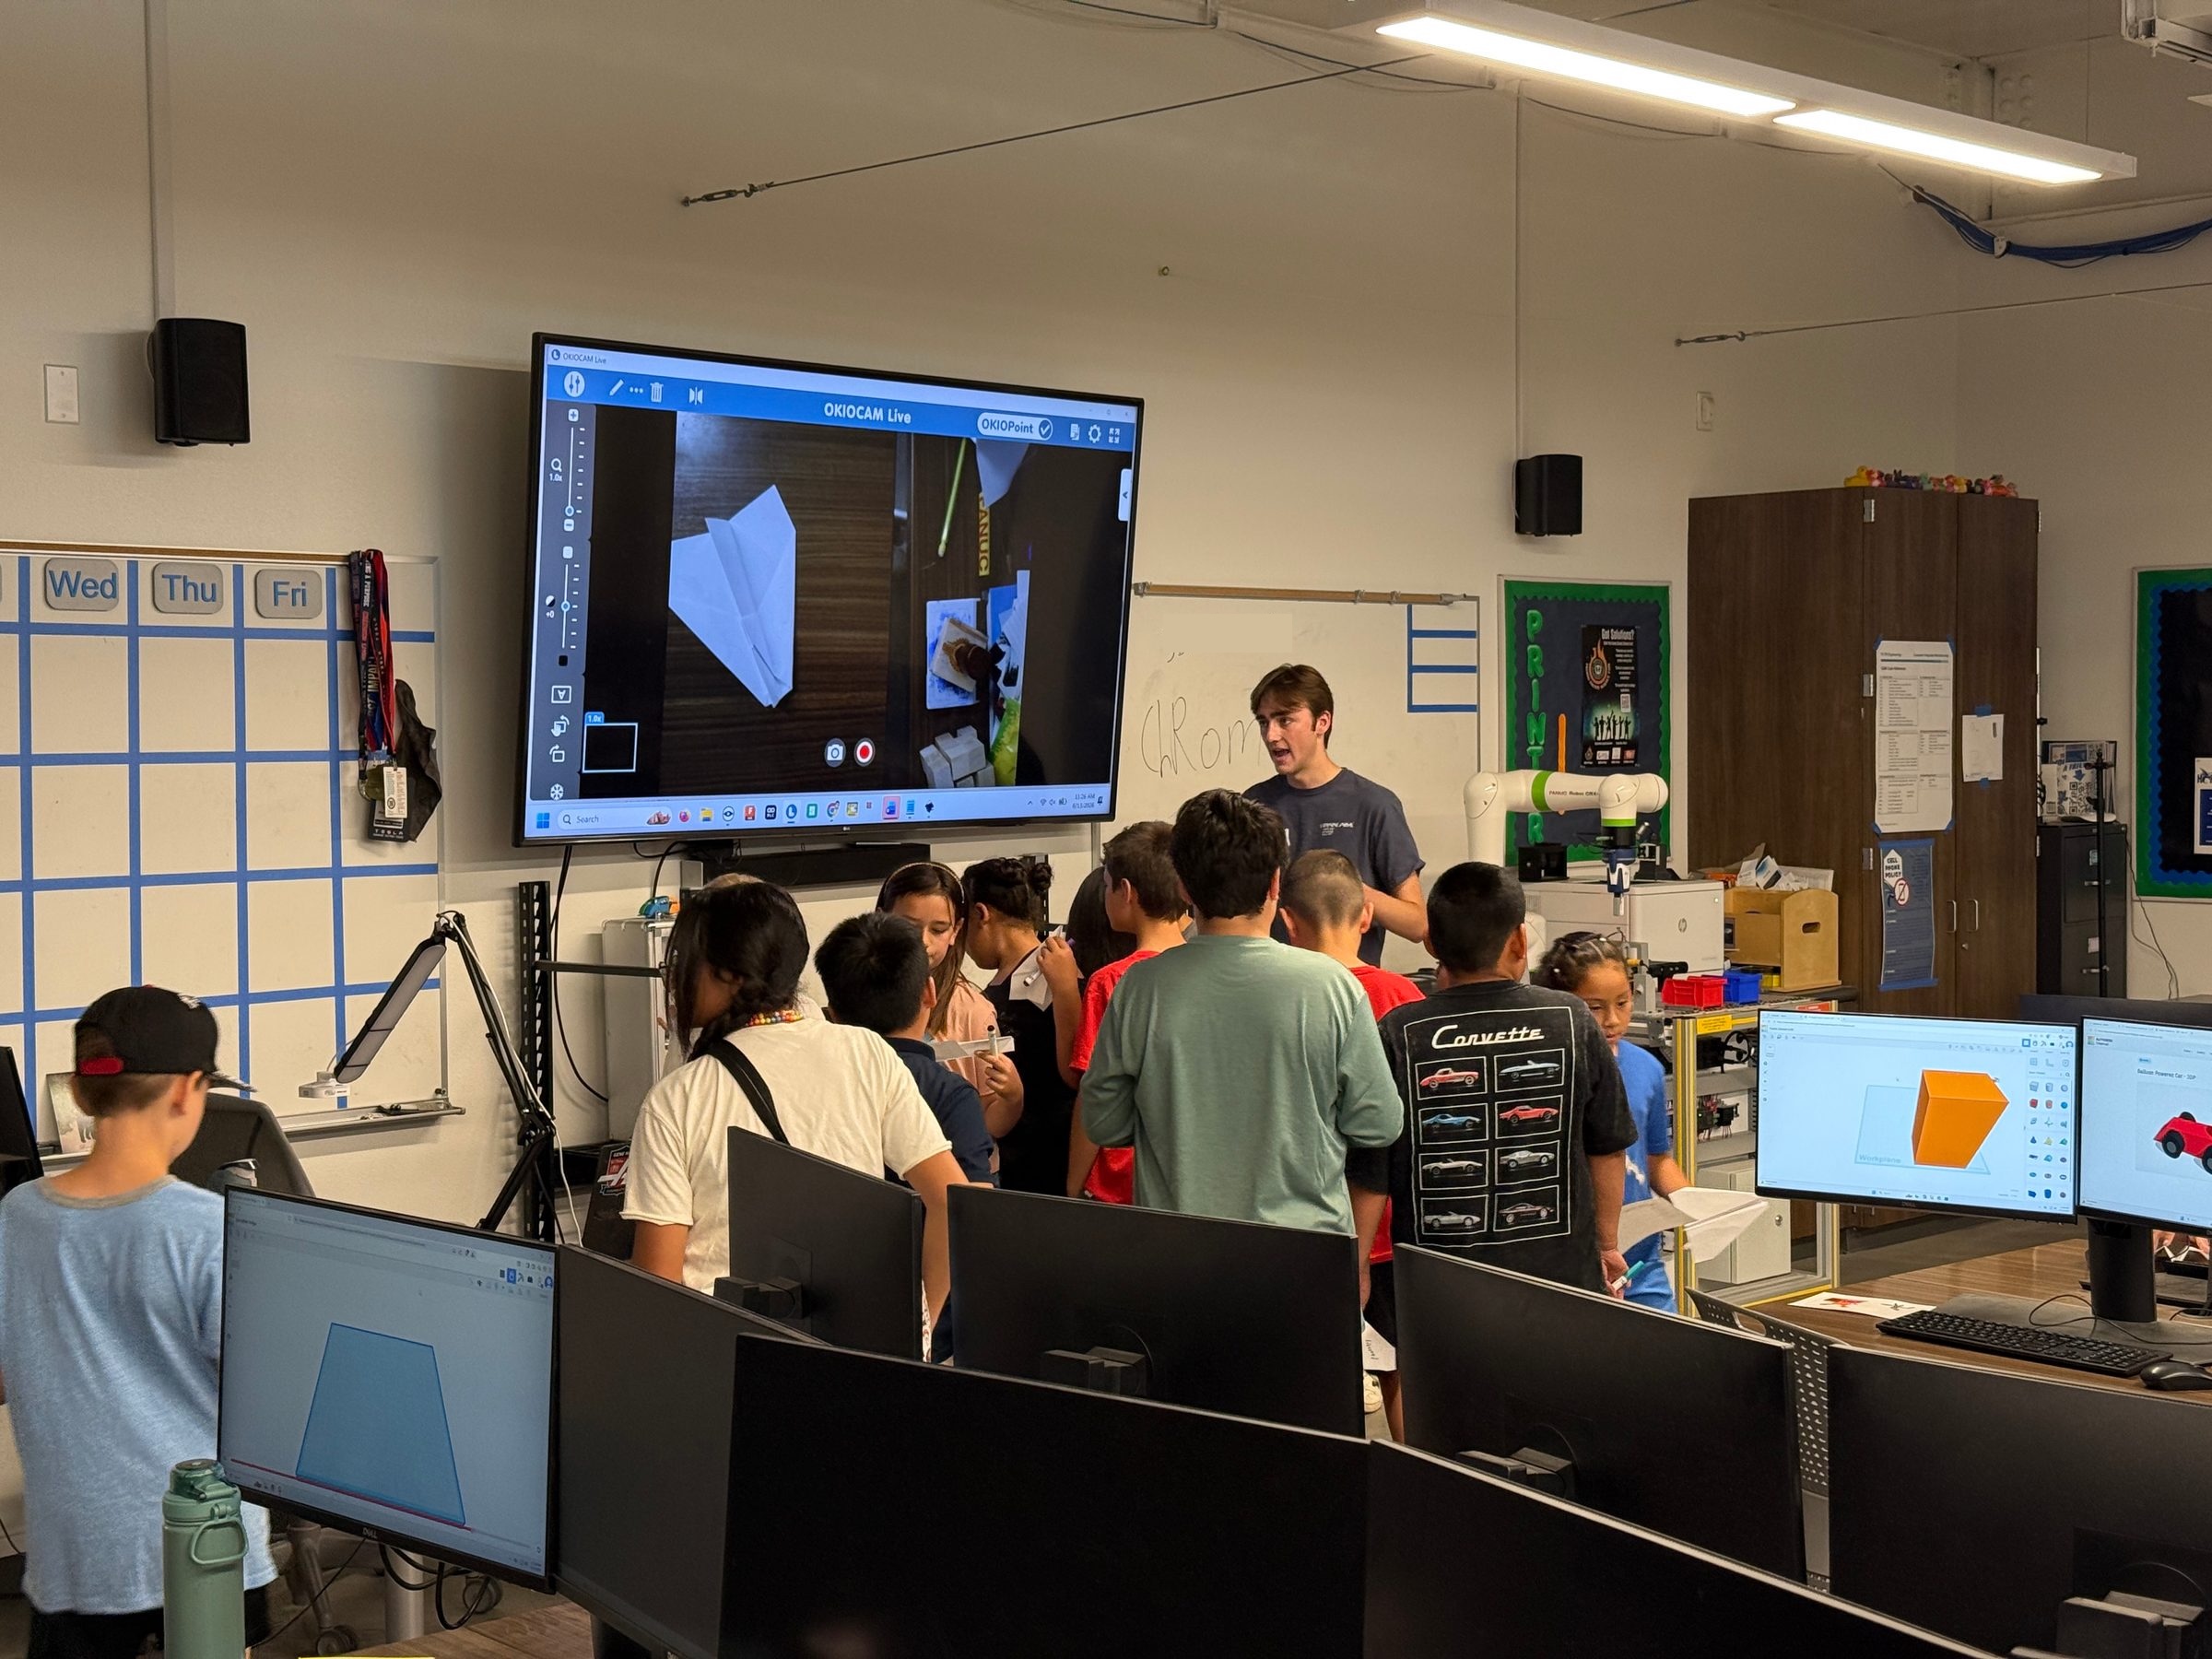
Keeping everyone on the same step makes it much easier for volunteers to help students who need assistance.
Making a Prediction
Before anyone throws their airplane, have students write down which paper clip position they believe will fly the farthest.
Emphasize that there is no penalty for guessing incorrectly.
Engineers make predictions all the time, and unexpected results often lead to new discoveries.
Running the Experiment
Begin with the paper clip attached near the front of the airplane.
Line every student up shoulder-to-shoulder behind the starting line.
On your signal, have everyone throw at the same time.
Do not allow students to retrieve their airplanes until everyone has thrown.
Once all airplanes have landed, students may walk to their airplane, read the tape measure, and record the distance on their data sheet.
Before beginning the second trial, move the paper clip to the middle position.
Repeat the process.
Finally, move the paper clip to the rear position and complete the final trial.
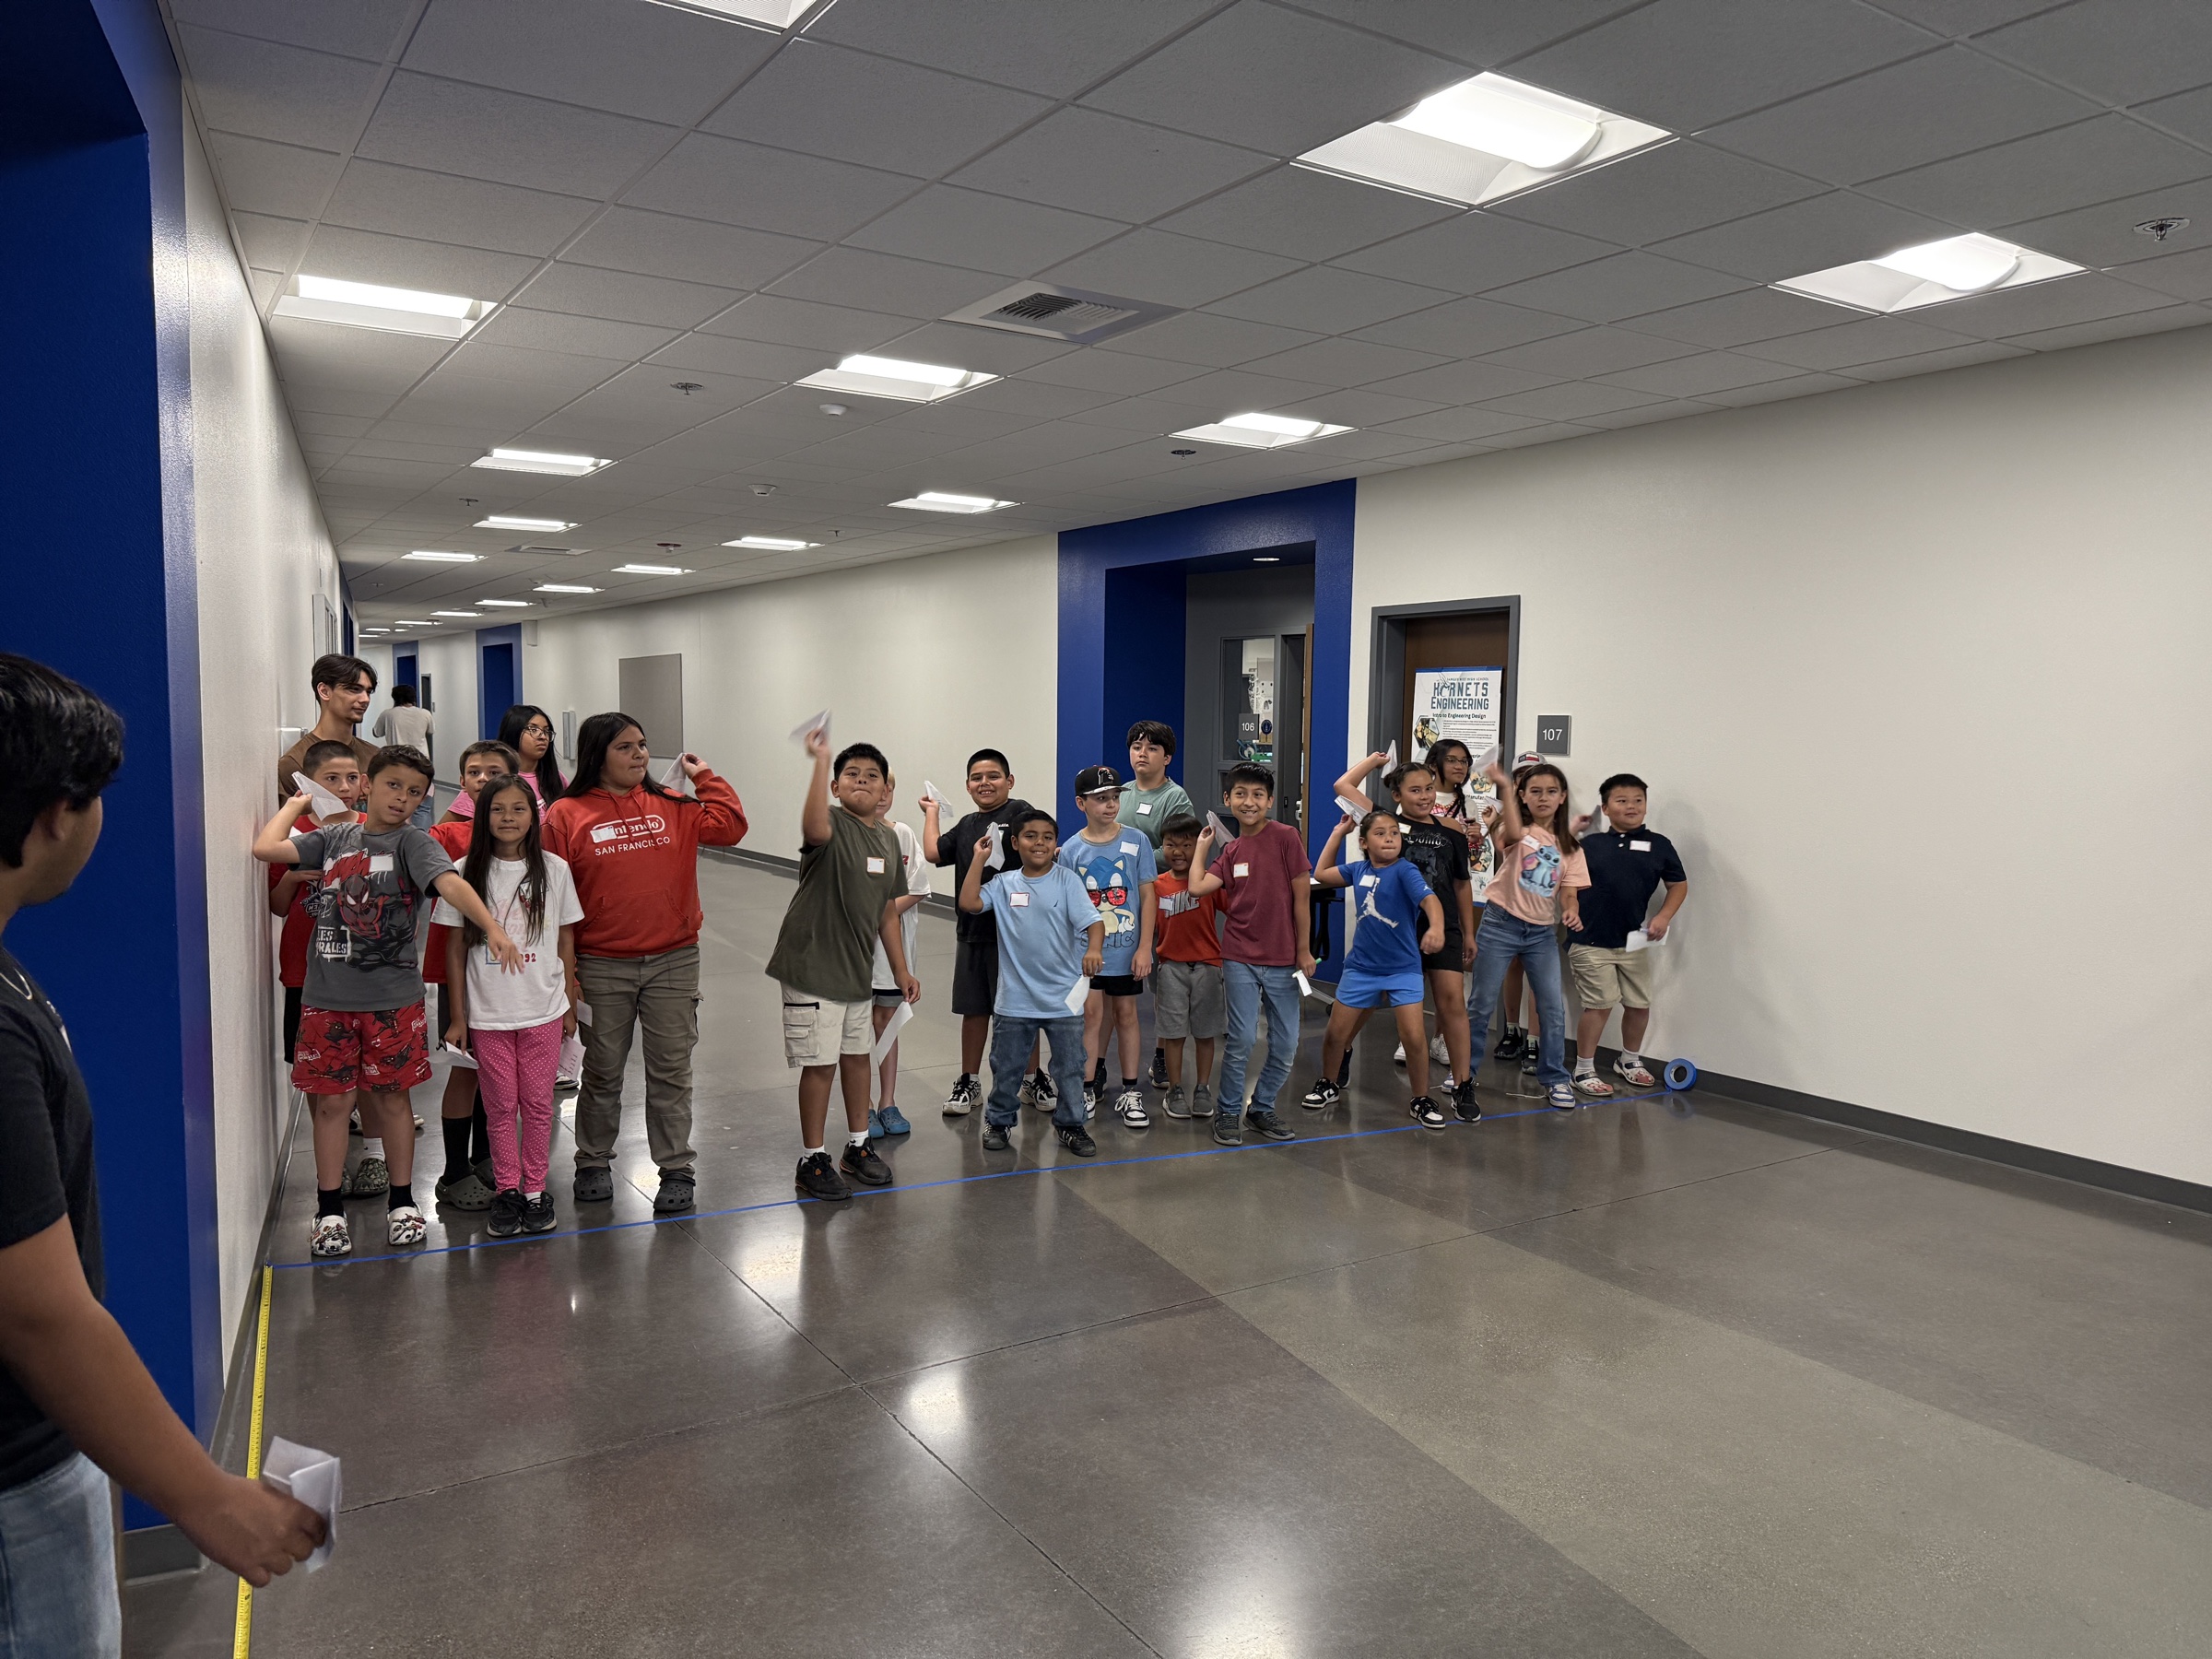
Having everyone throw at the same time keeps the activity organized and prevents students from interfering with one another’s flights.
Comparing Results
After all three flights have been completed, ask students to compare the distances they recorded.
Discuss questions such as:
- Which position flew the farthest?
- Was your prediction correct?
- Did everyone get the same results?
- Why do you think moving the weight changed the way the airplane flew?
There is no need to lecture about aerodynamics.
The goal is simply to help students recognize that changing one variable can affect the outcome of an experiment.
Troubleshooting
Students cannot read the tape measure
Before beginning the experiment, spend a few minutes reviewing how to read a tape measure.
Many elementary students have never used one before.
Nakamura Lock airplanes were folded differently
Small differences in folding are expected.
As long as every student uses the same general design, the experiment will still produce useful comparisons.
Students throw differently
Different throwing styles are part of the experiment.
Remind students to throw naturally each time rather than trying to force the airplane farther.
Students lose track of which trial they are on
Complete one paper clip position for the entire class before moving to the next.
Everyone should always be testing the same configuration.
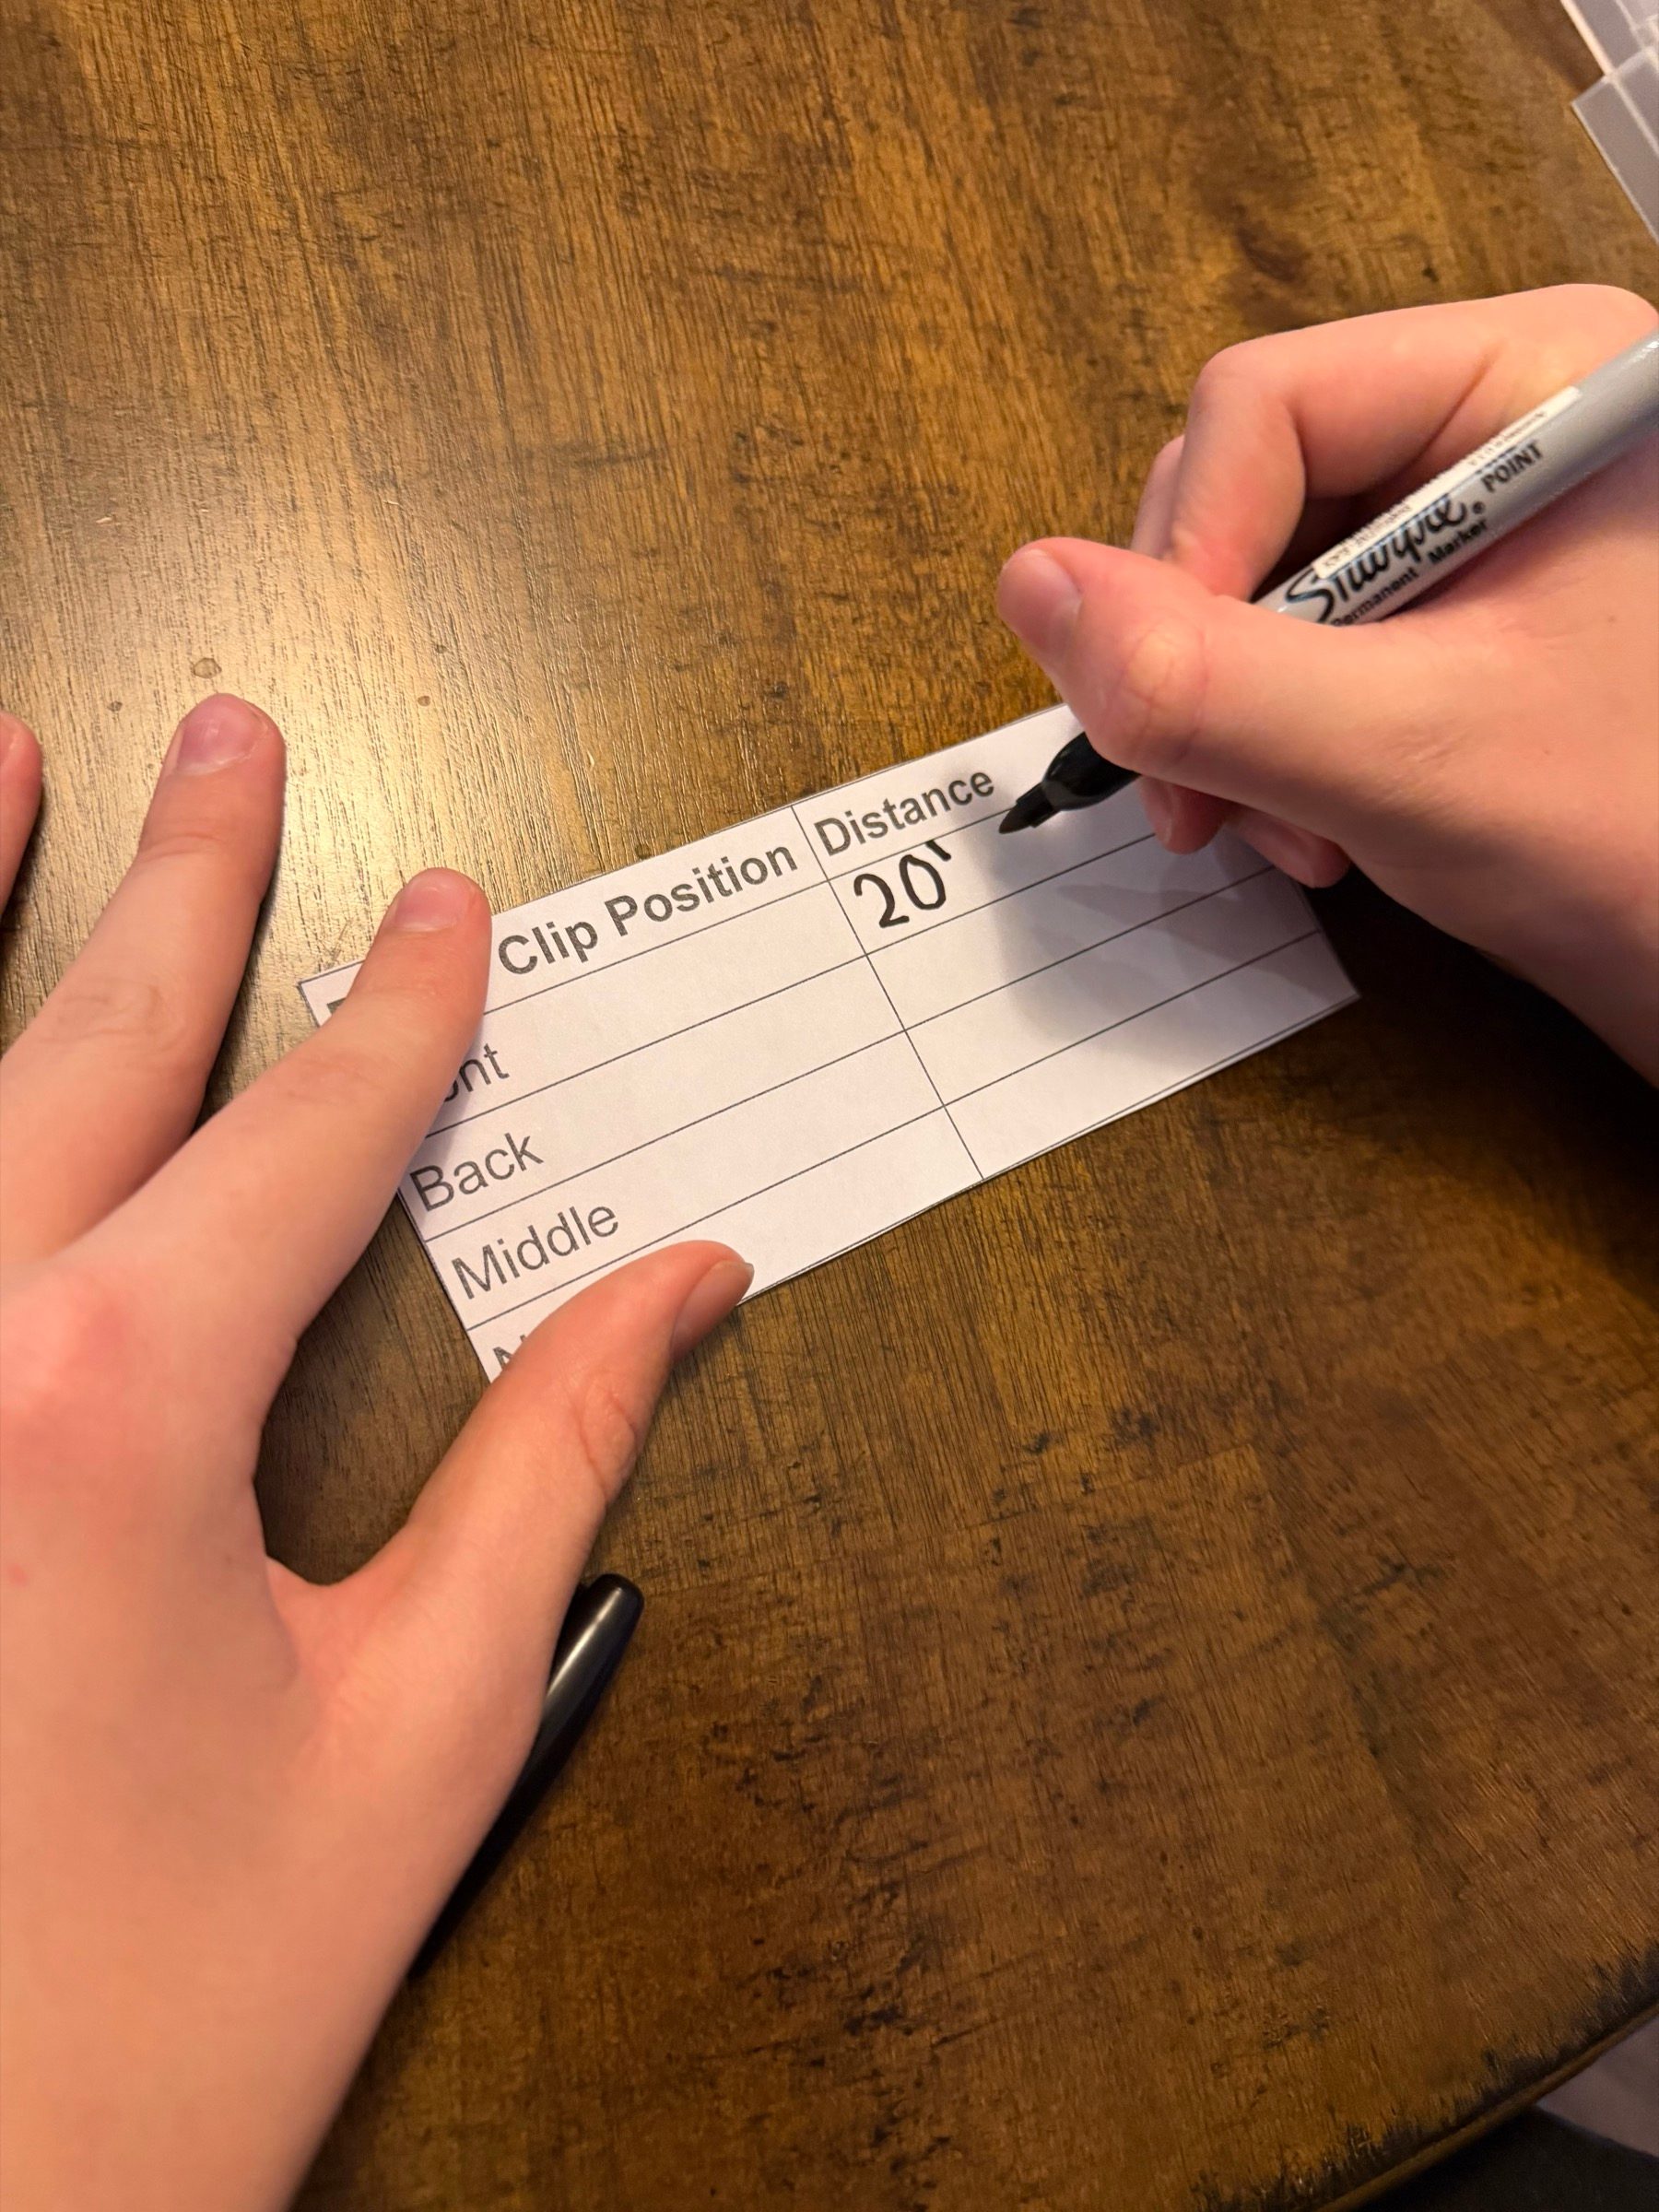
Recording each flight immediately helps students keep their results organized.
Cleanup
- Collect completed data sheets.
- Remove the tape measures.
- Remove the starting line.
- Pick up any paper clips left in the hallway.
- Allow students to keep their airplanes.